Gallery

Liftoff of OatSat-1!
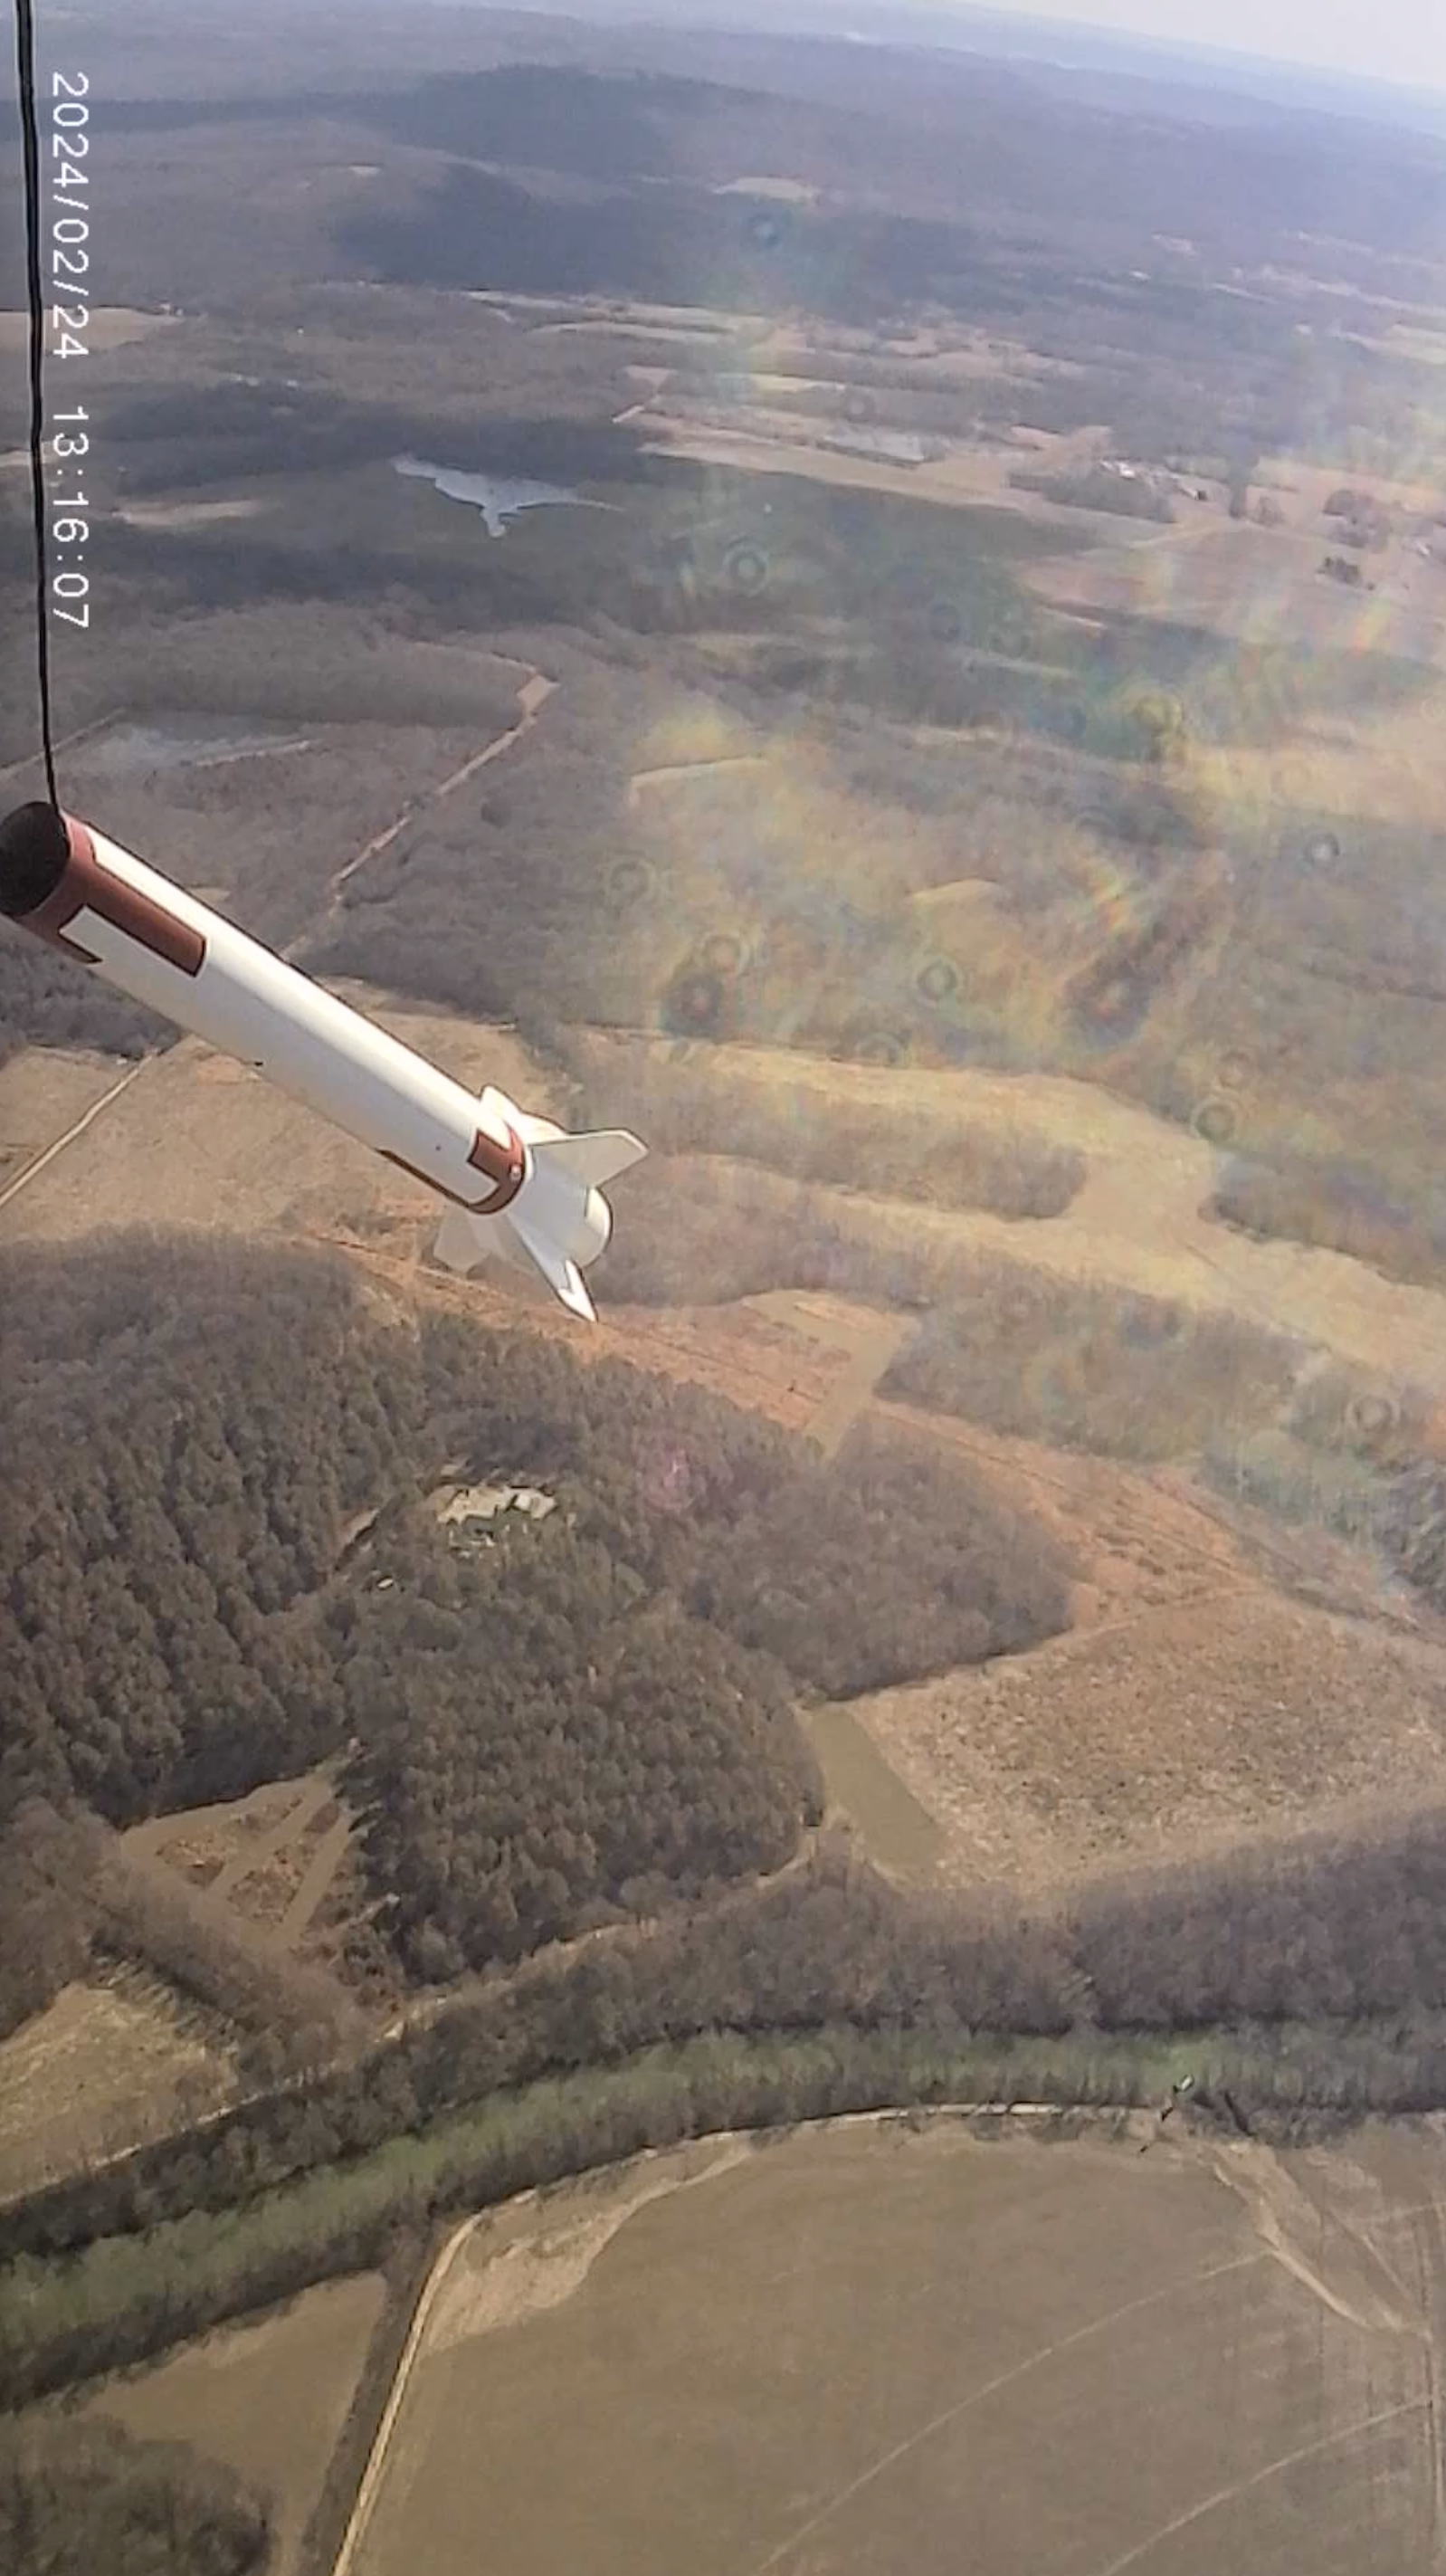
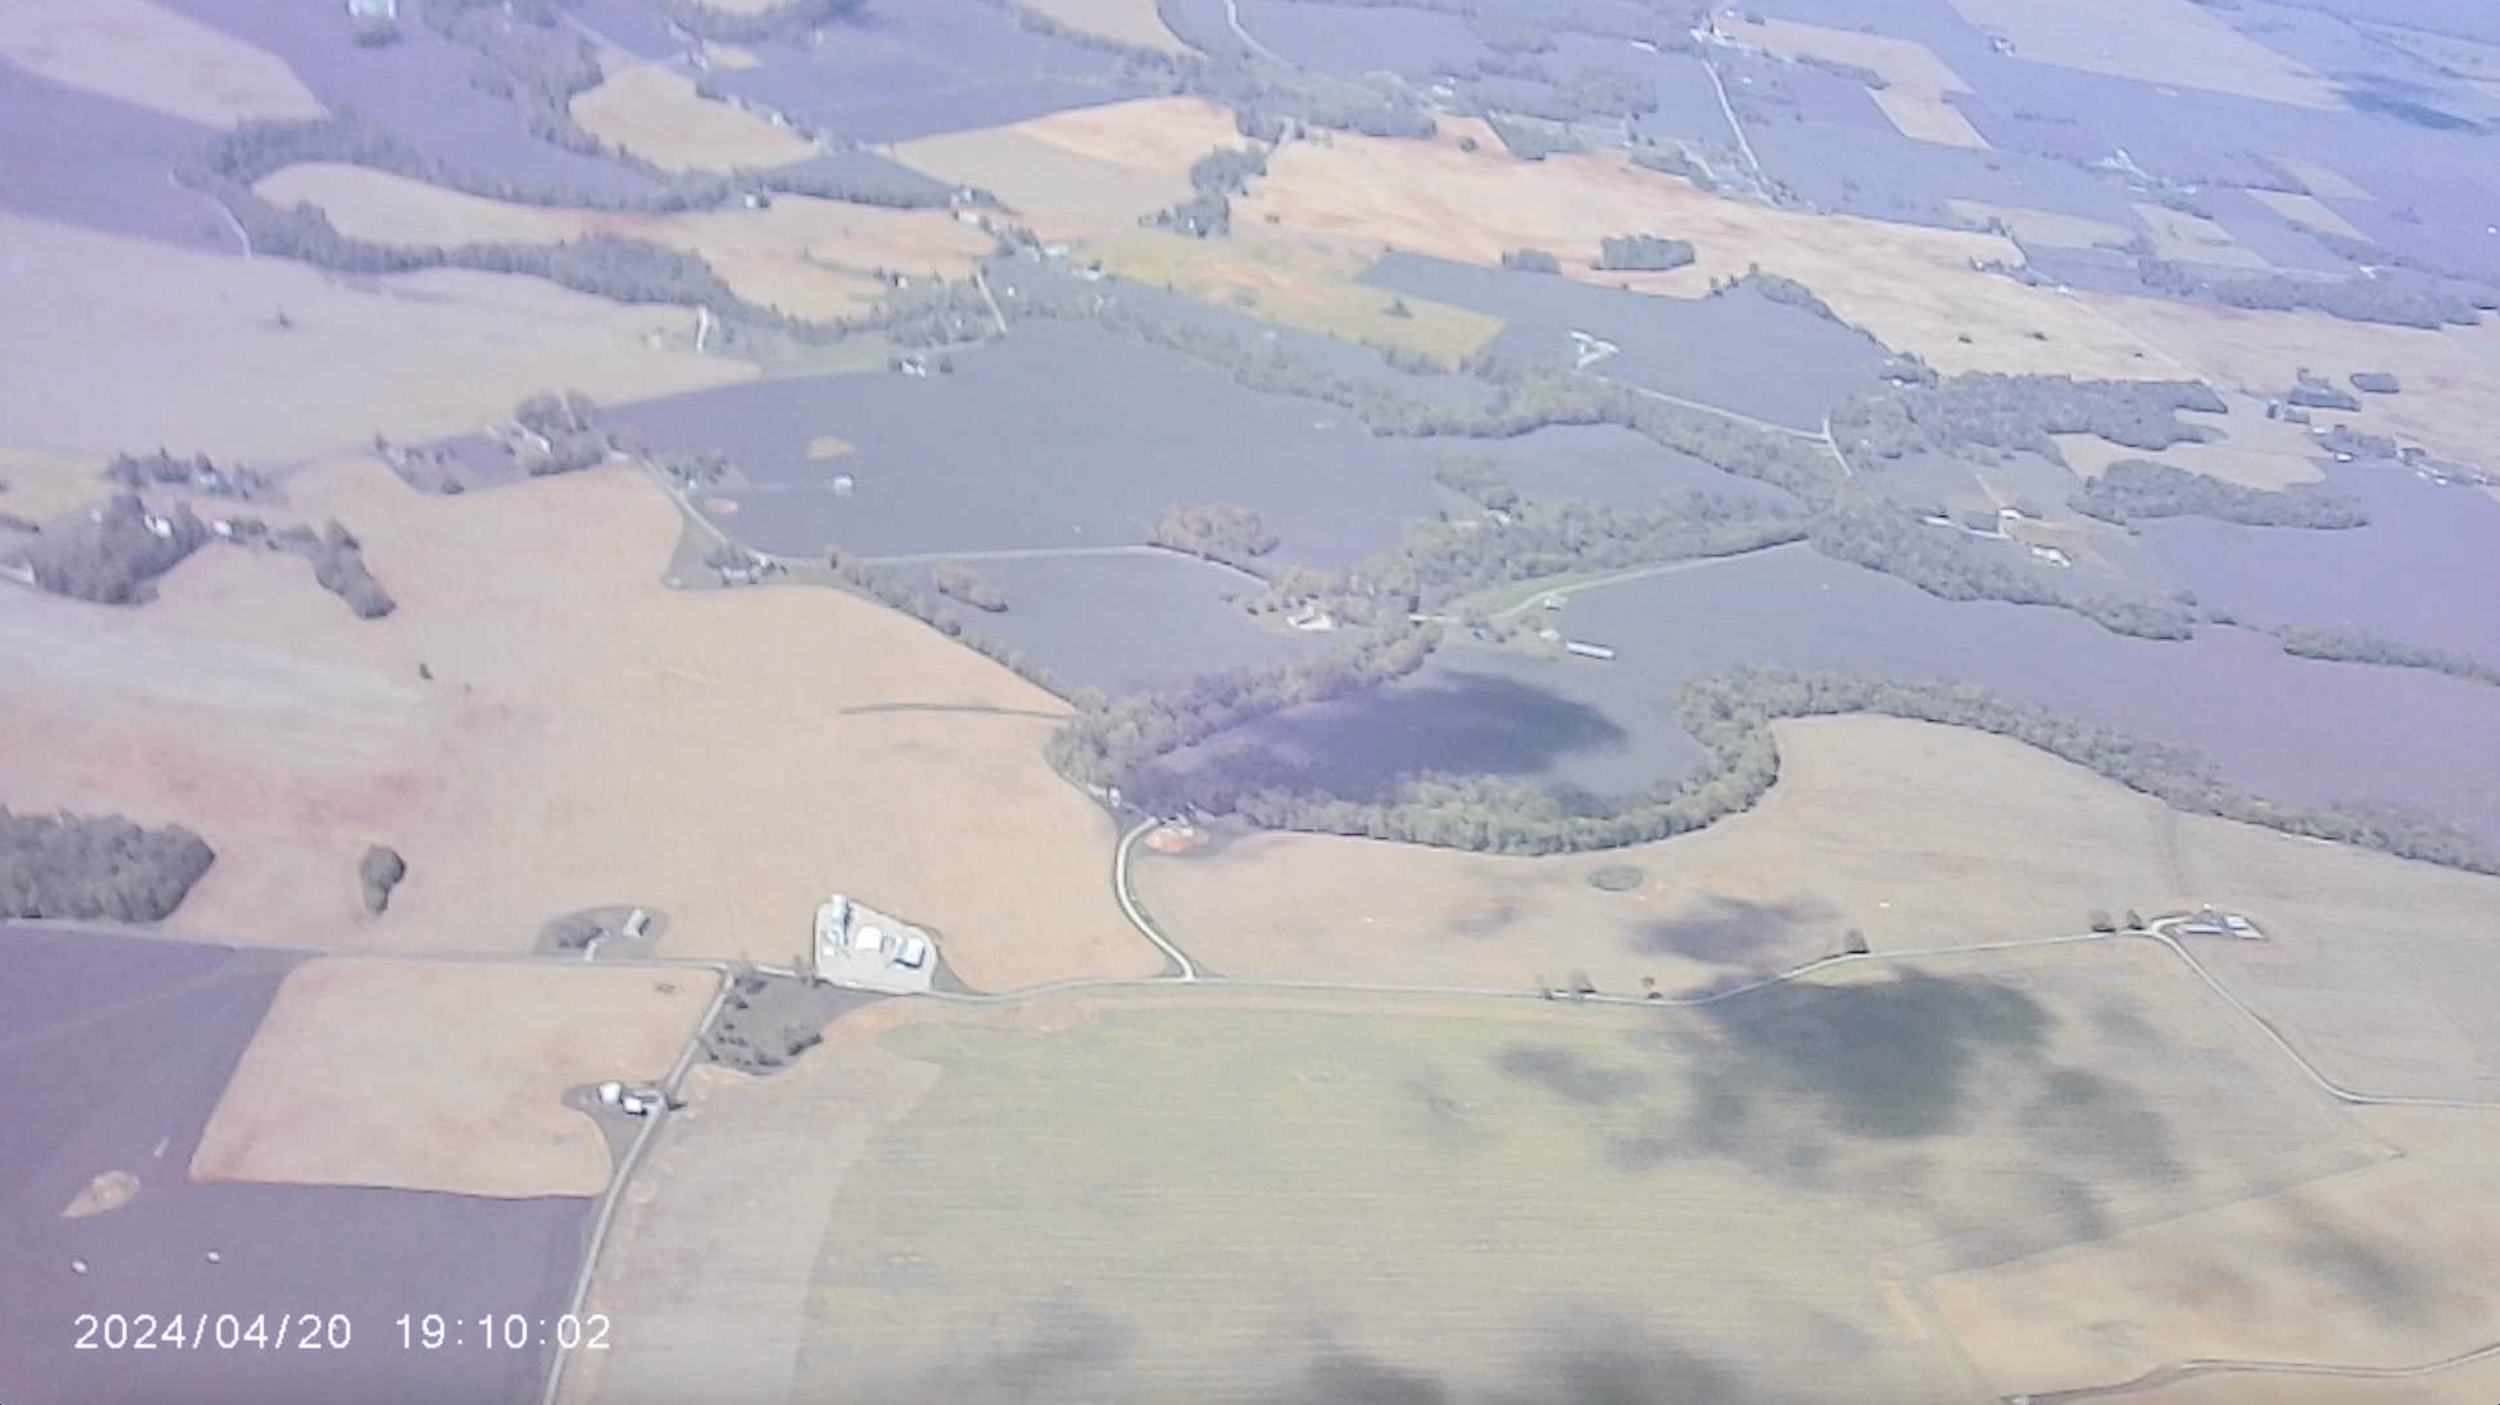
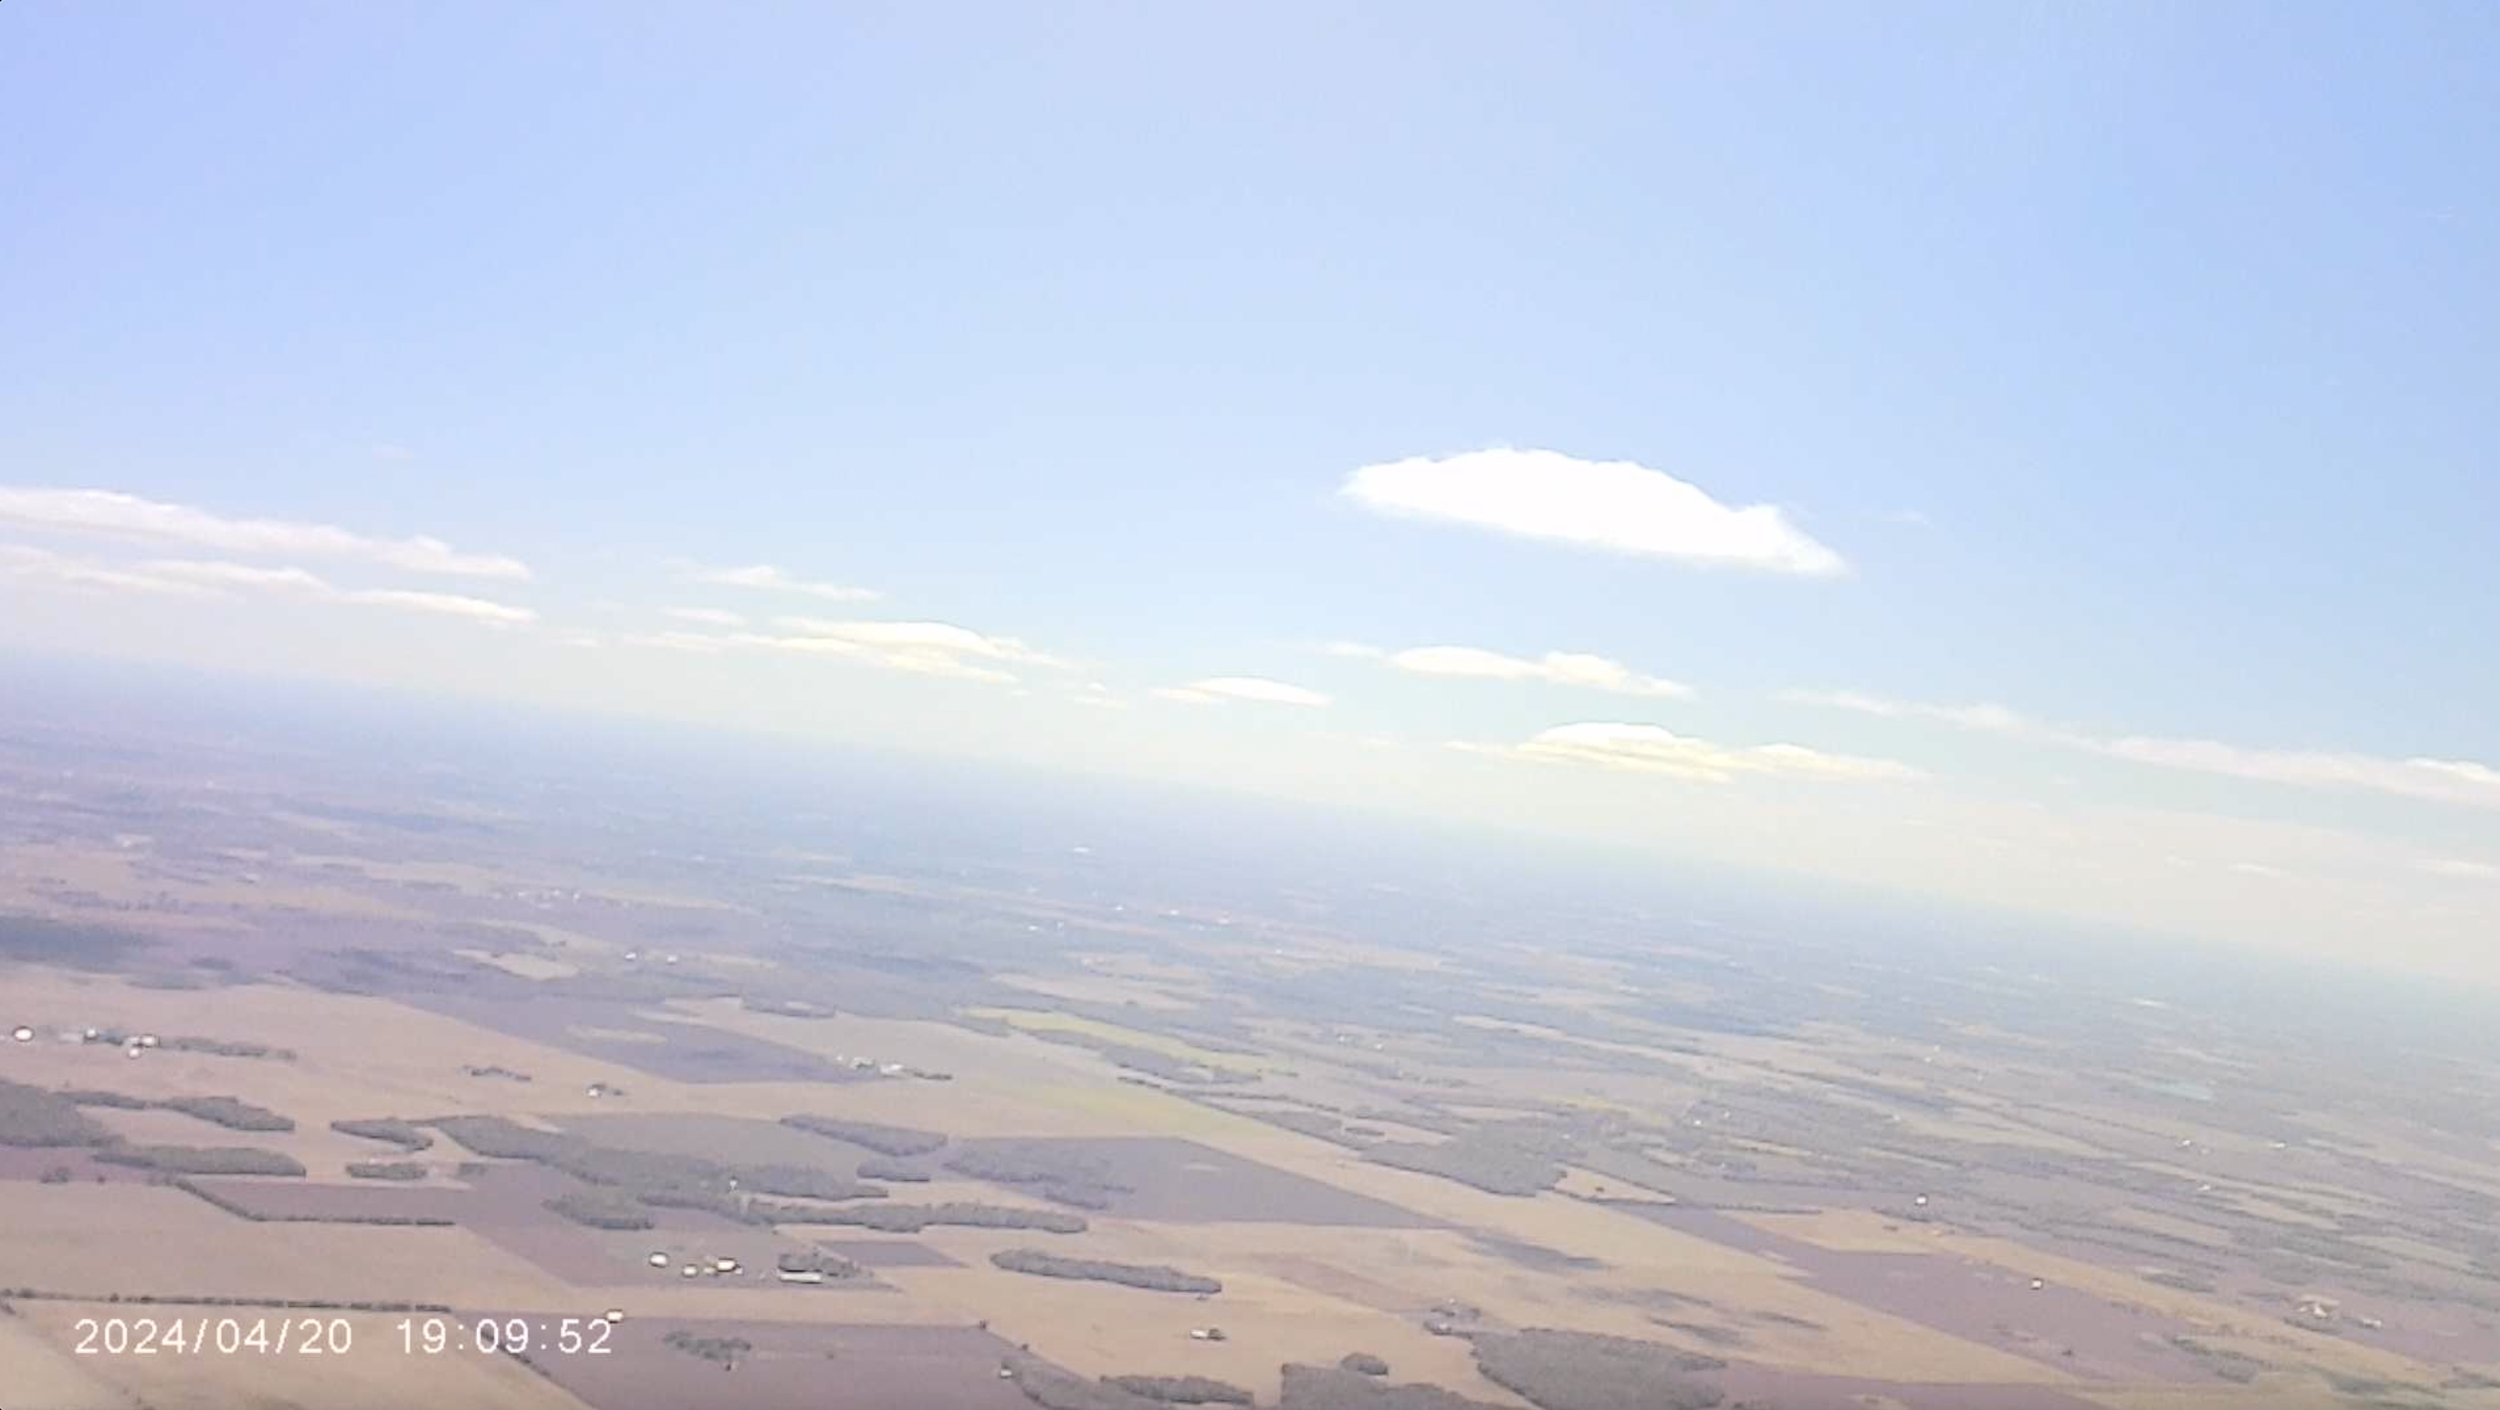
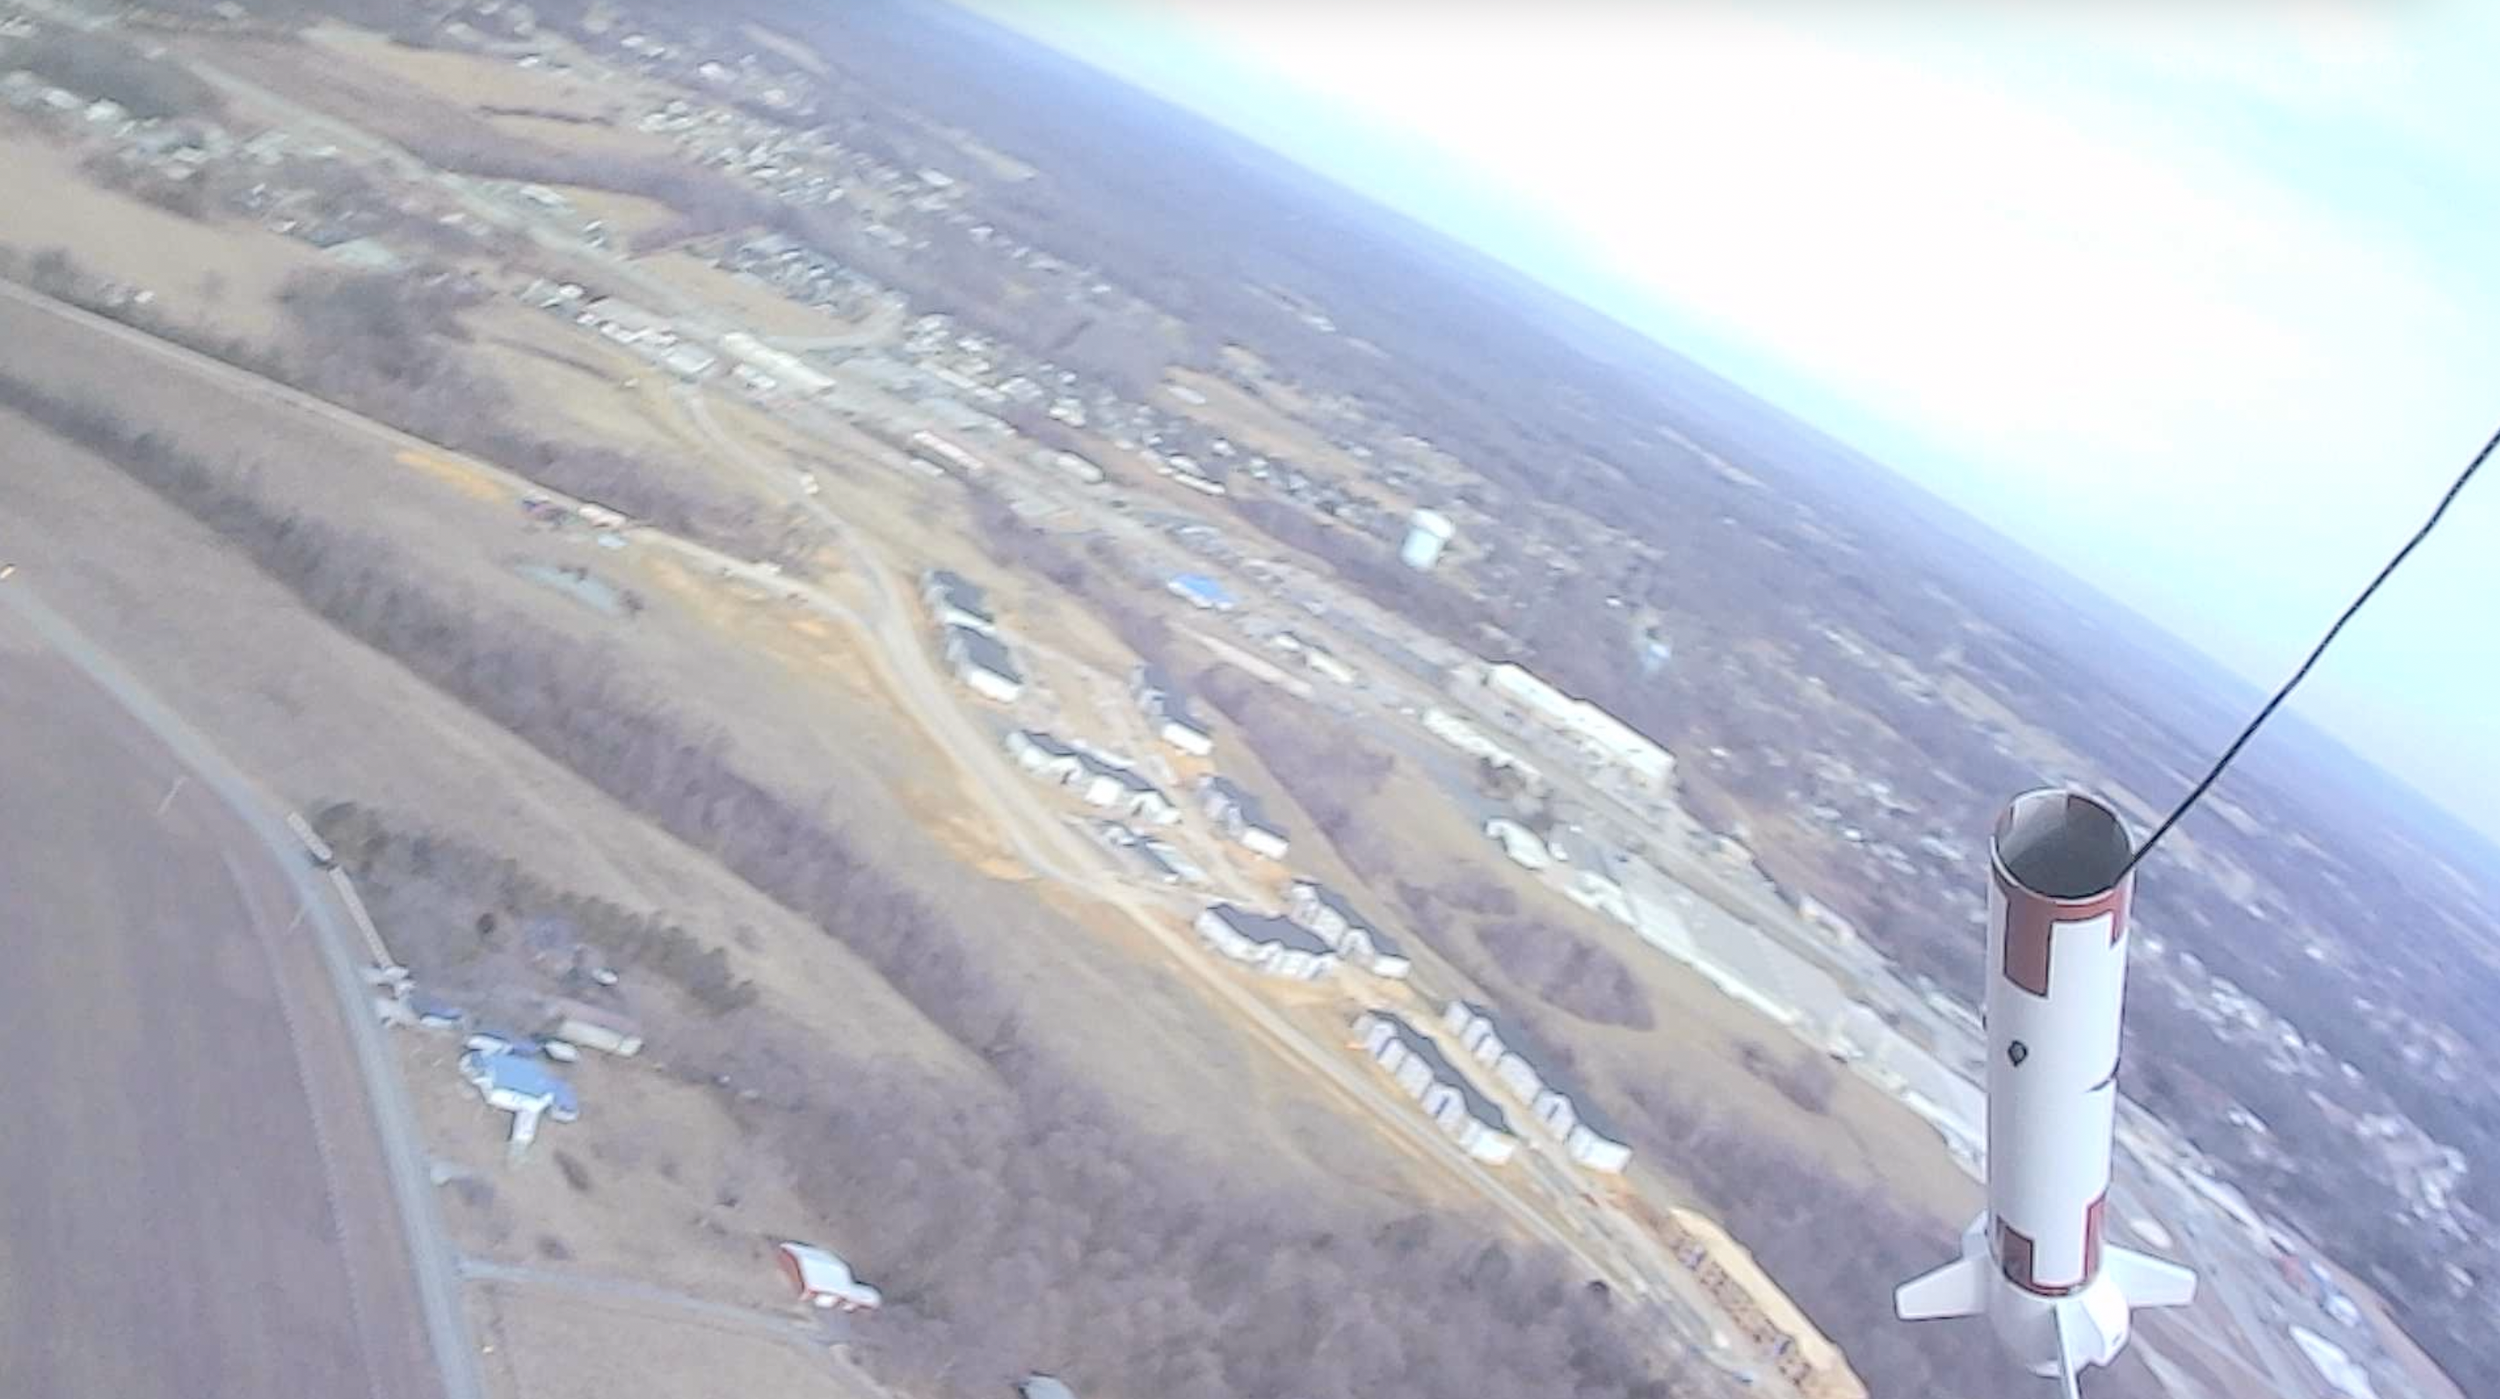
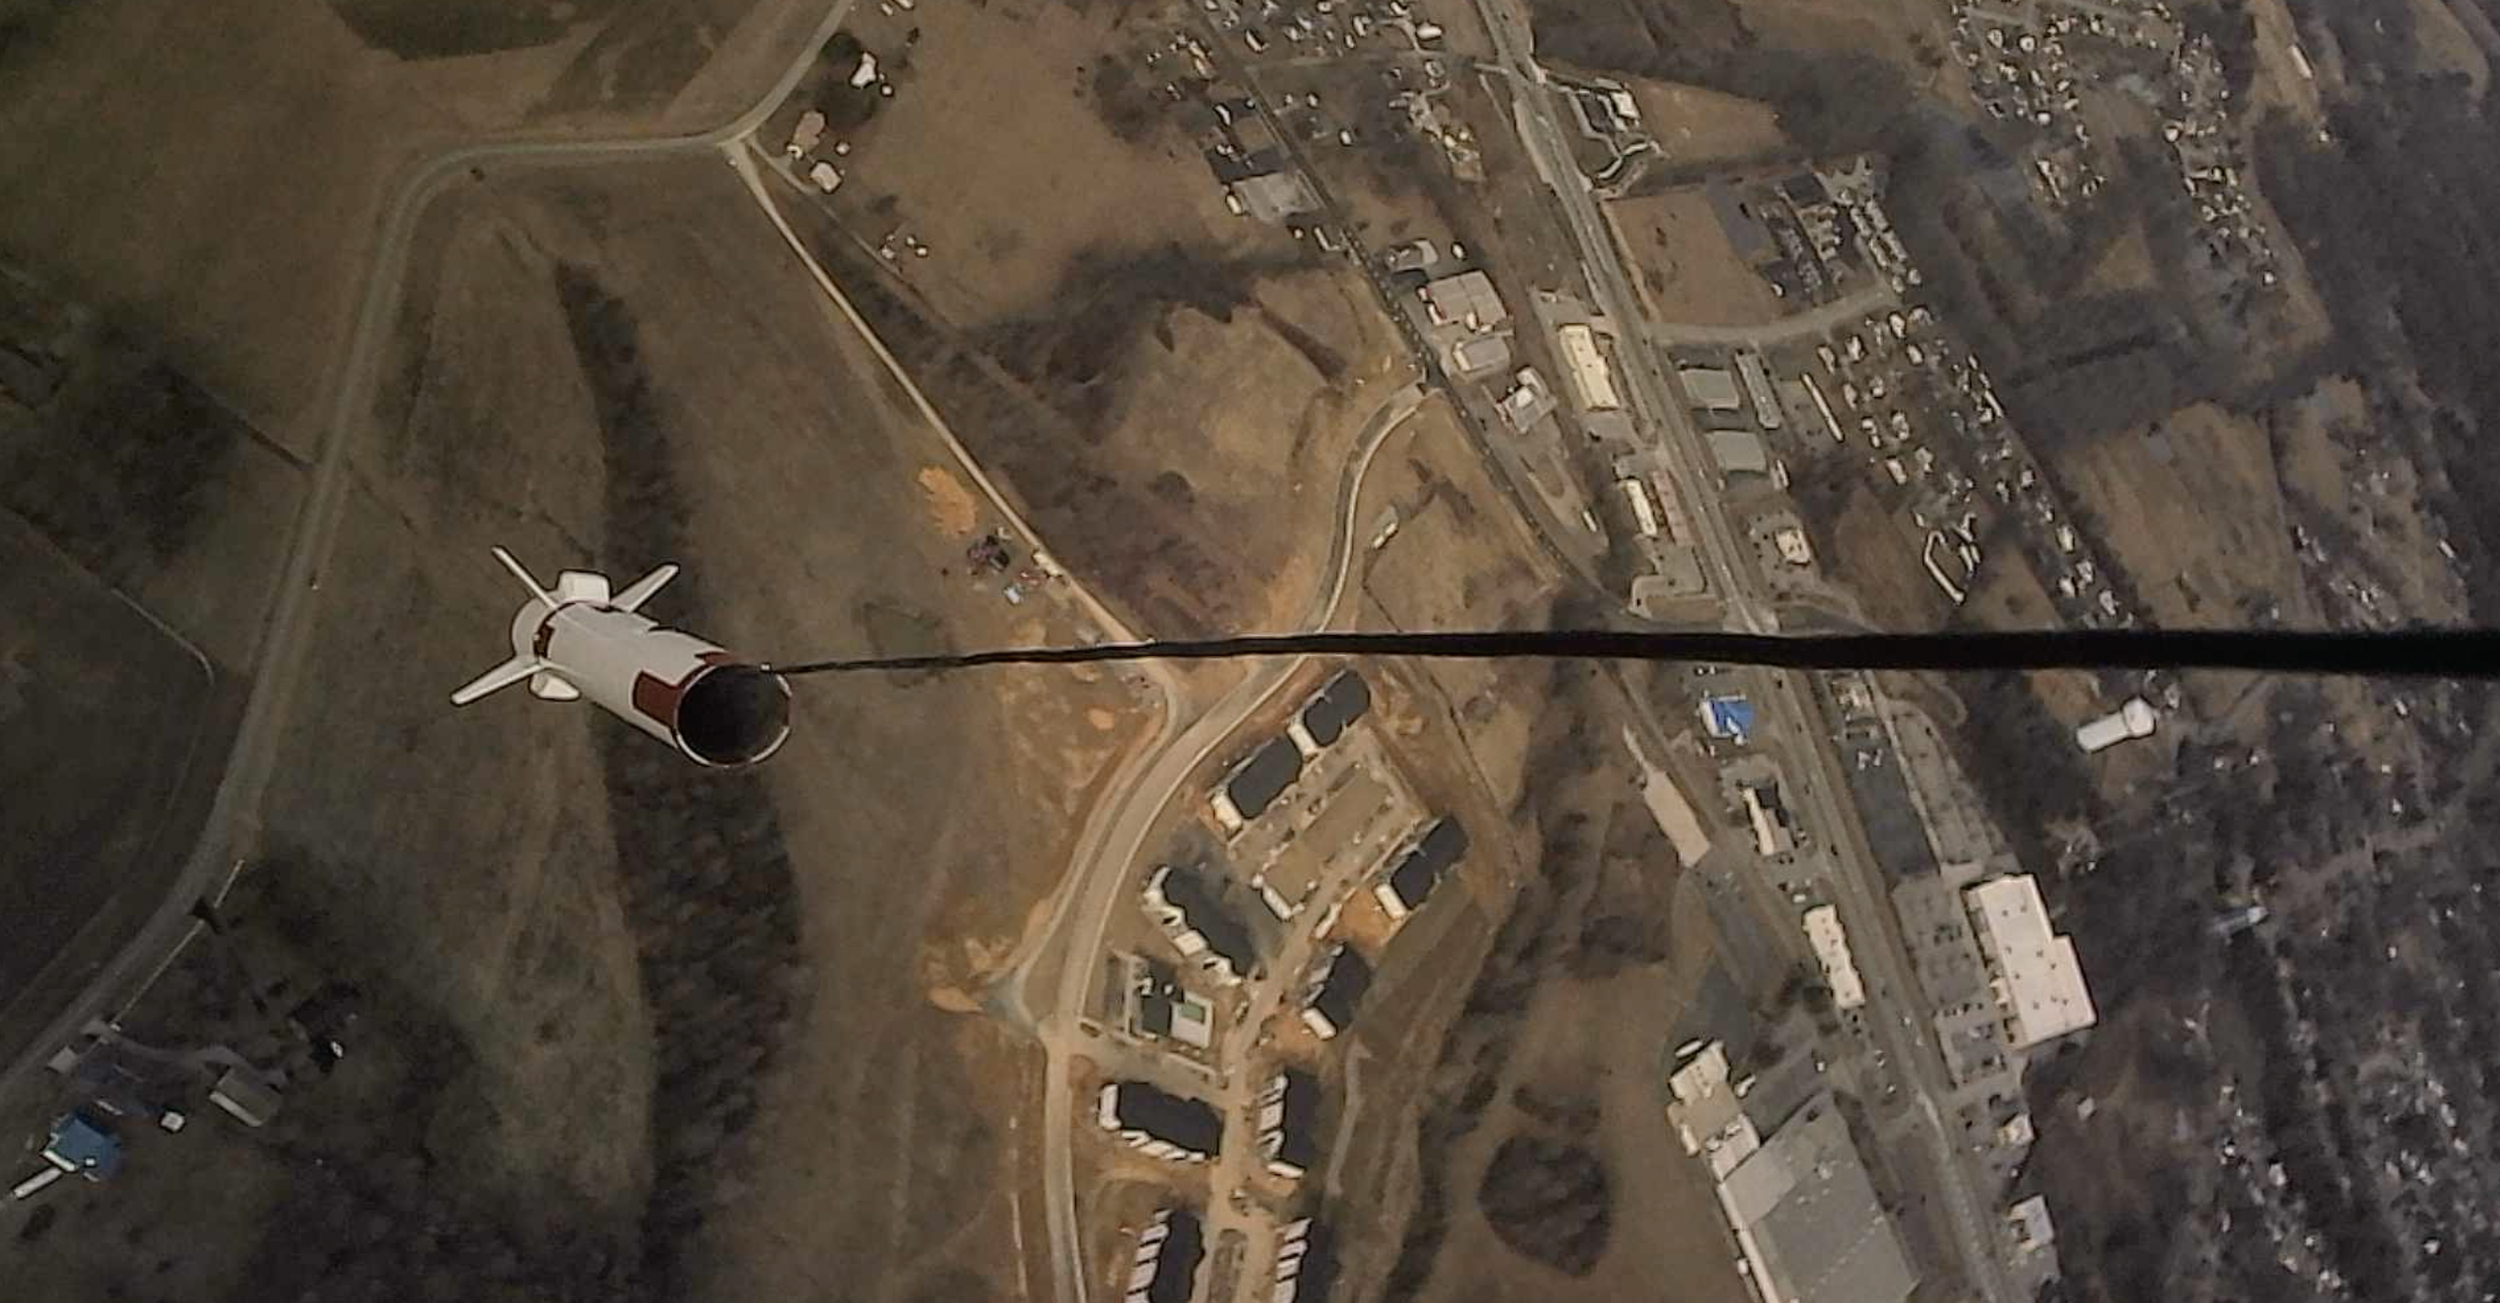
View from Harrier 1 on its third flight

Liftoff of Harrier 2A flight three!
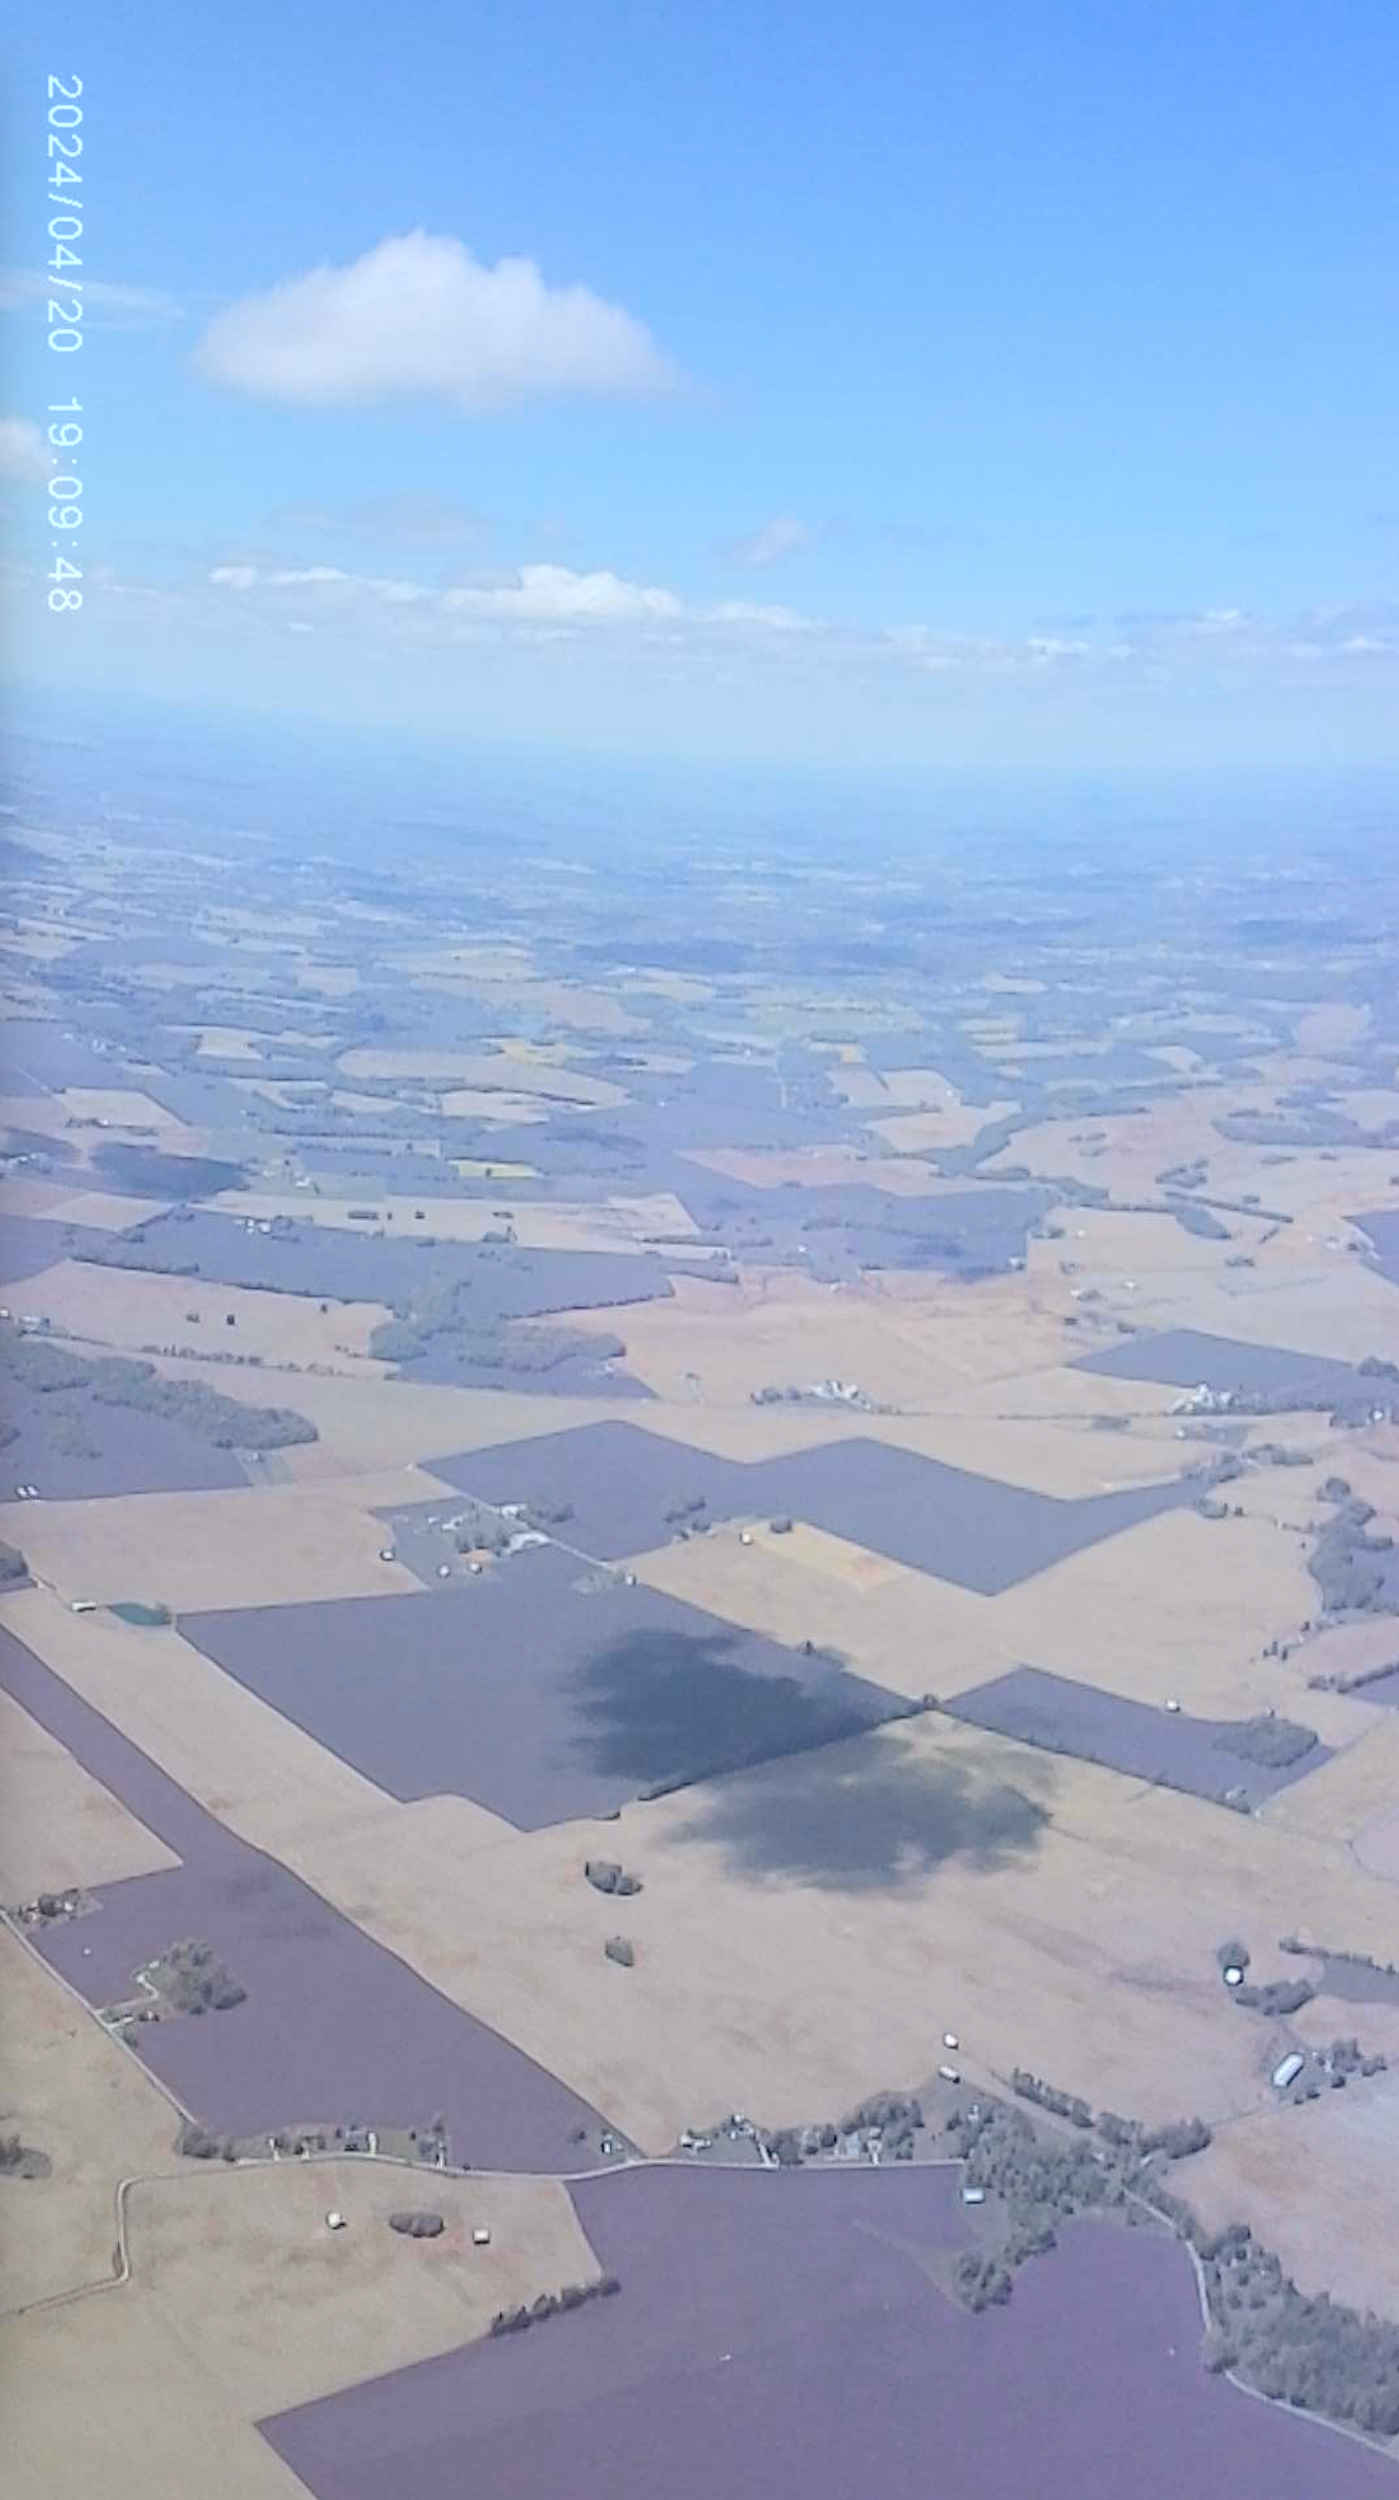
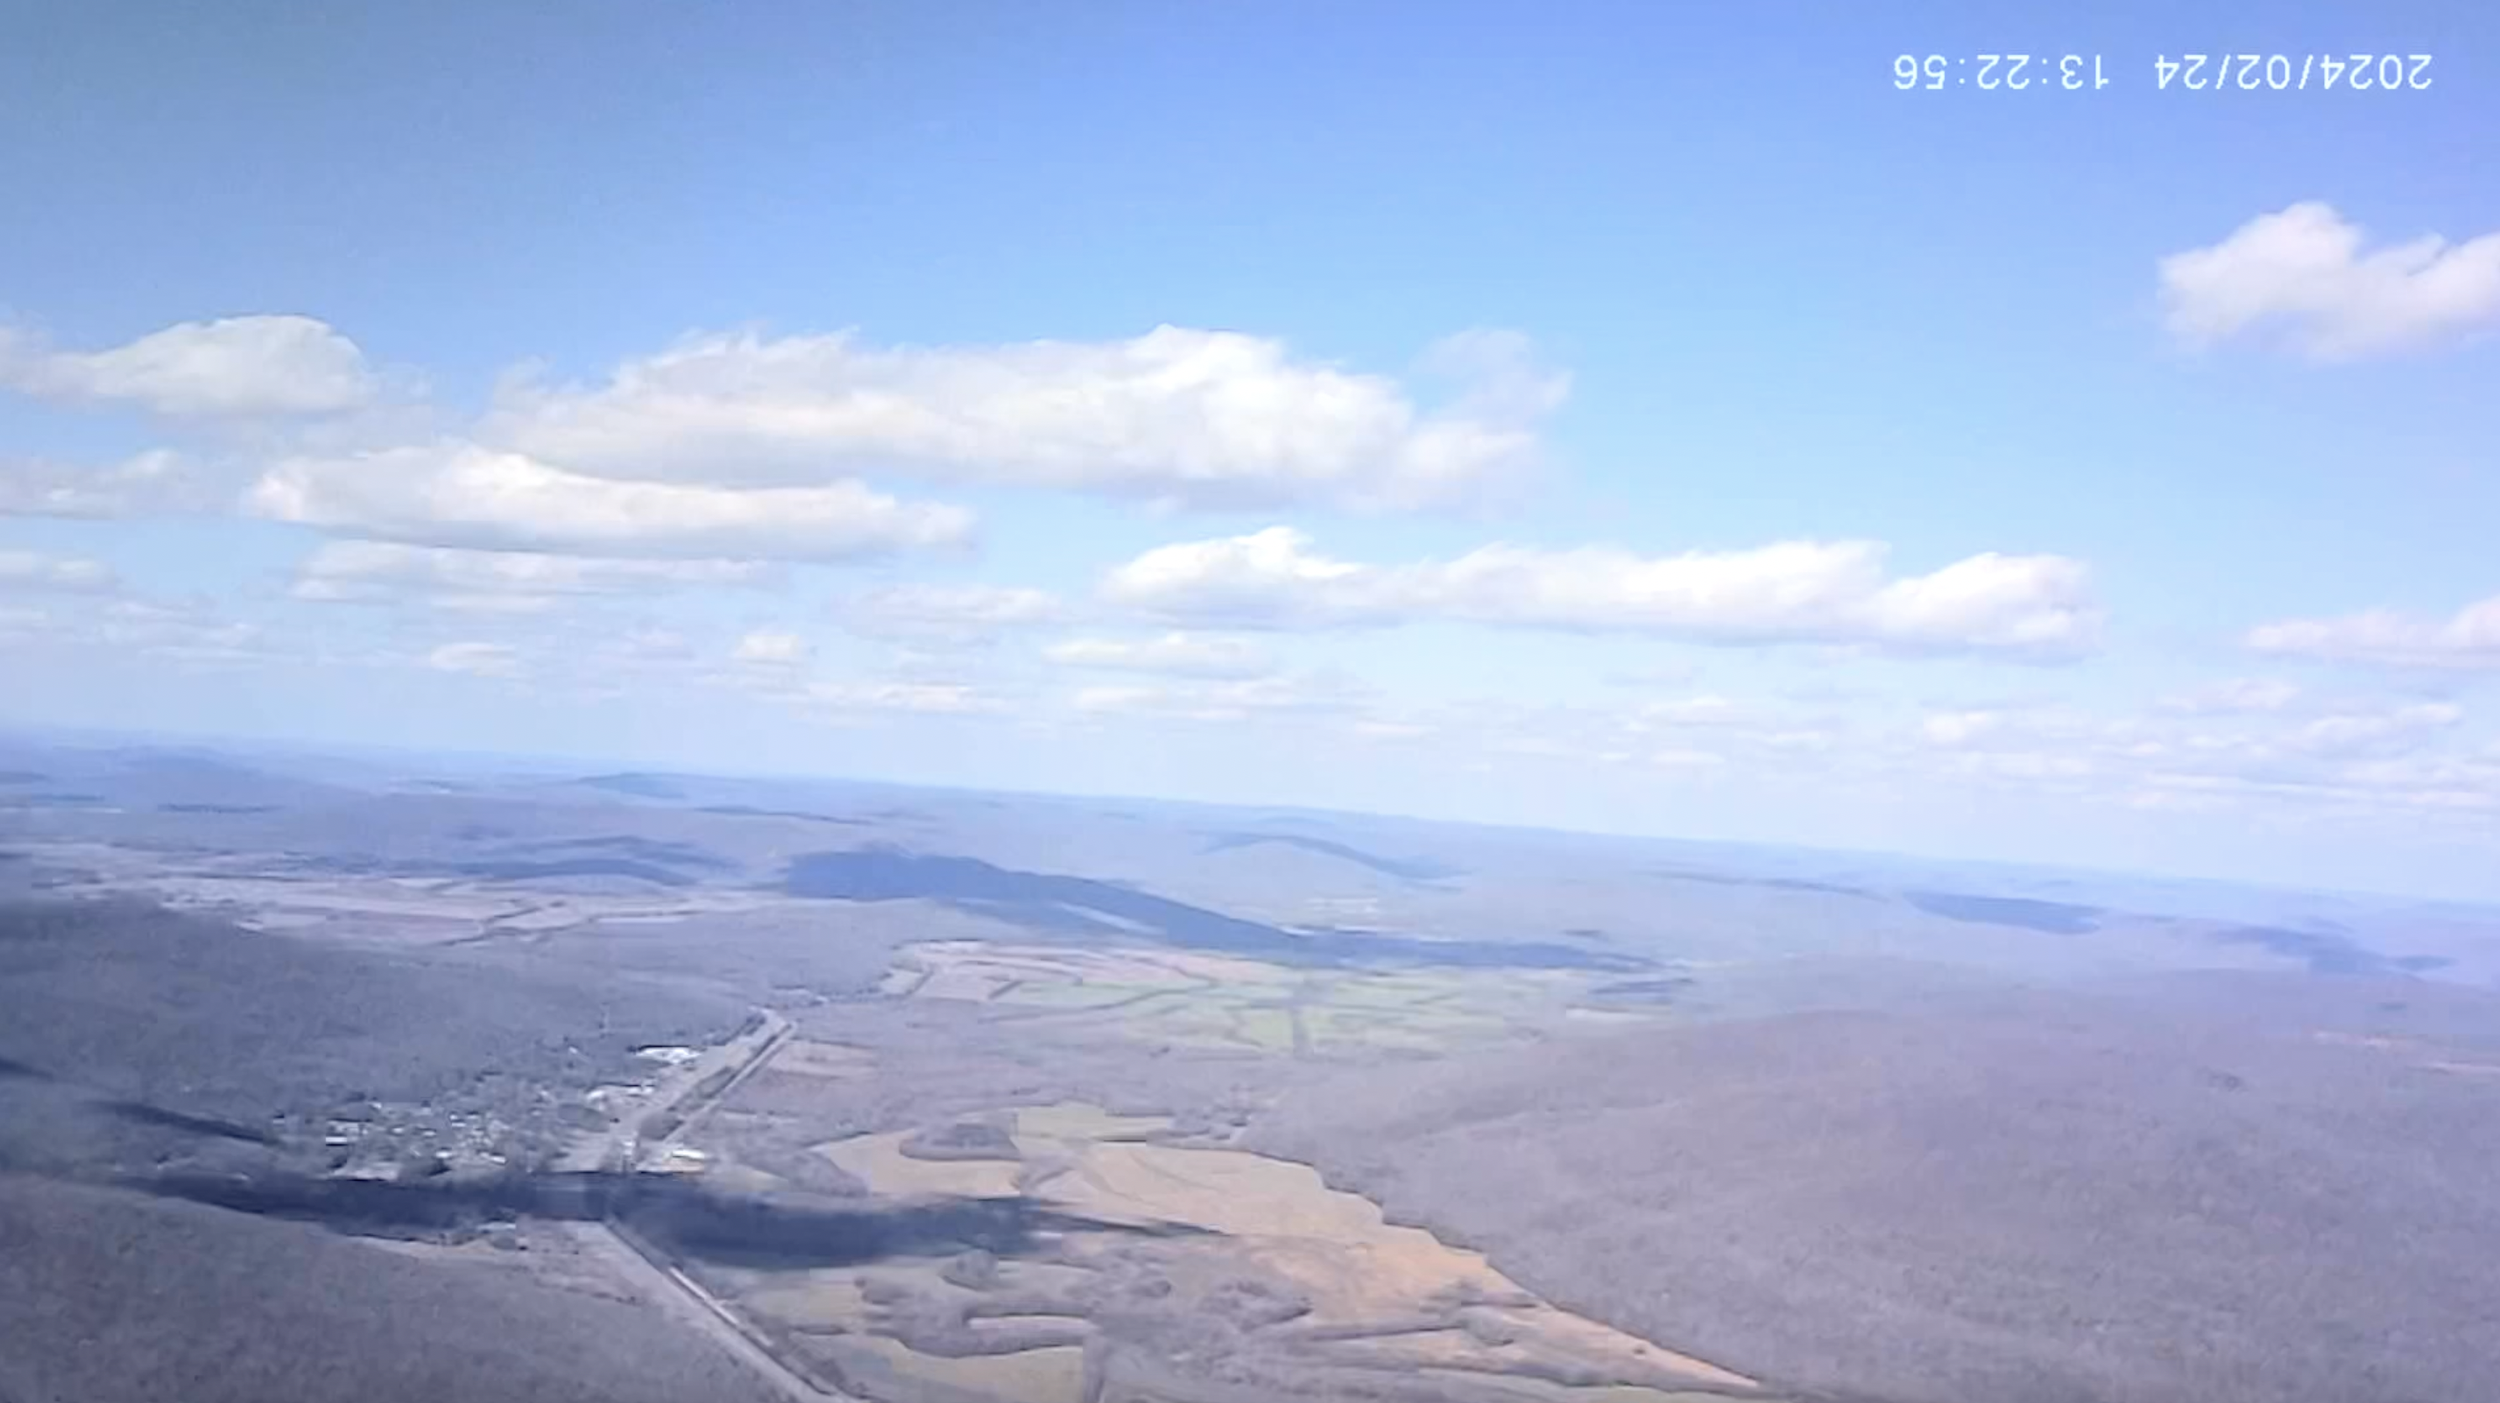
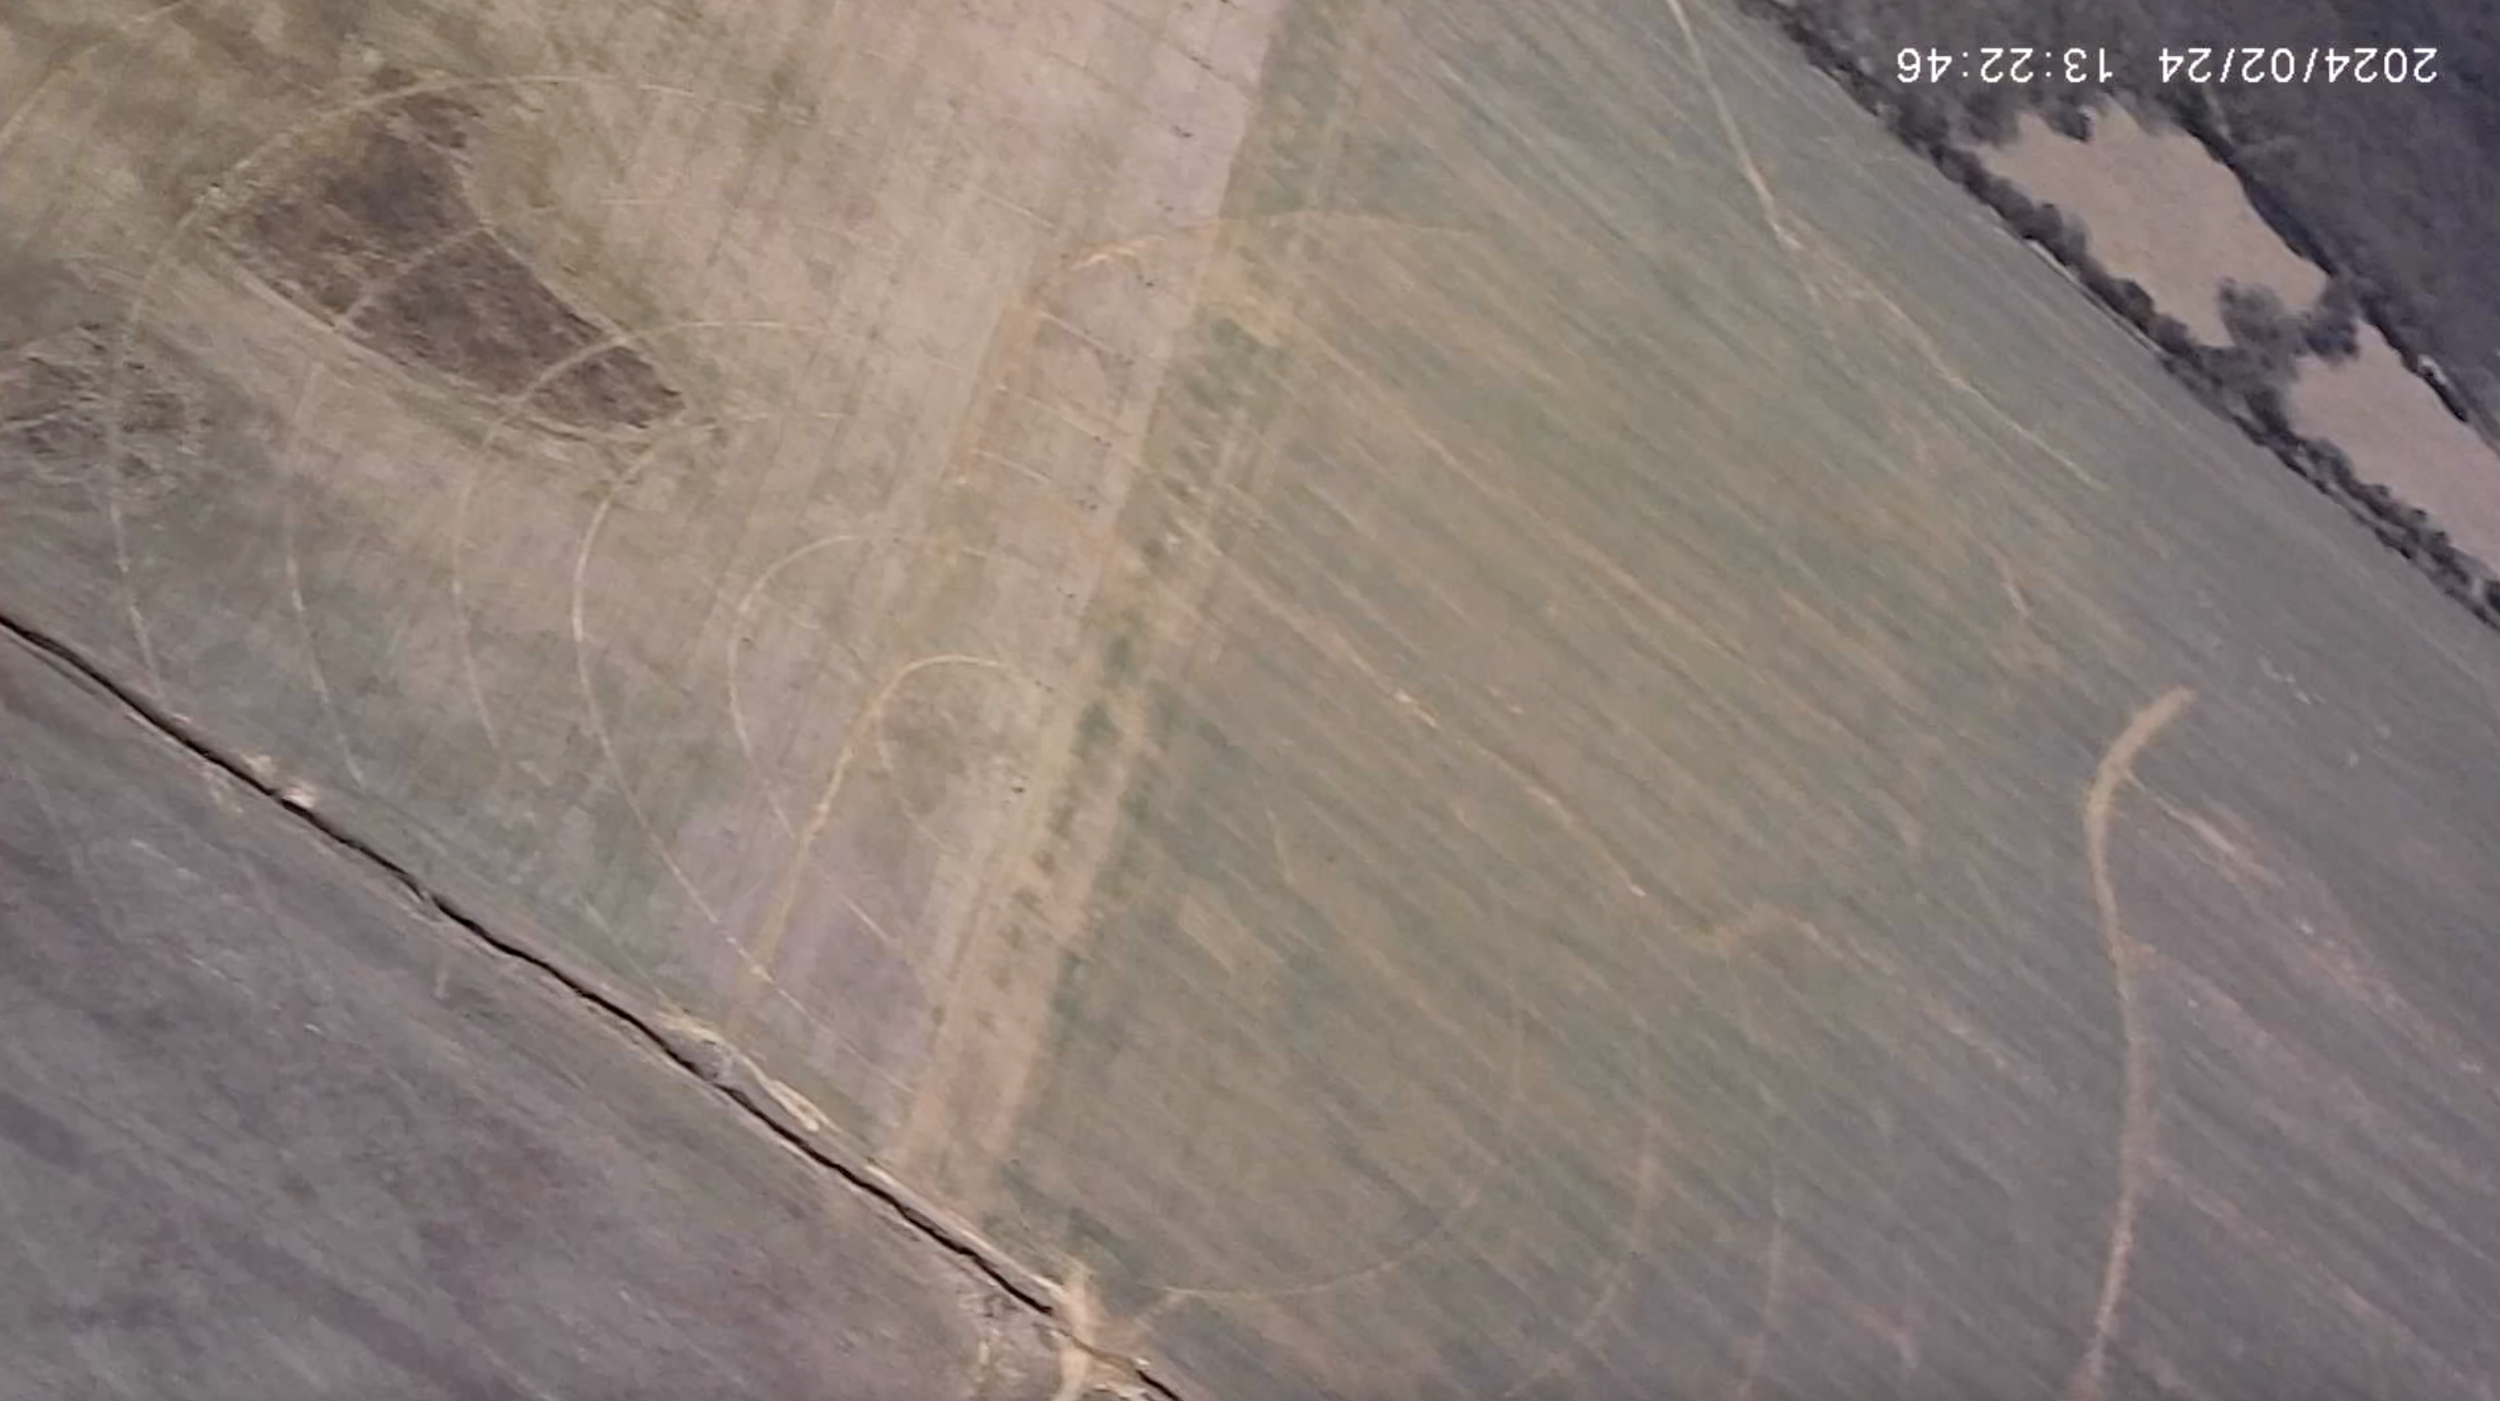
View from Harrier 2A on its second flight
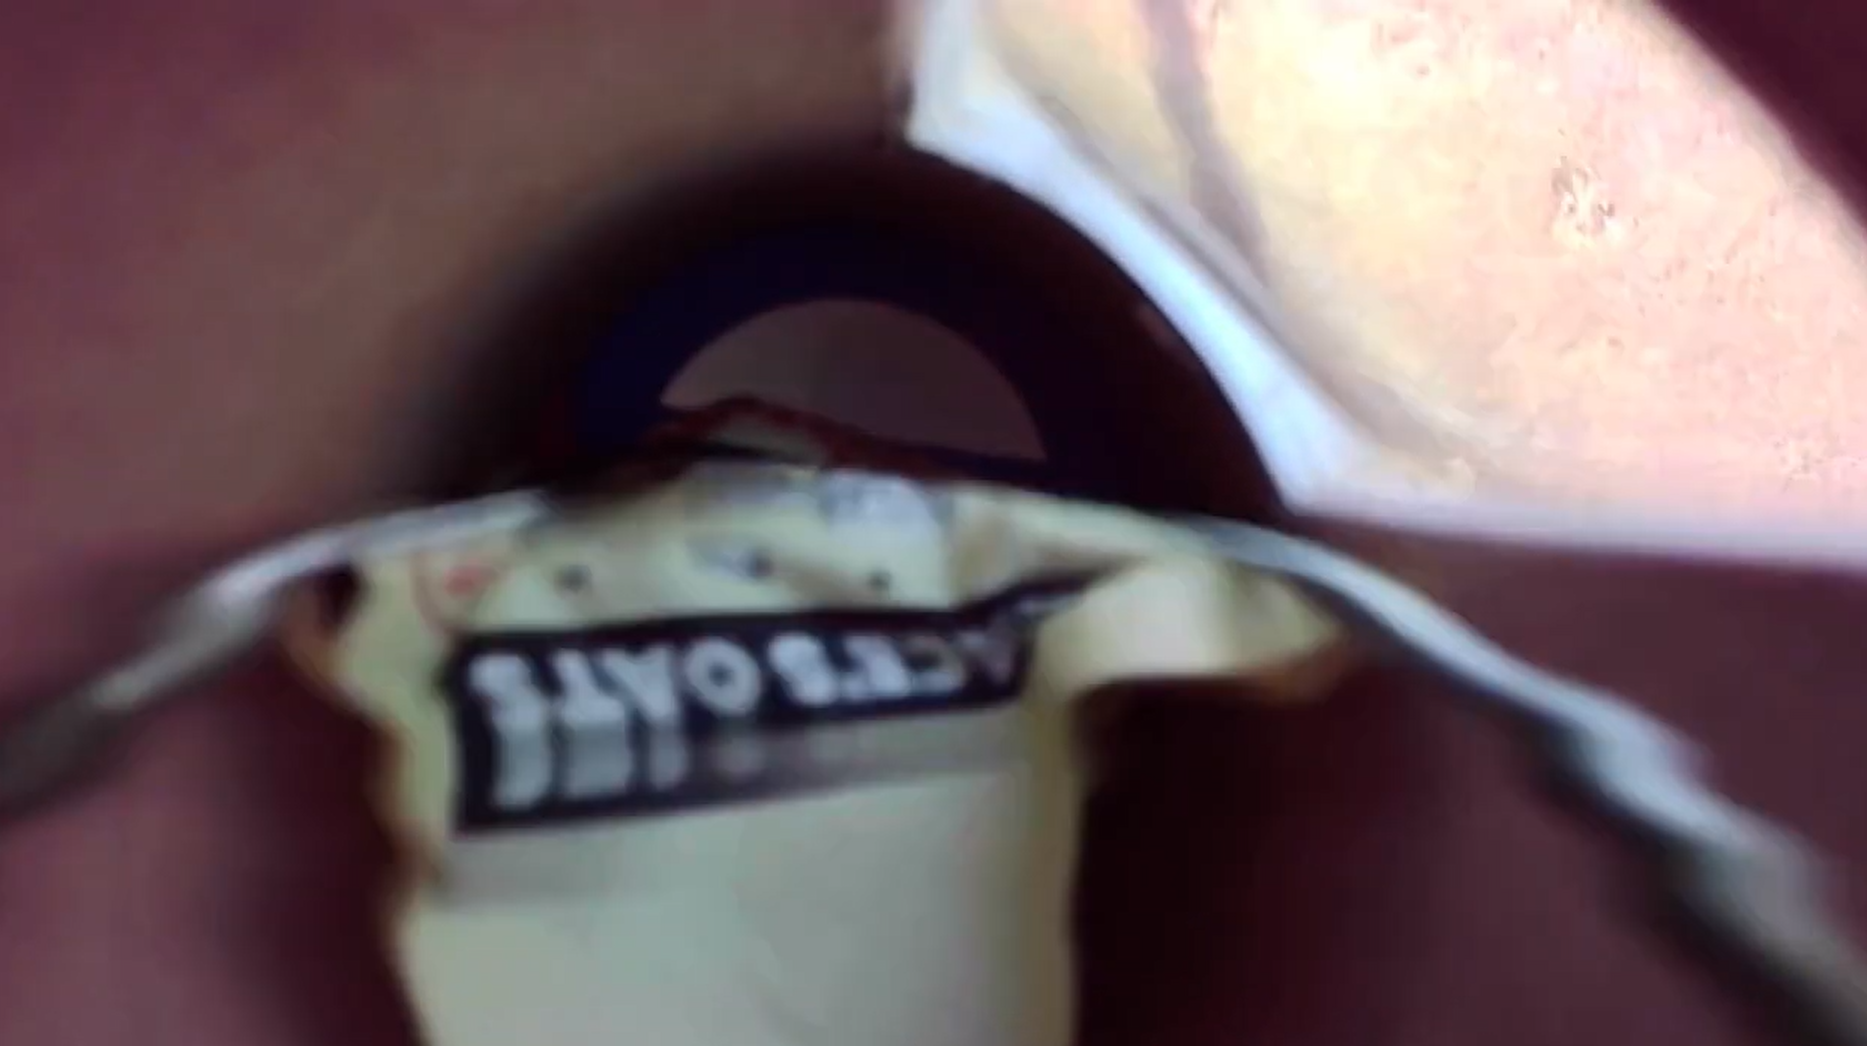
OatSat-1 interior in flight
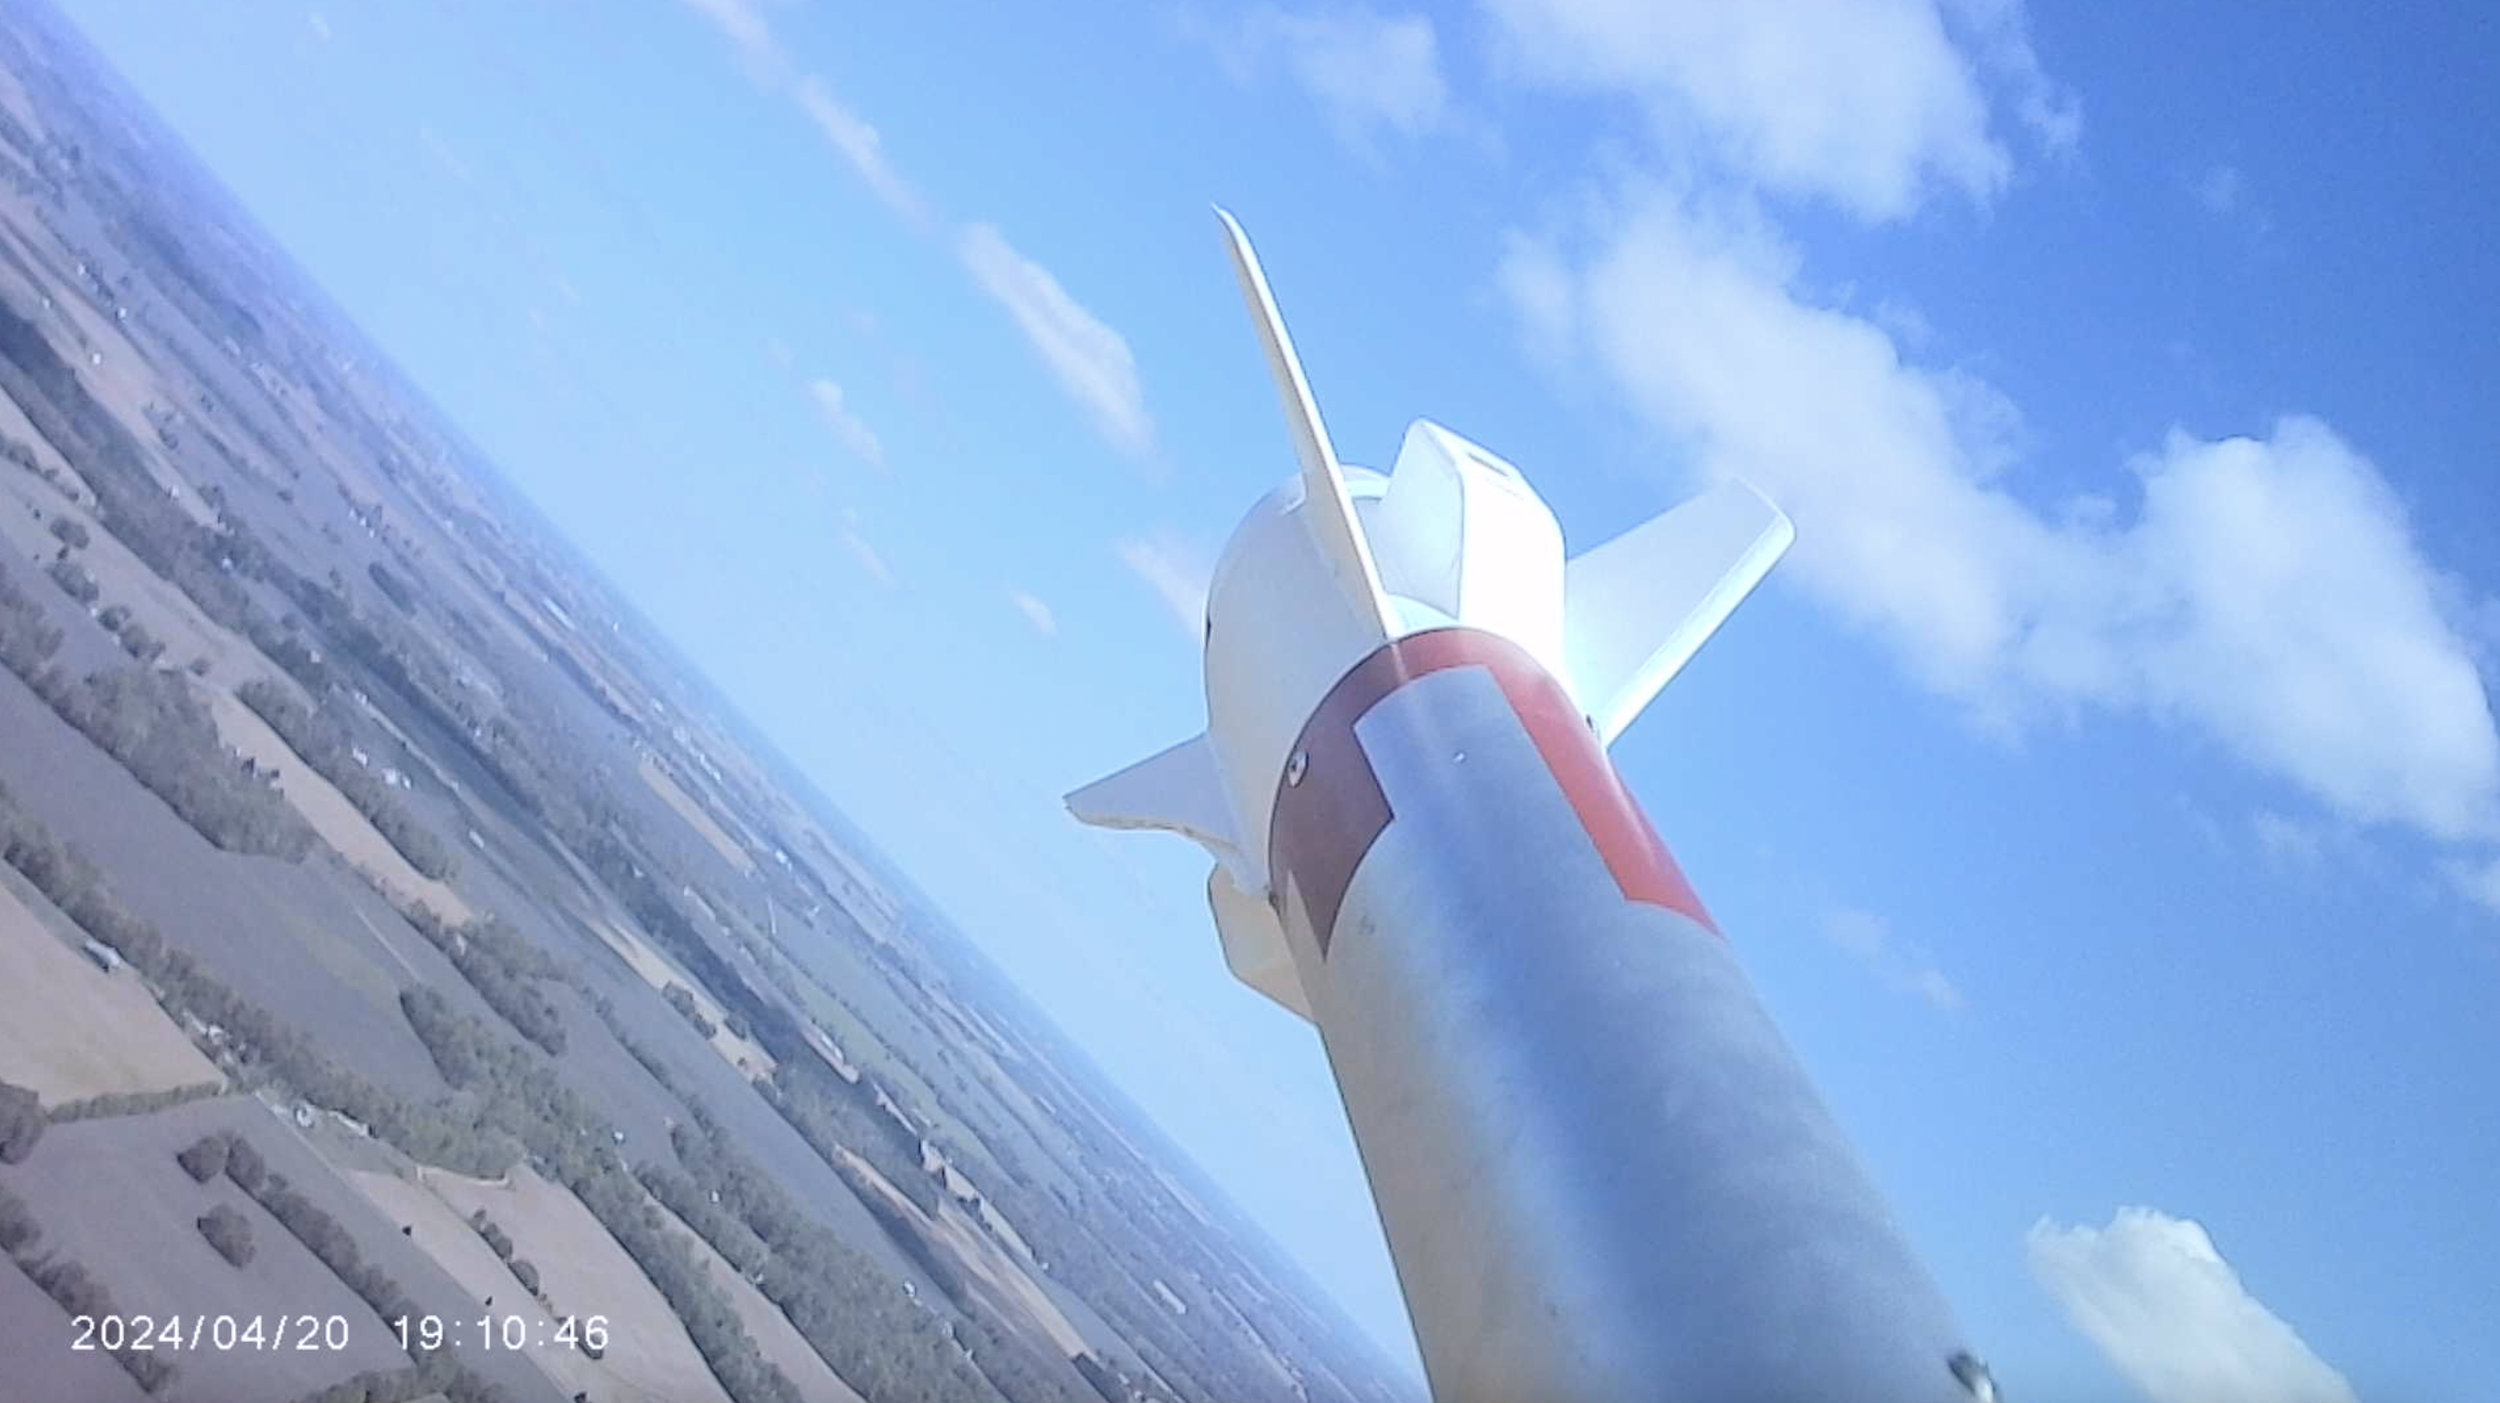
View from Harrier 2A on its second flight
View from Harrier 2A on its second flight
View from Harrier 2A on its second flight
View from Harrier 1 on its third flight
View from Harrier 1 on its third flight
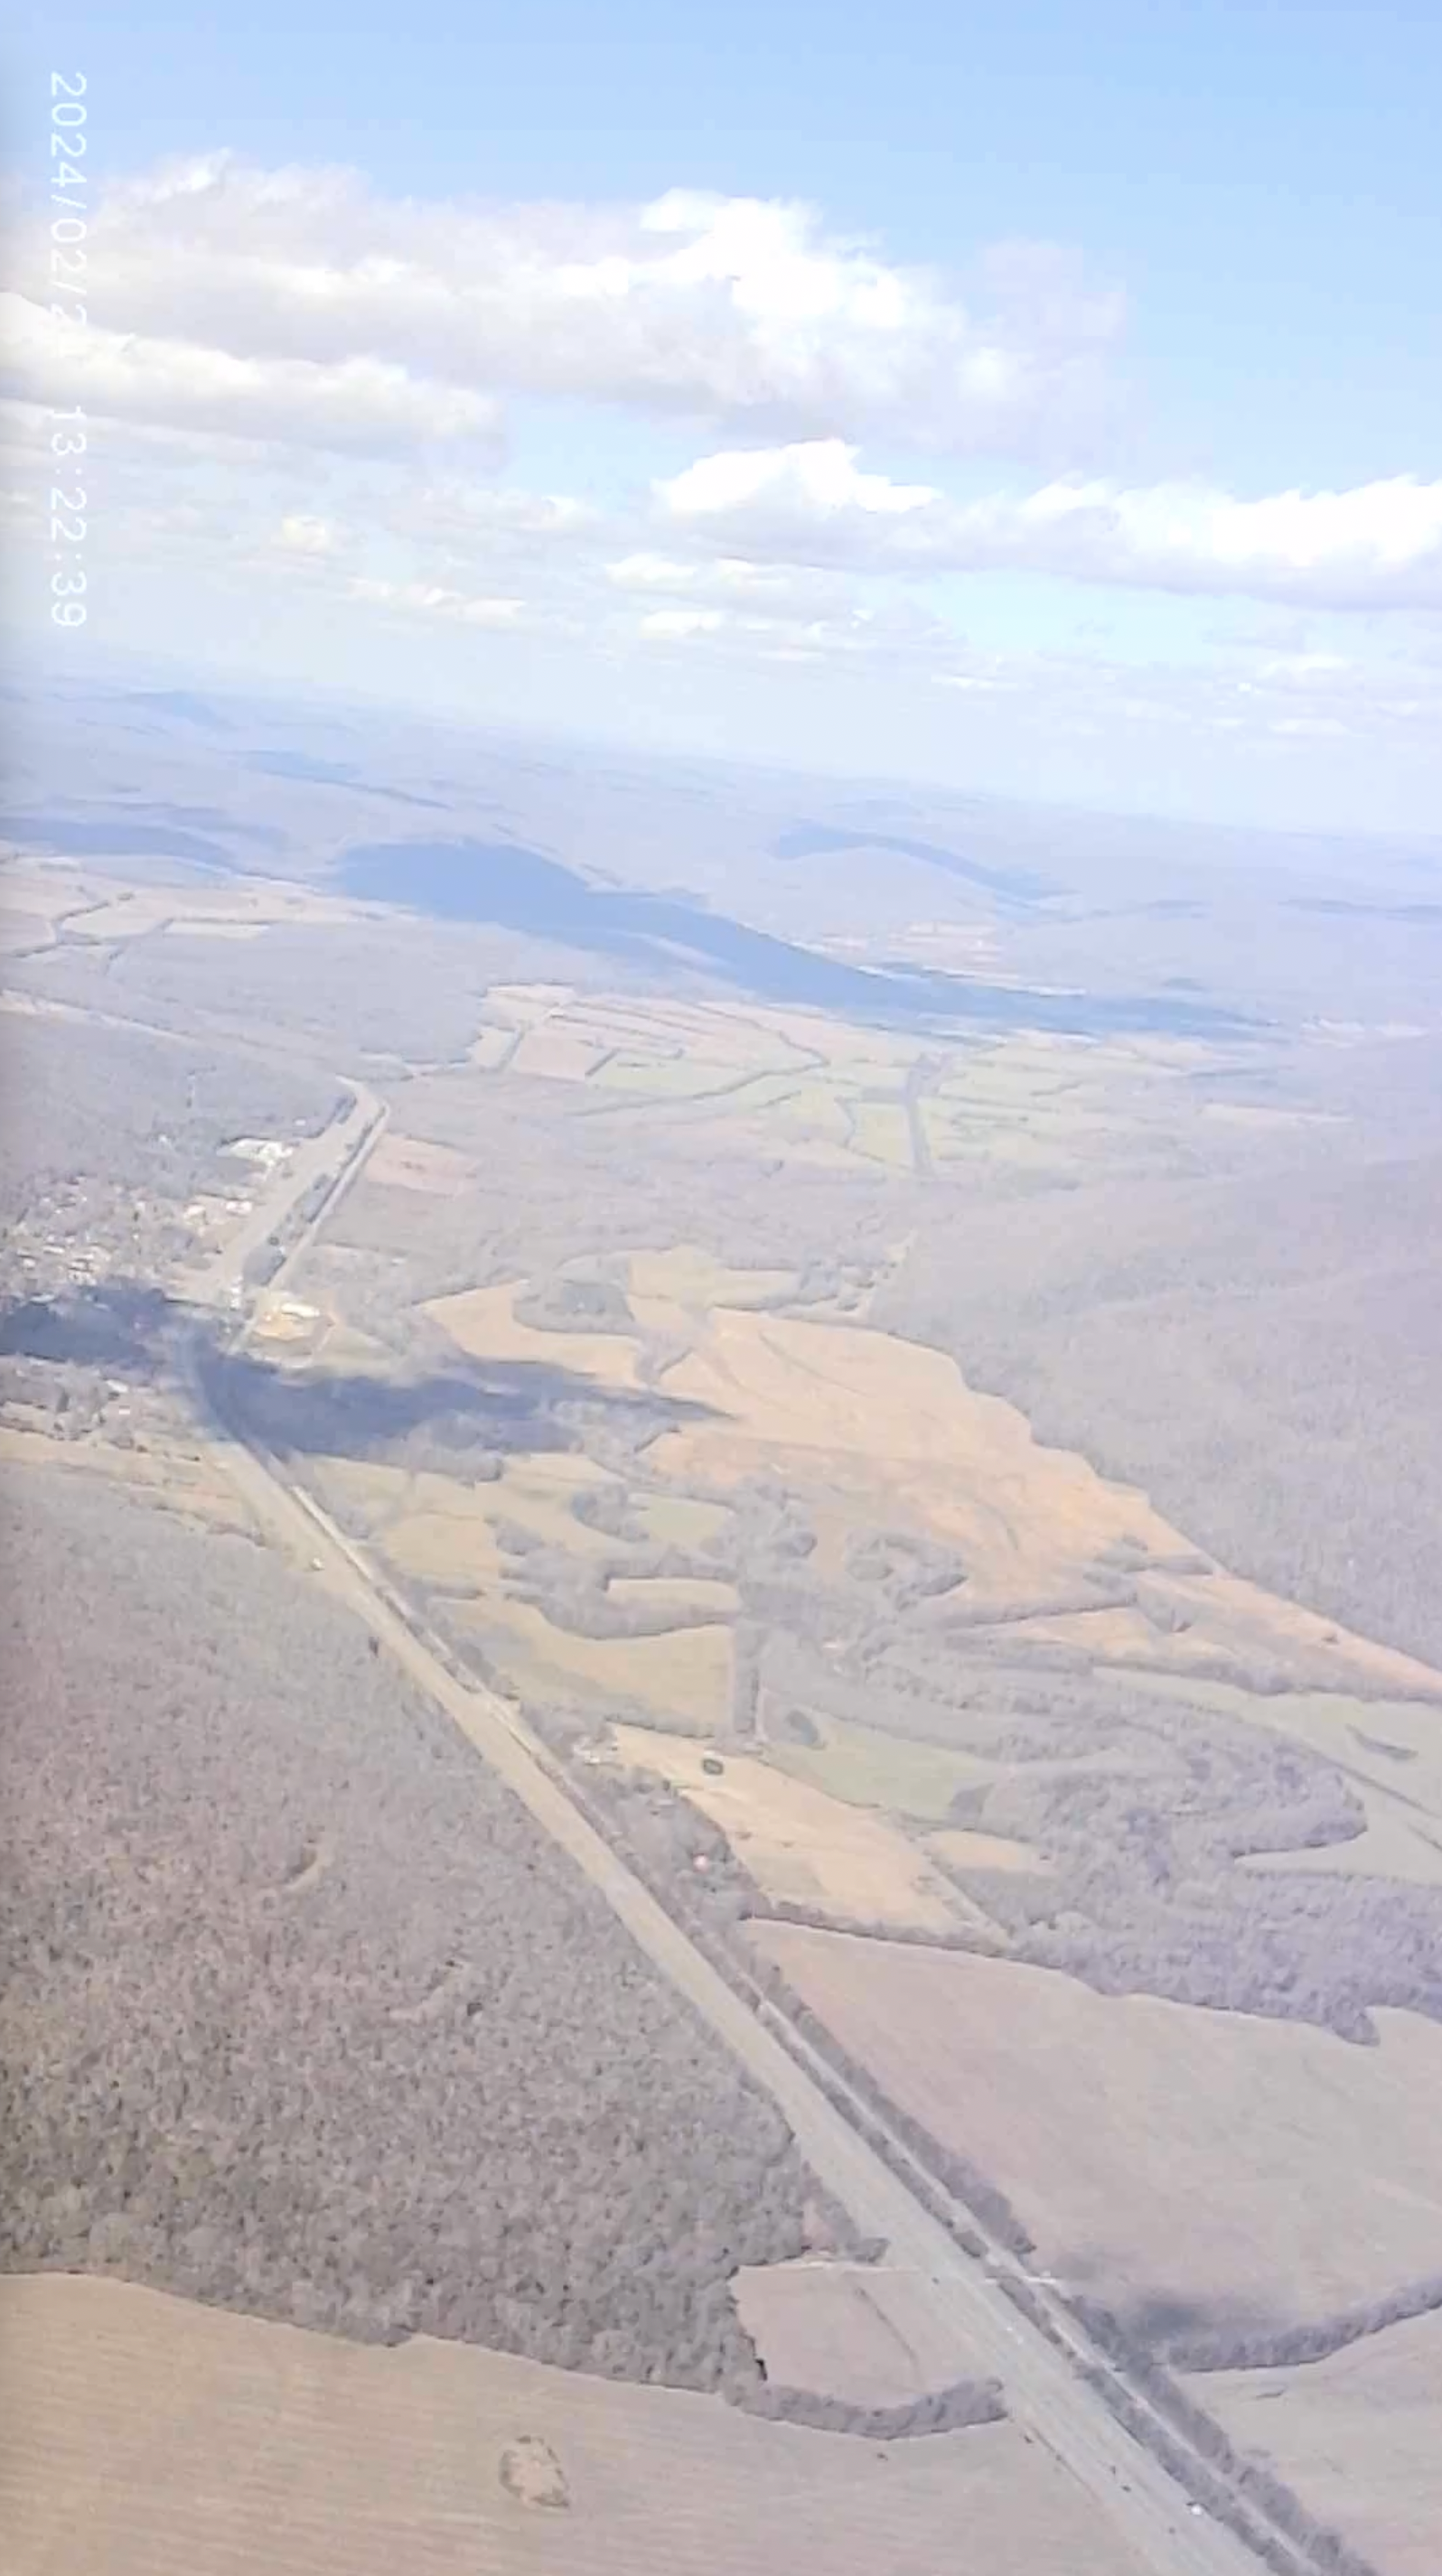
View from Harrier 1 on its third flight
View from Harrier 1 on its third flight
View from Harrier 1 on its third flight
View from Harrier 1 on its third flight

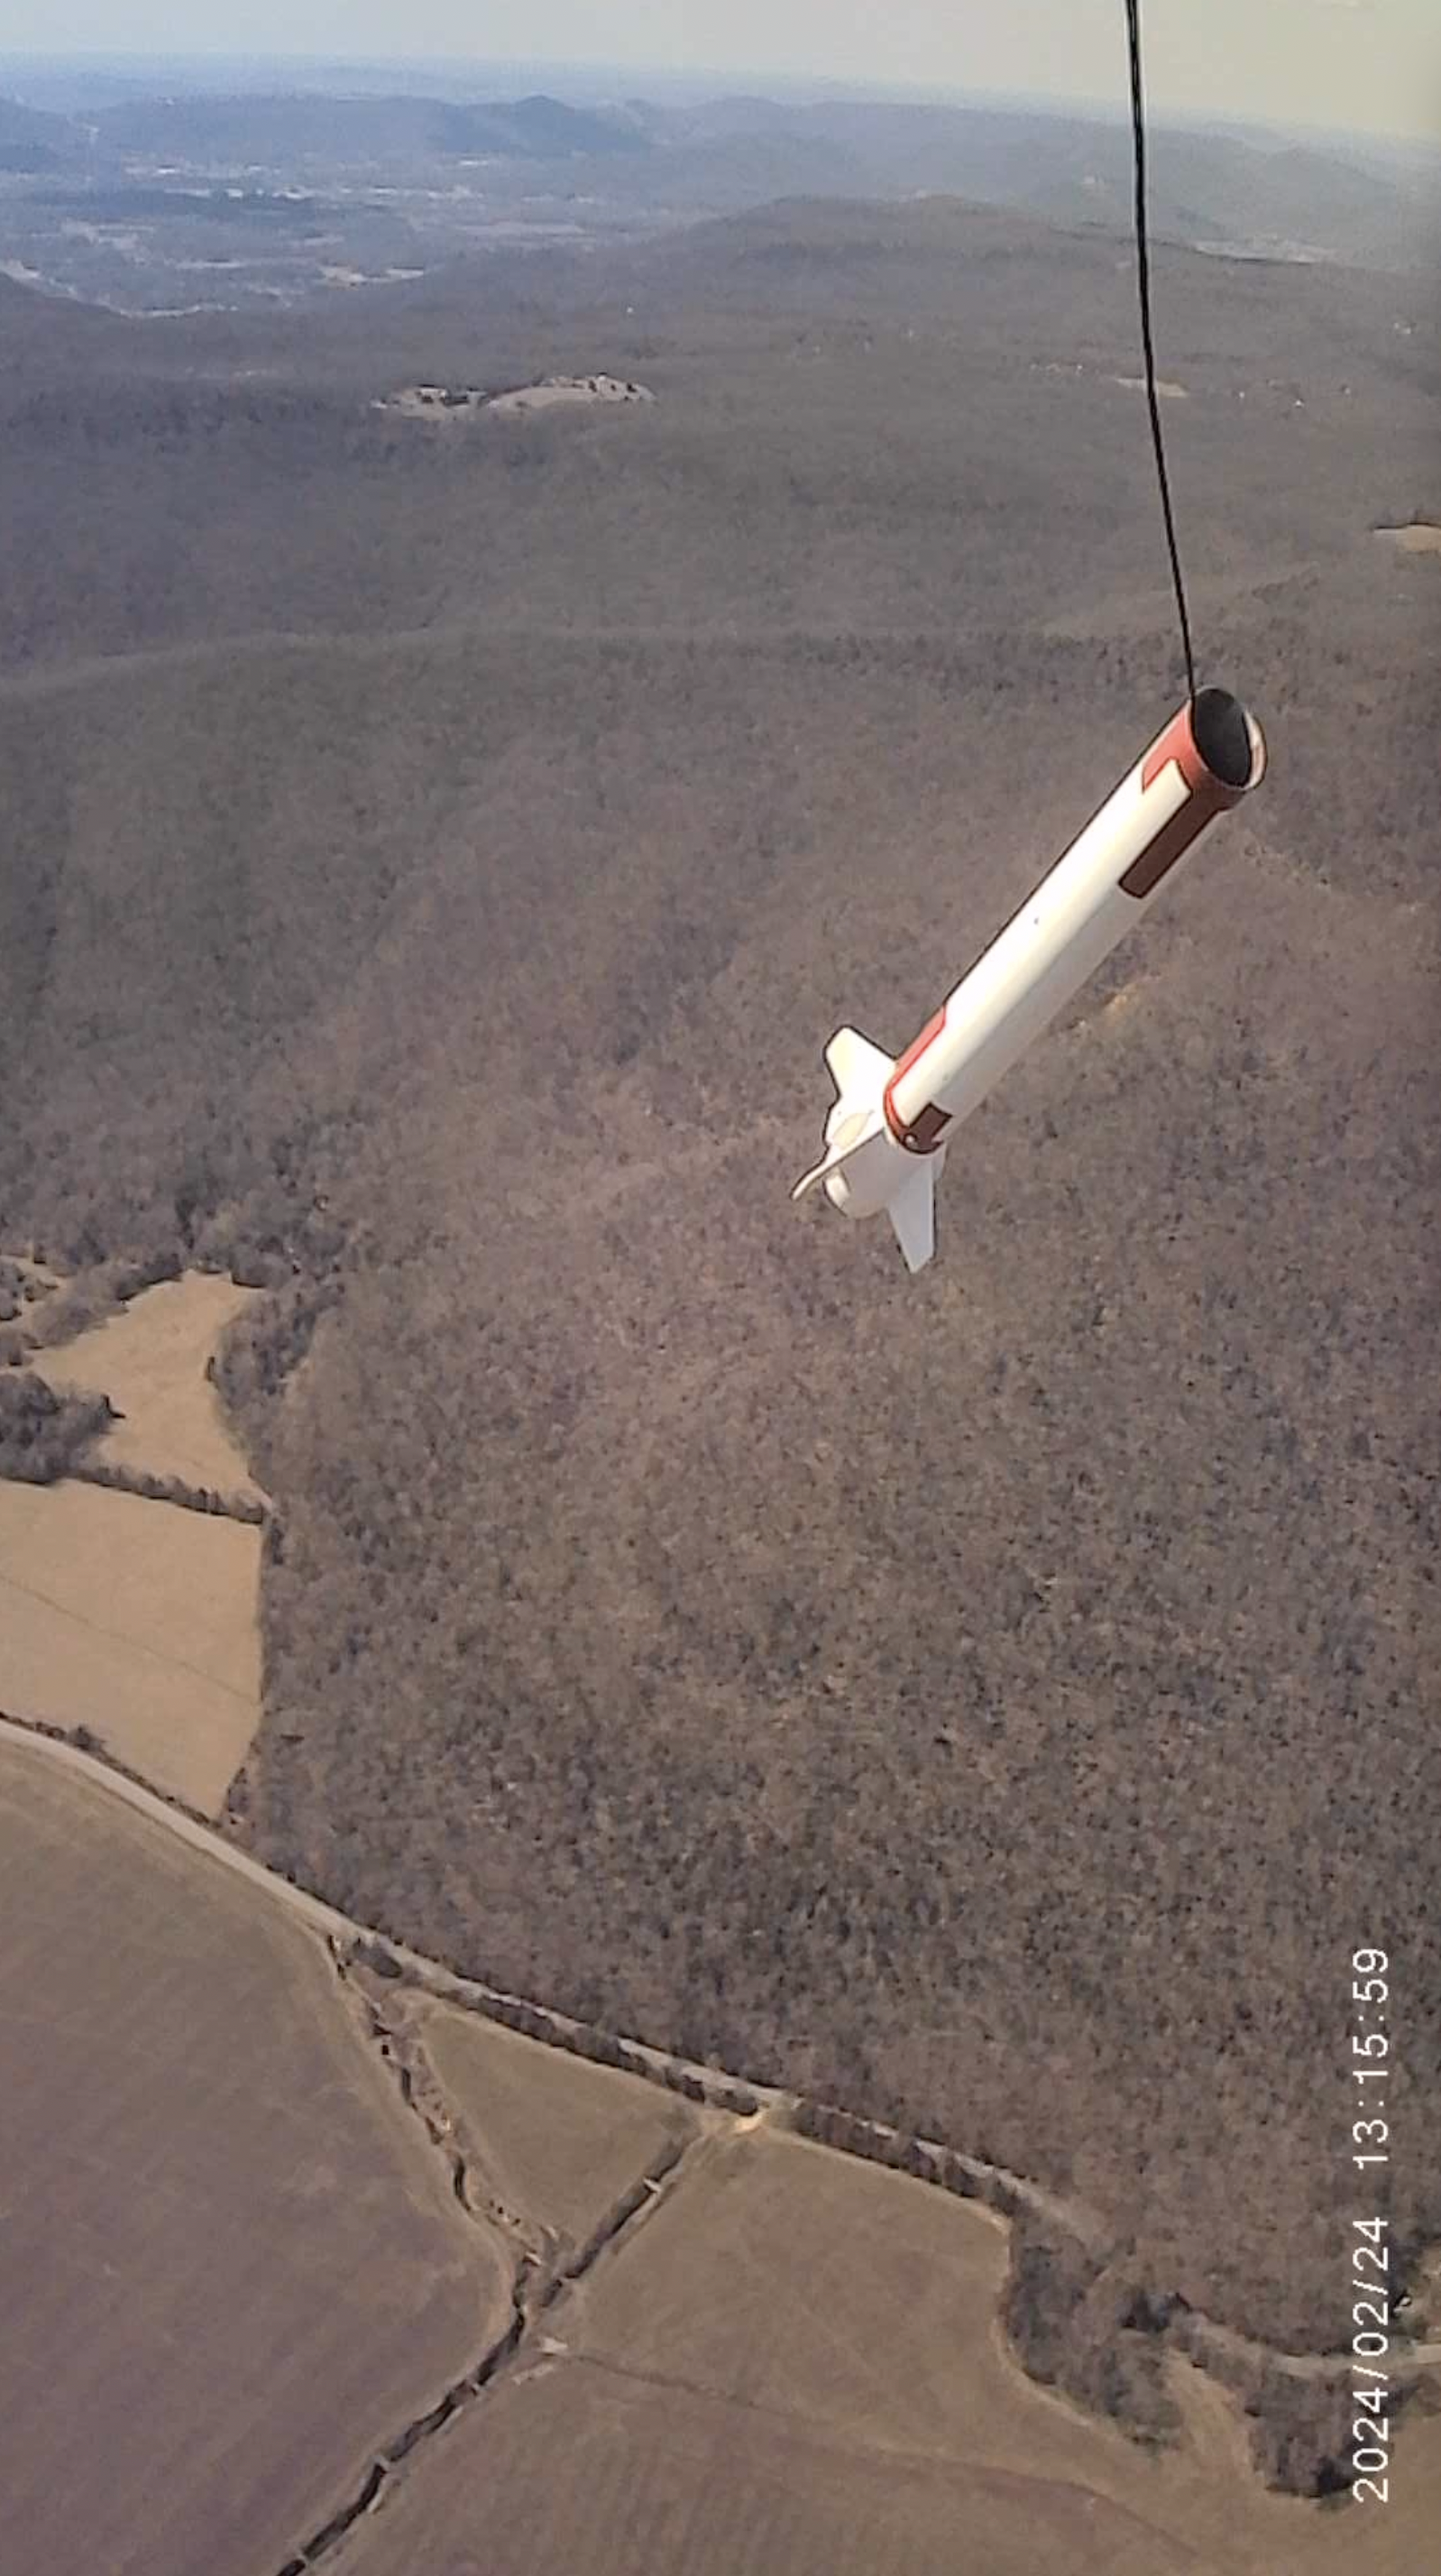
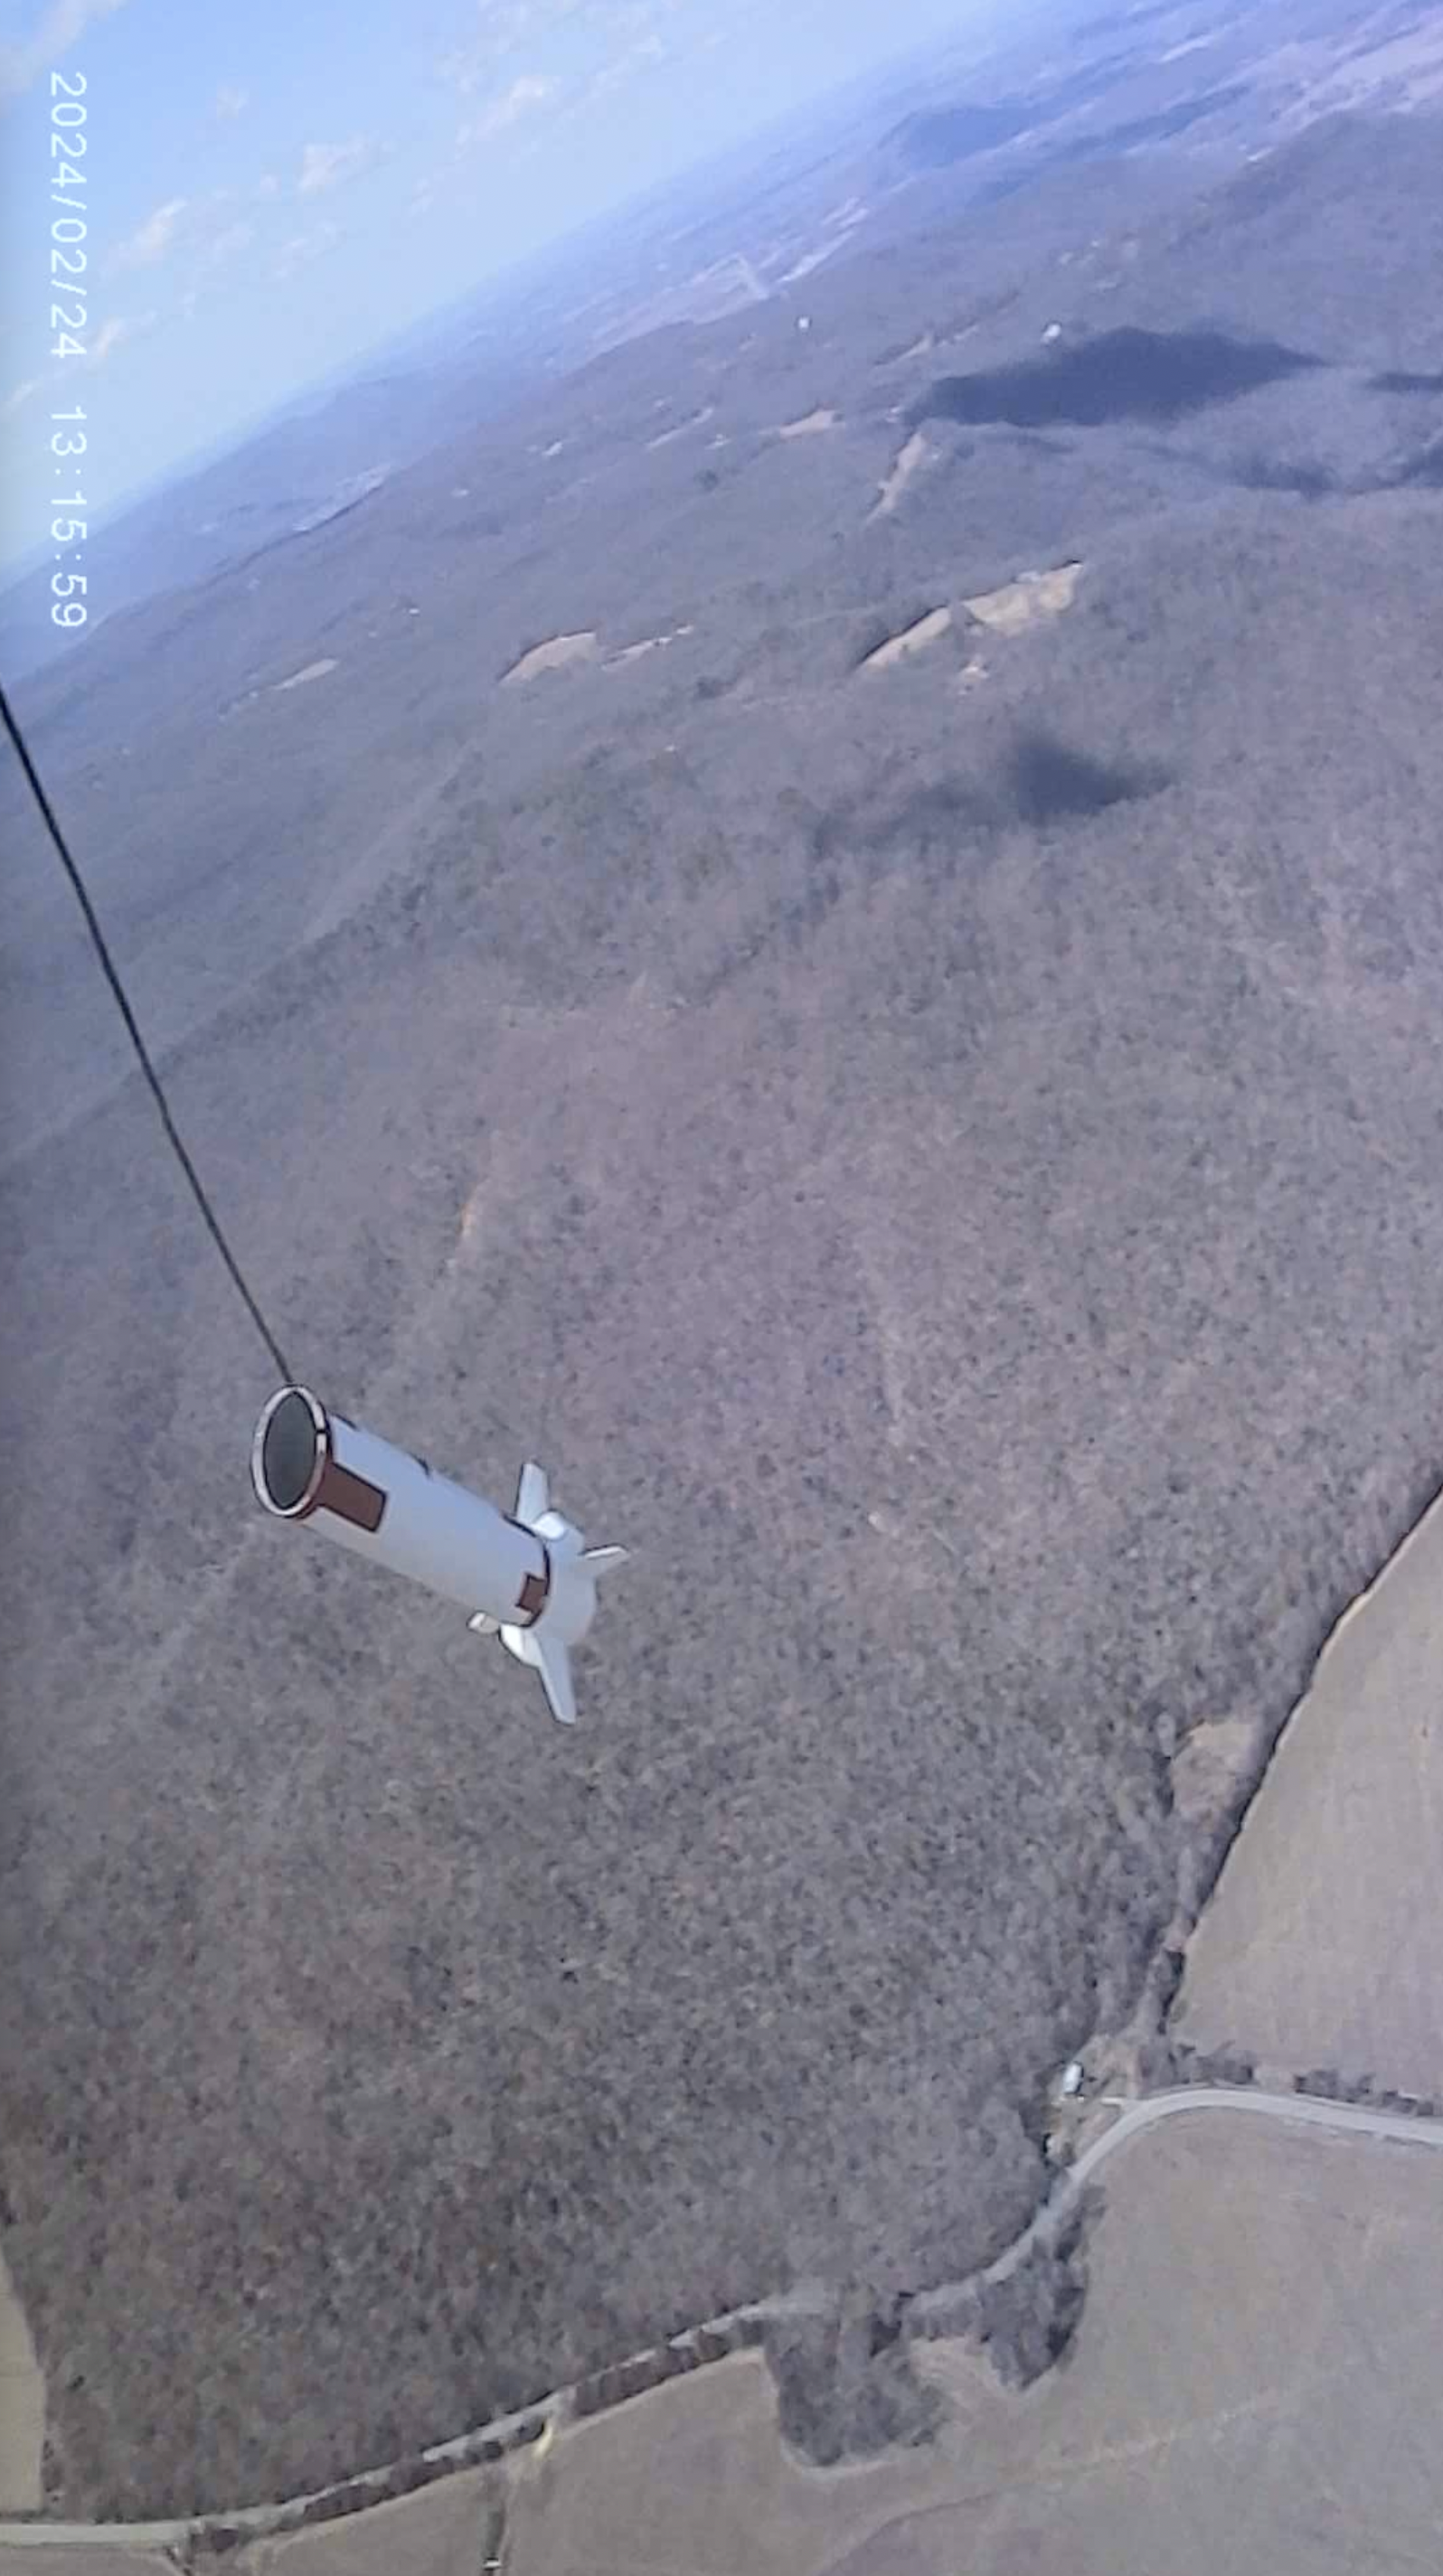
View from Harrier 1 on its first flight
View from Harrier 1 on its first flight
View from Harrier 1 on its first flight
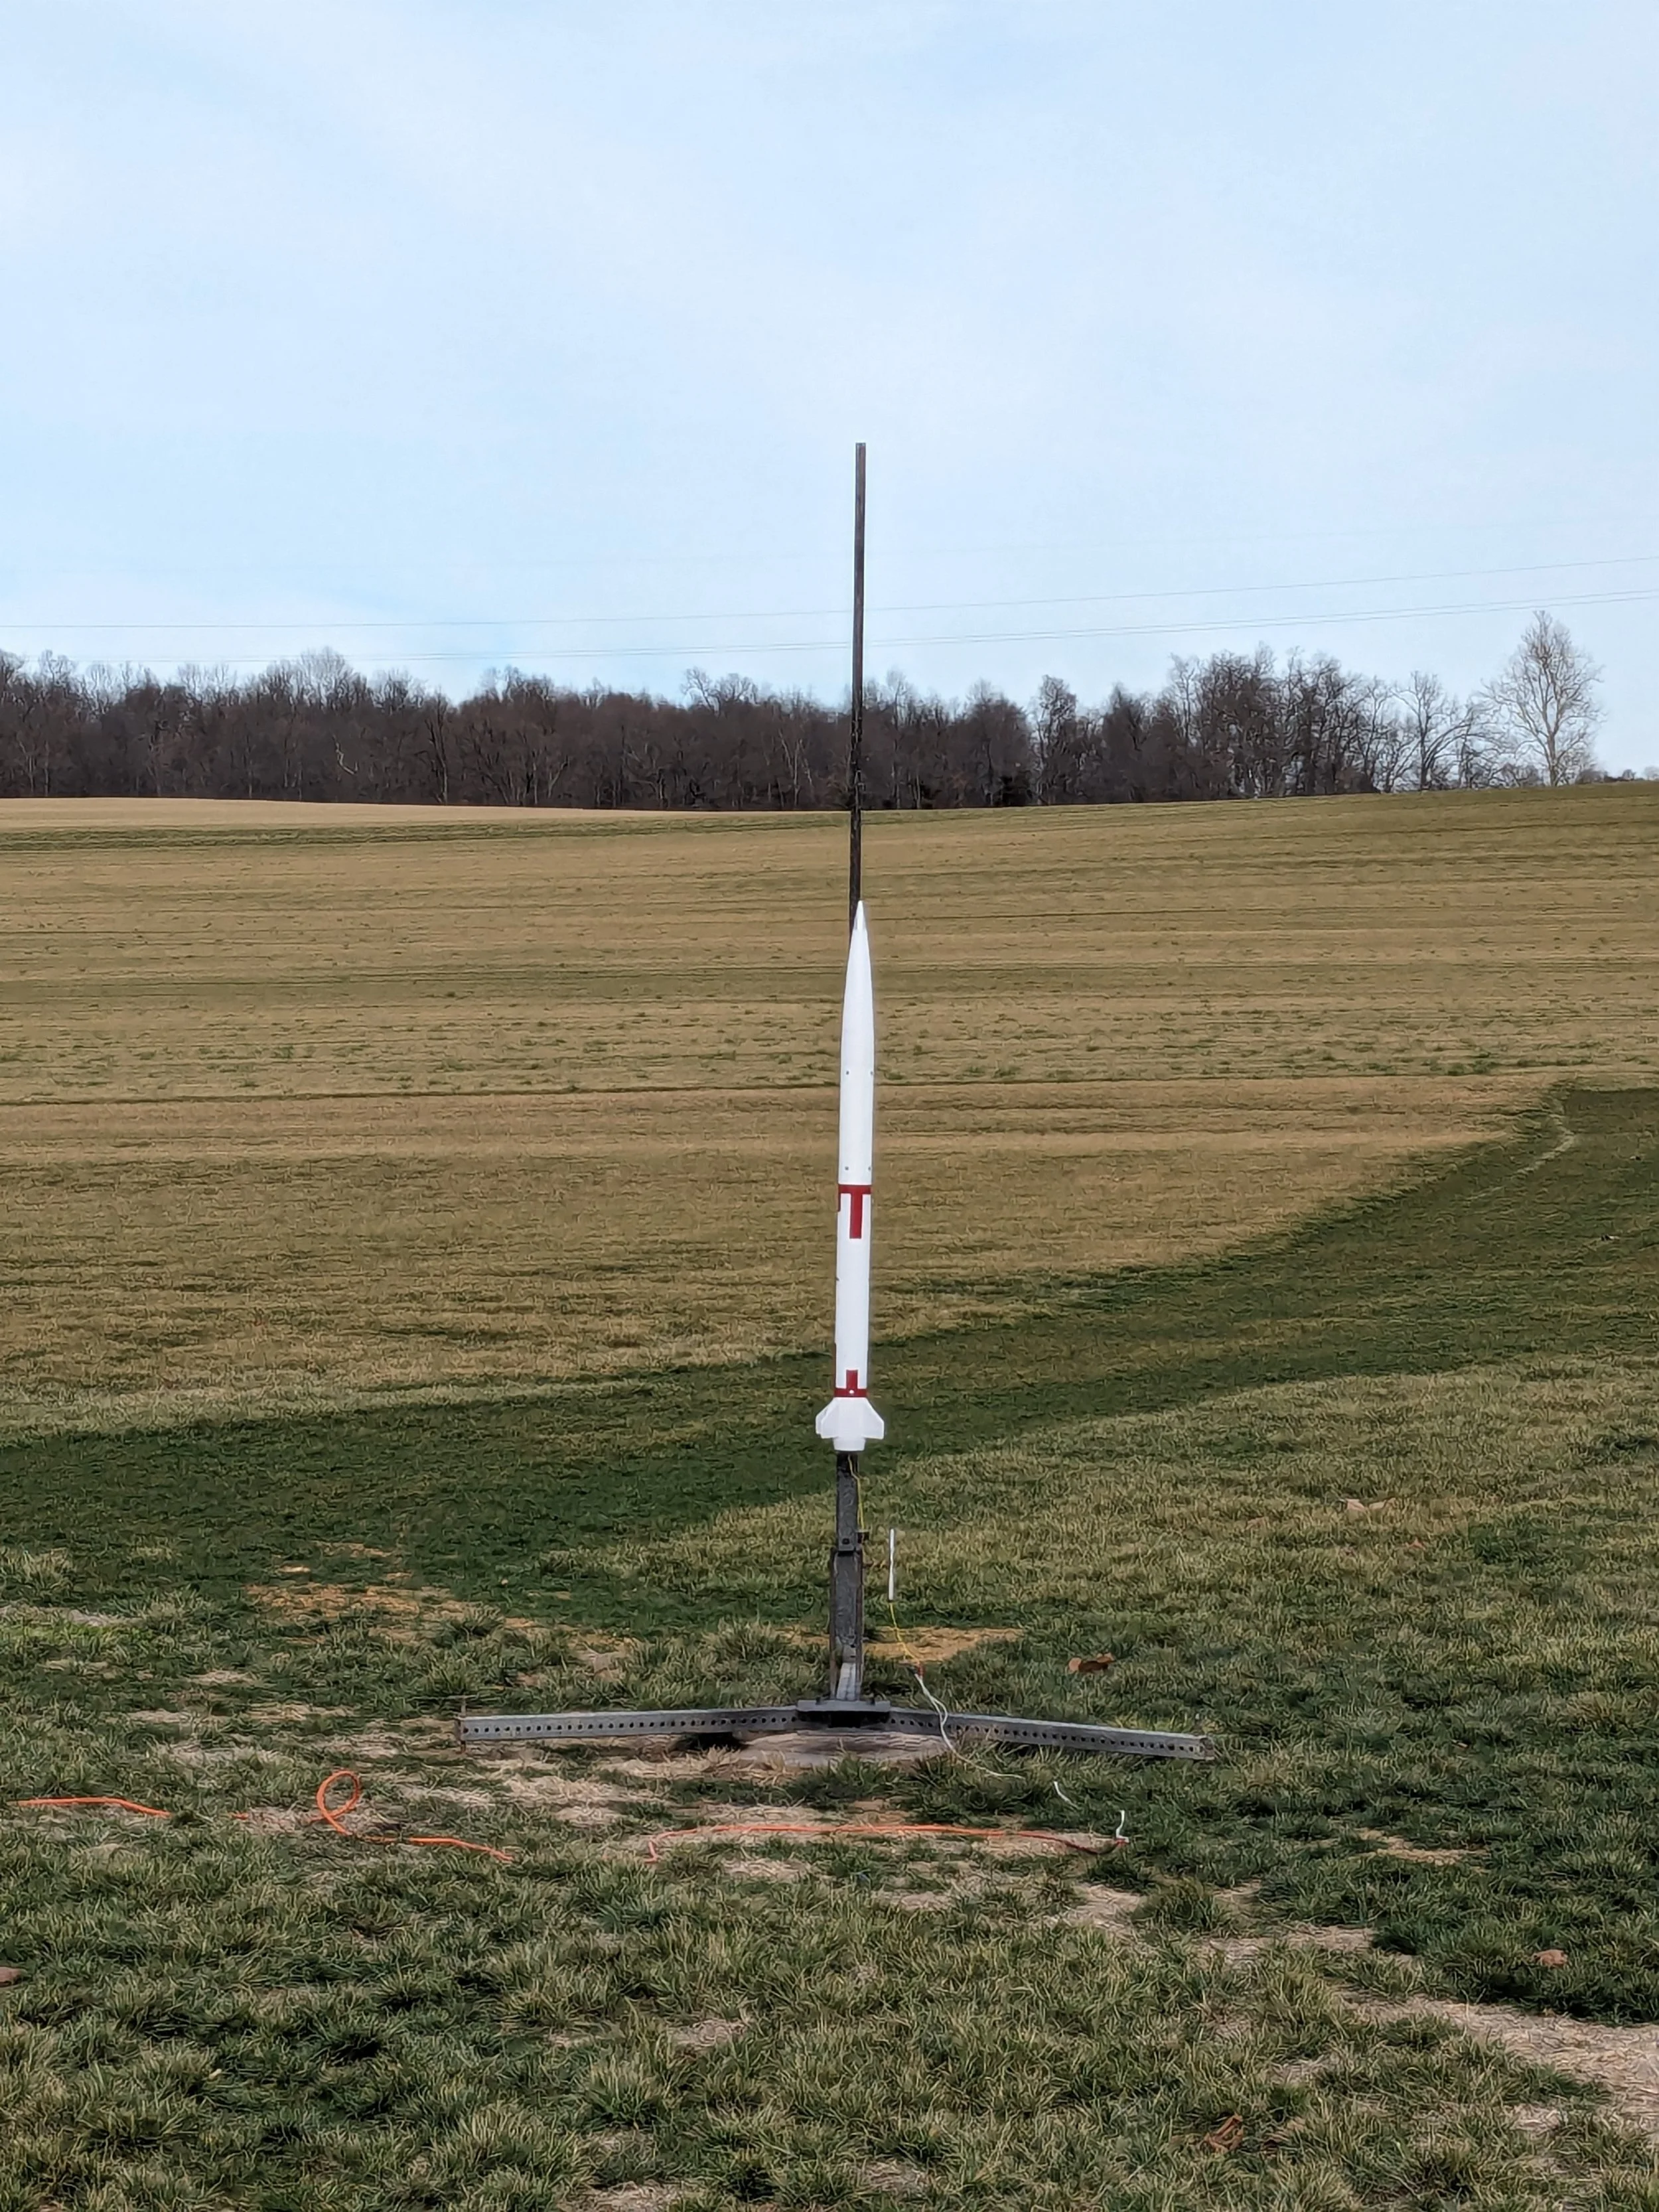
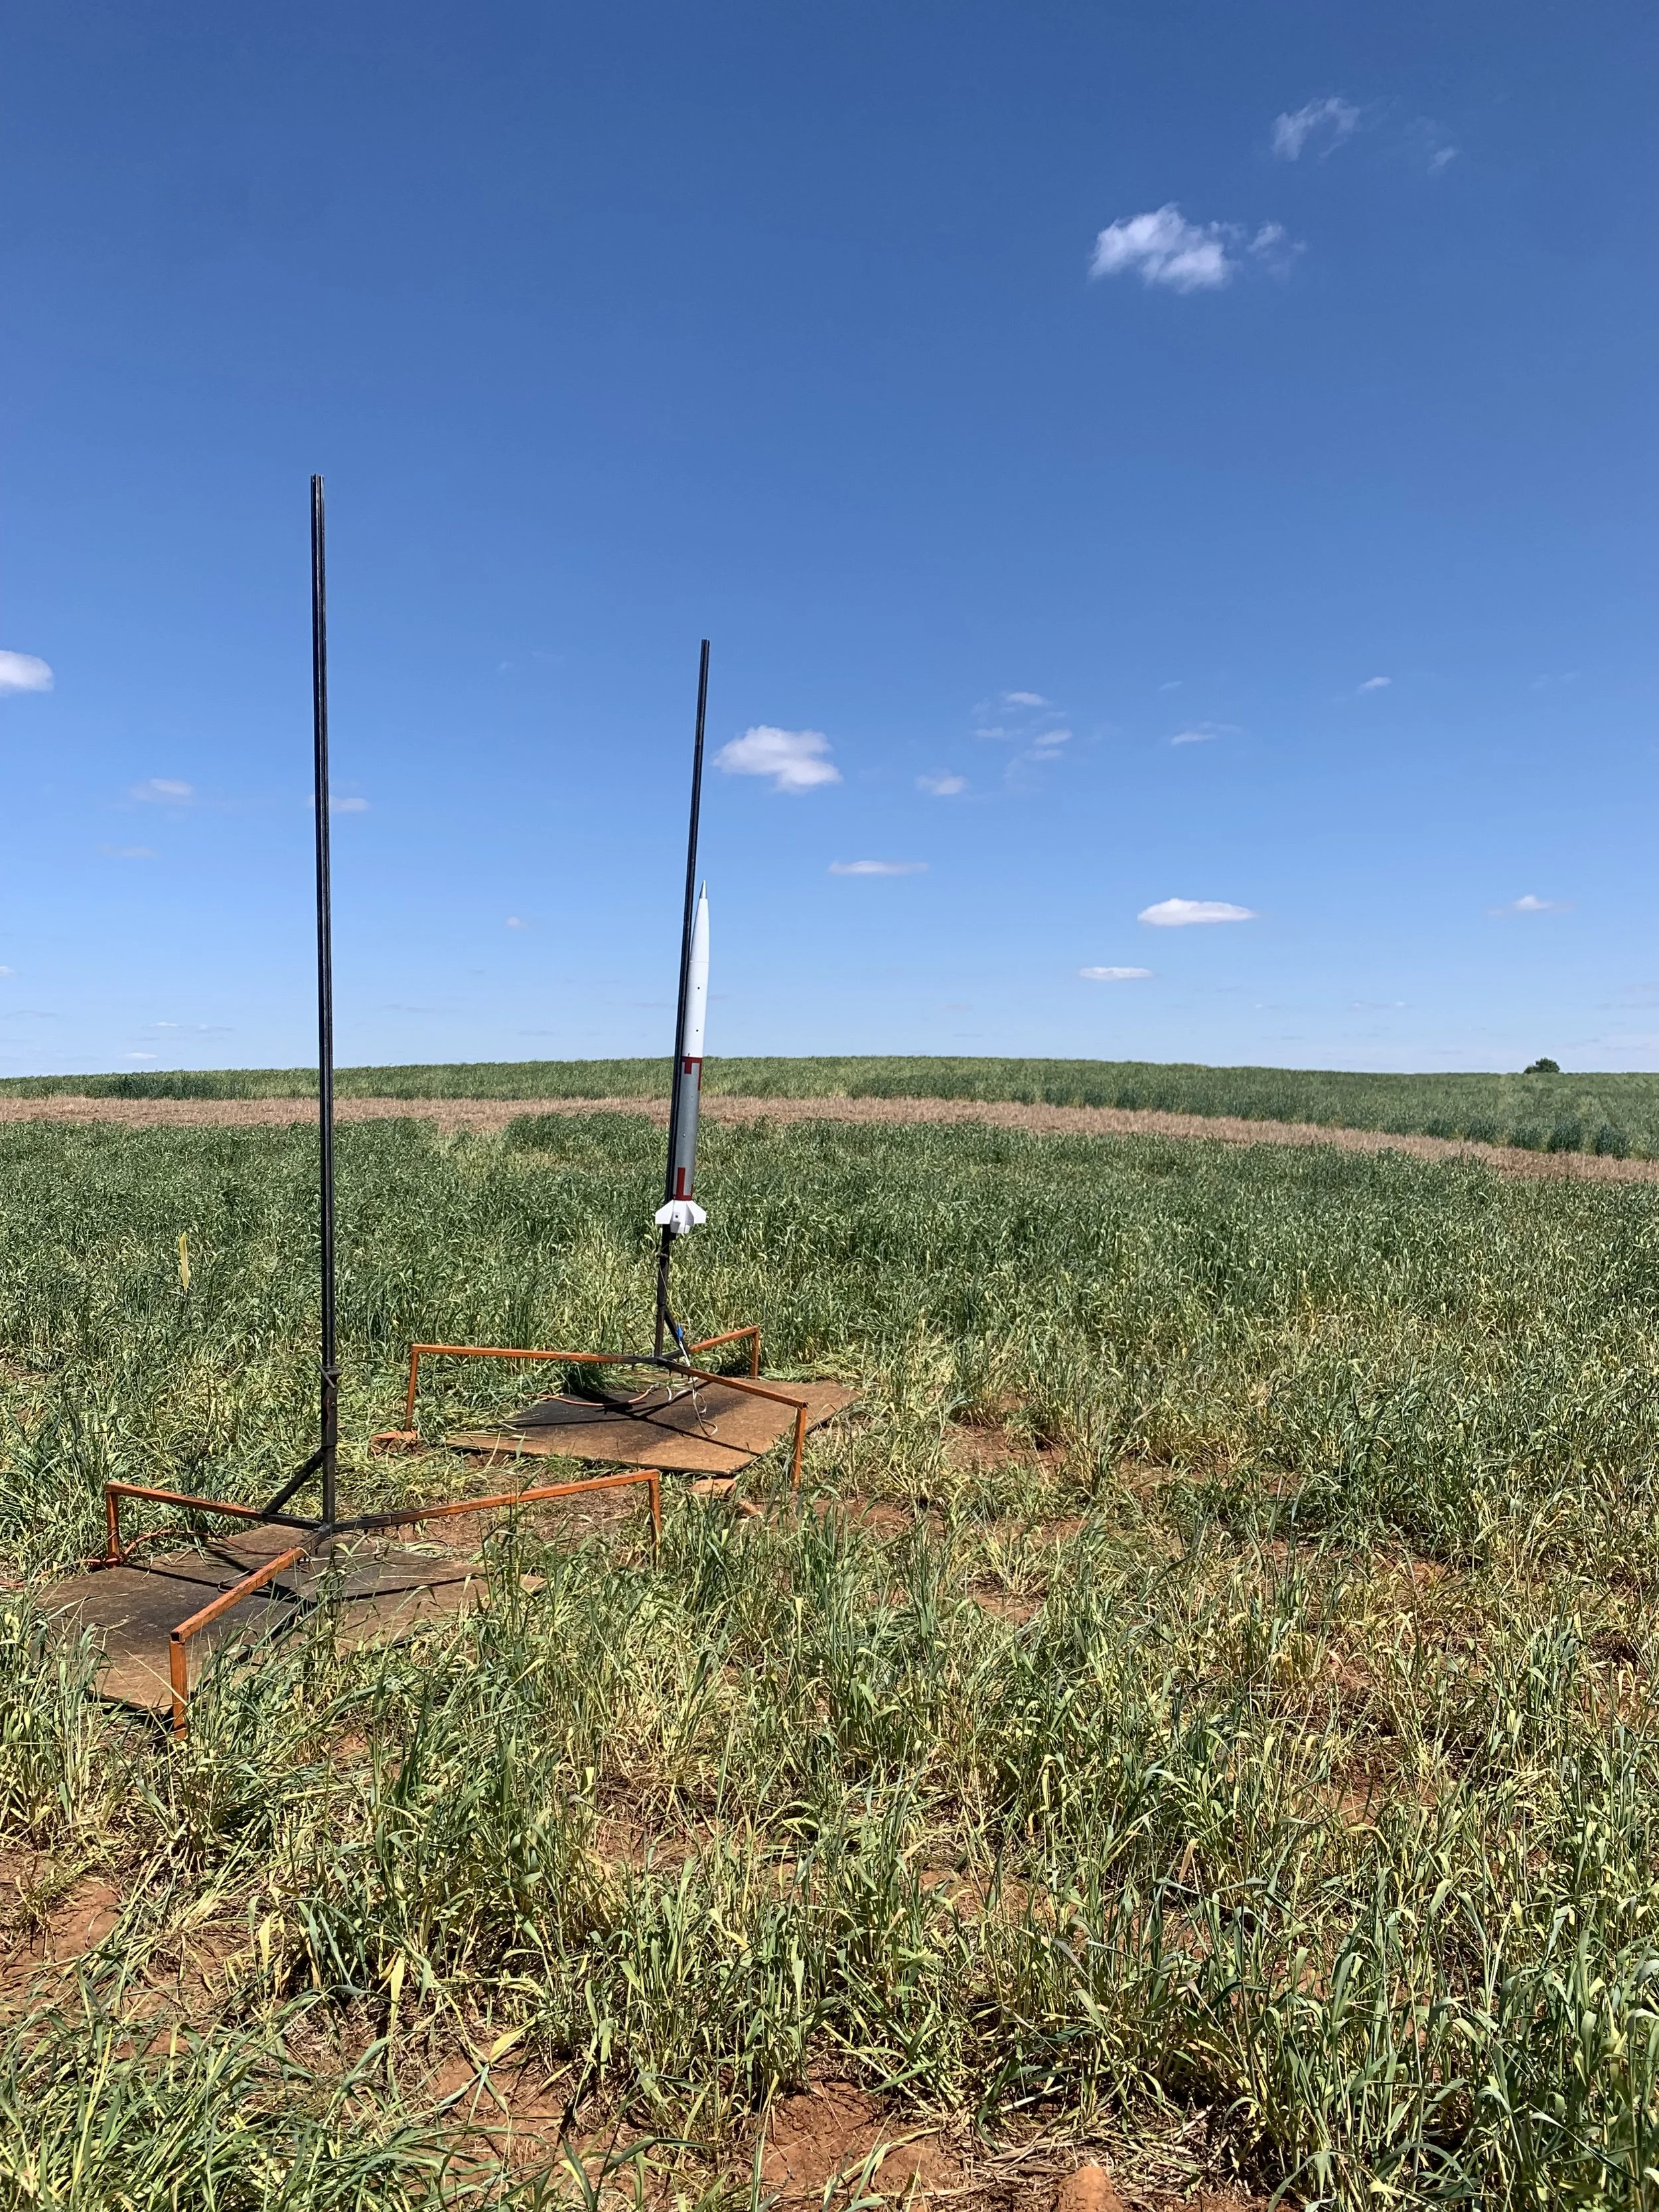
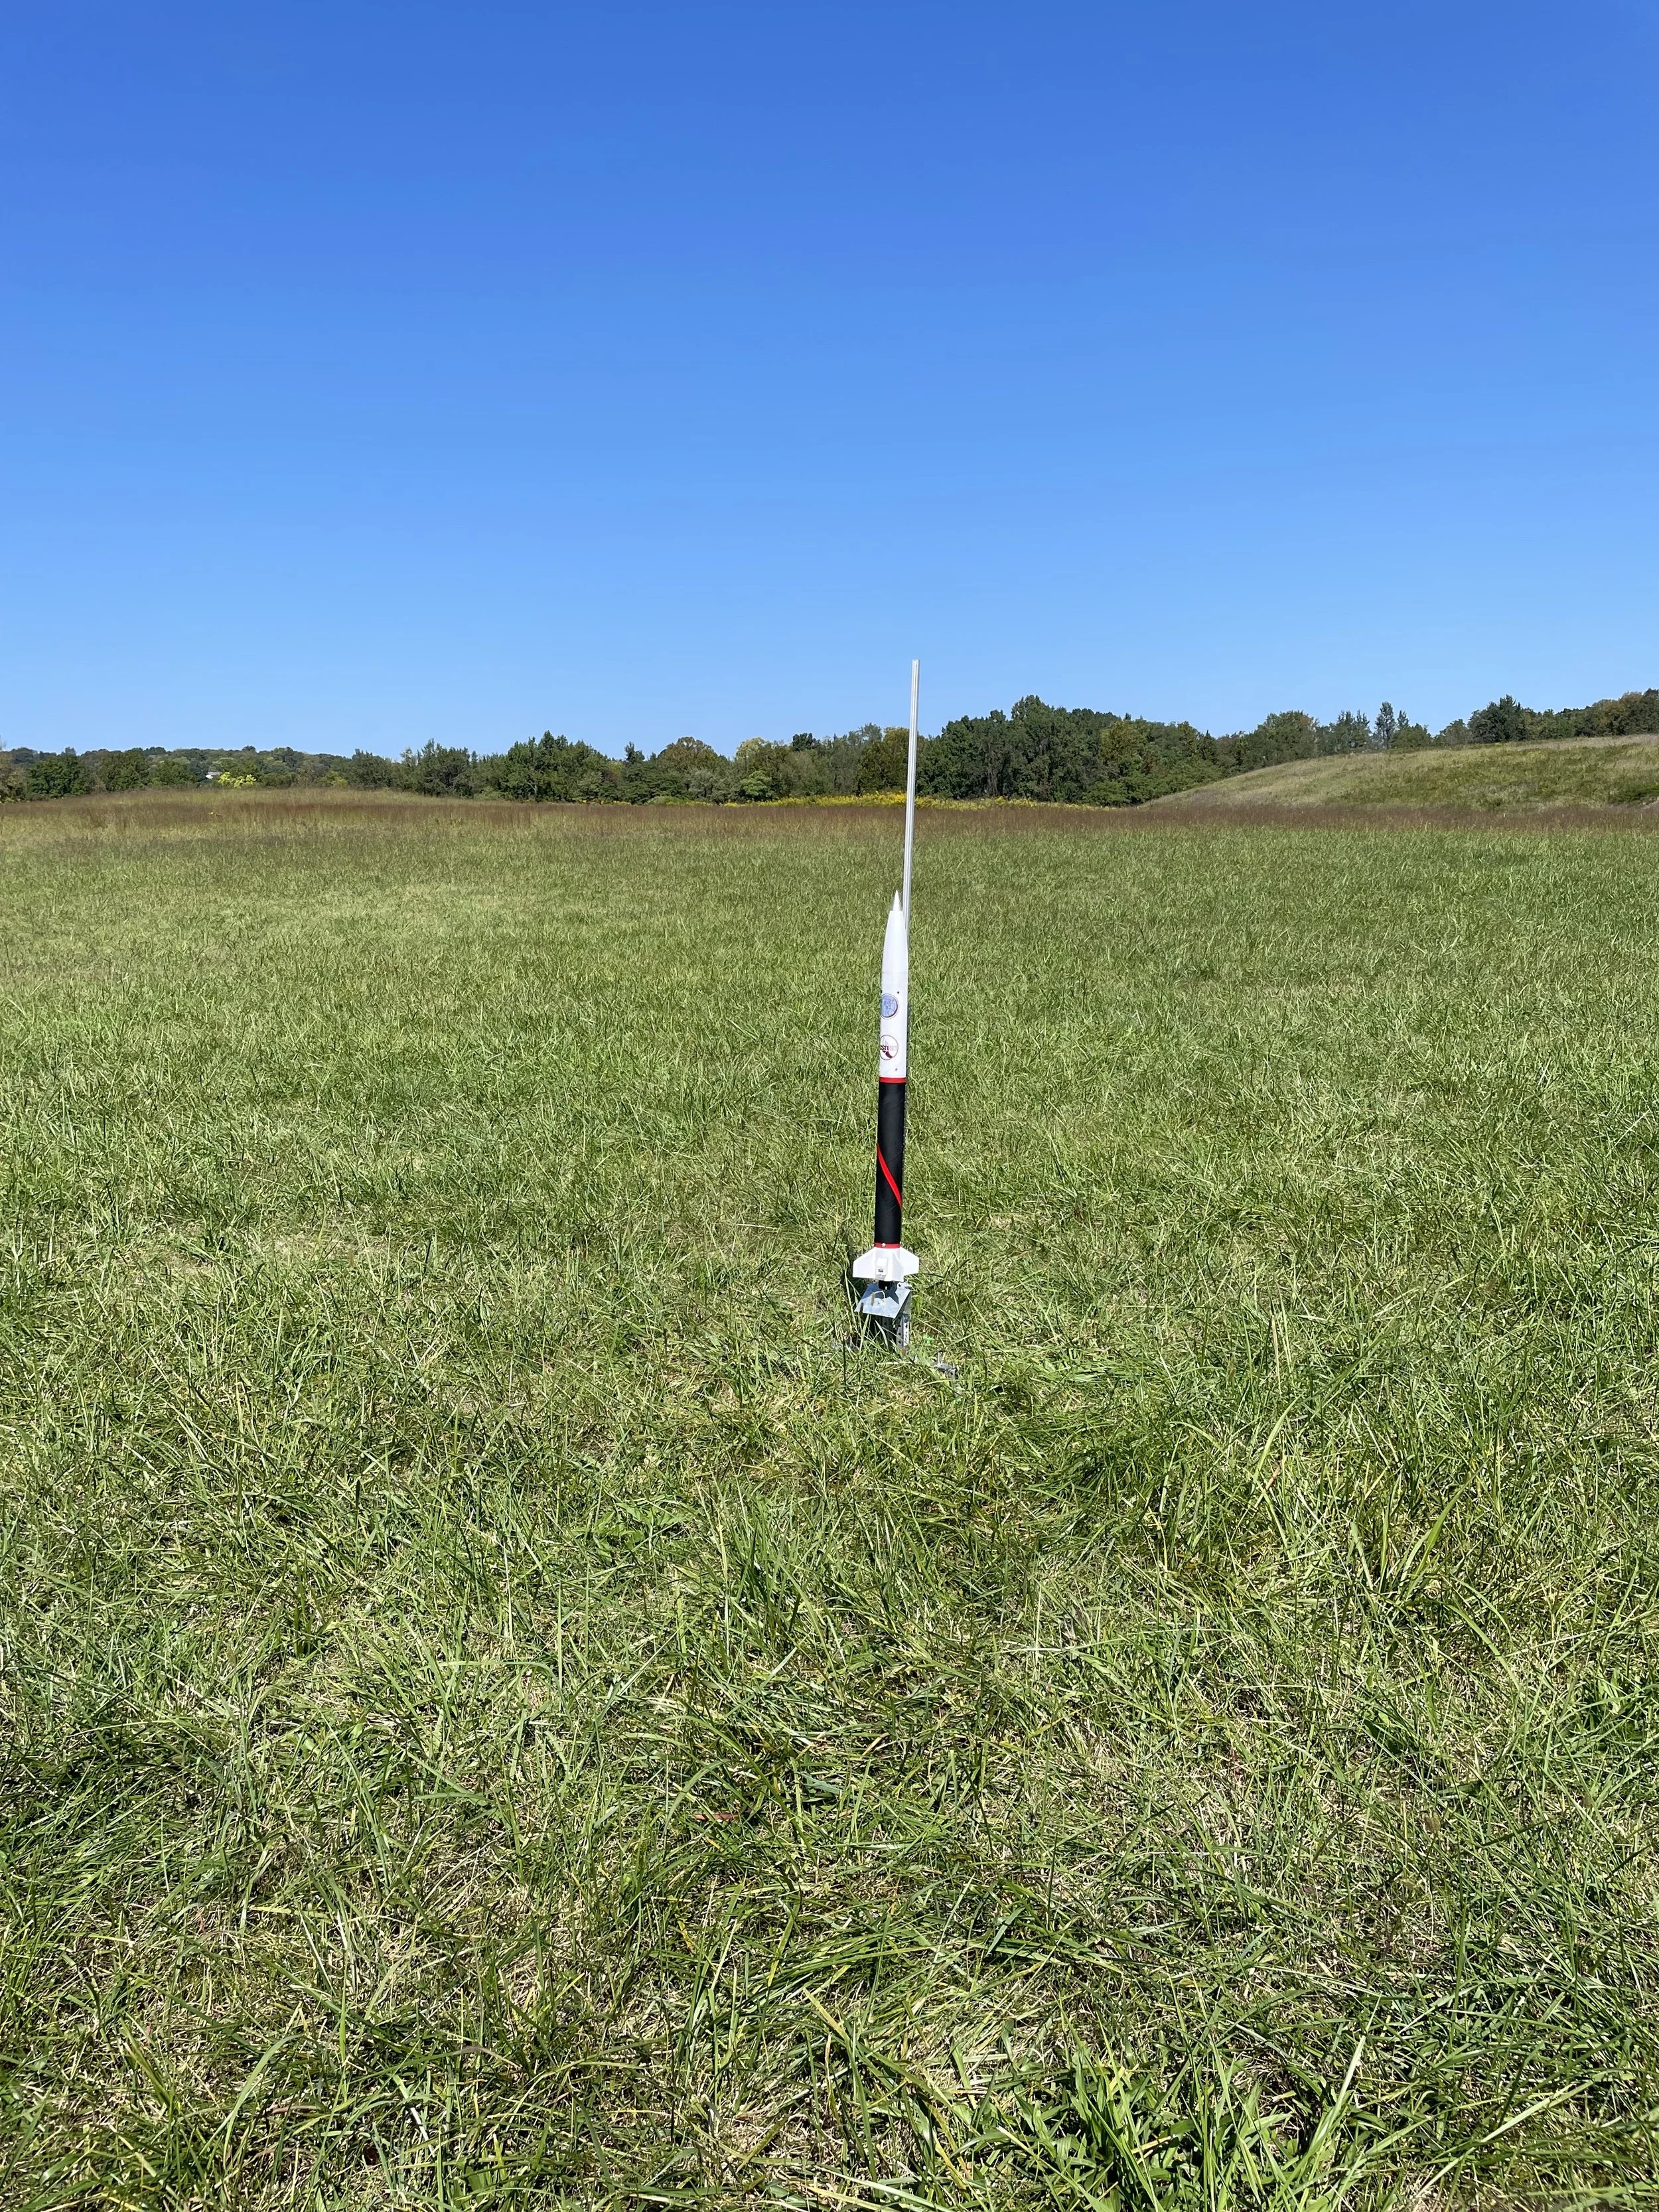
Harrier 1 on pad before its first flight
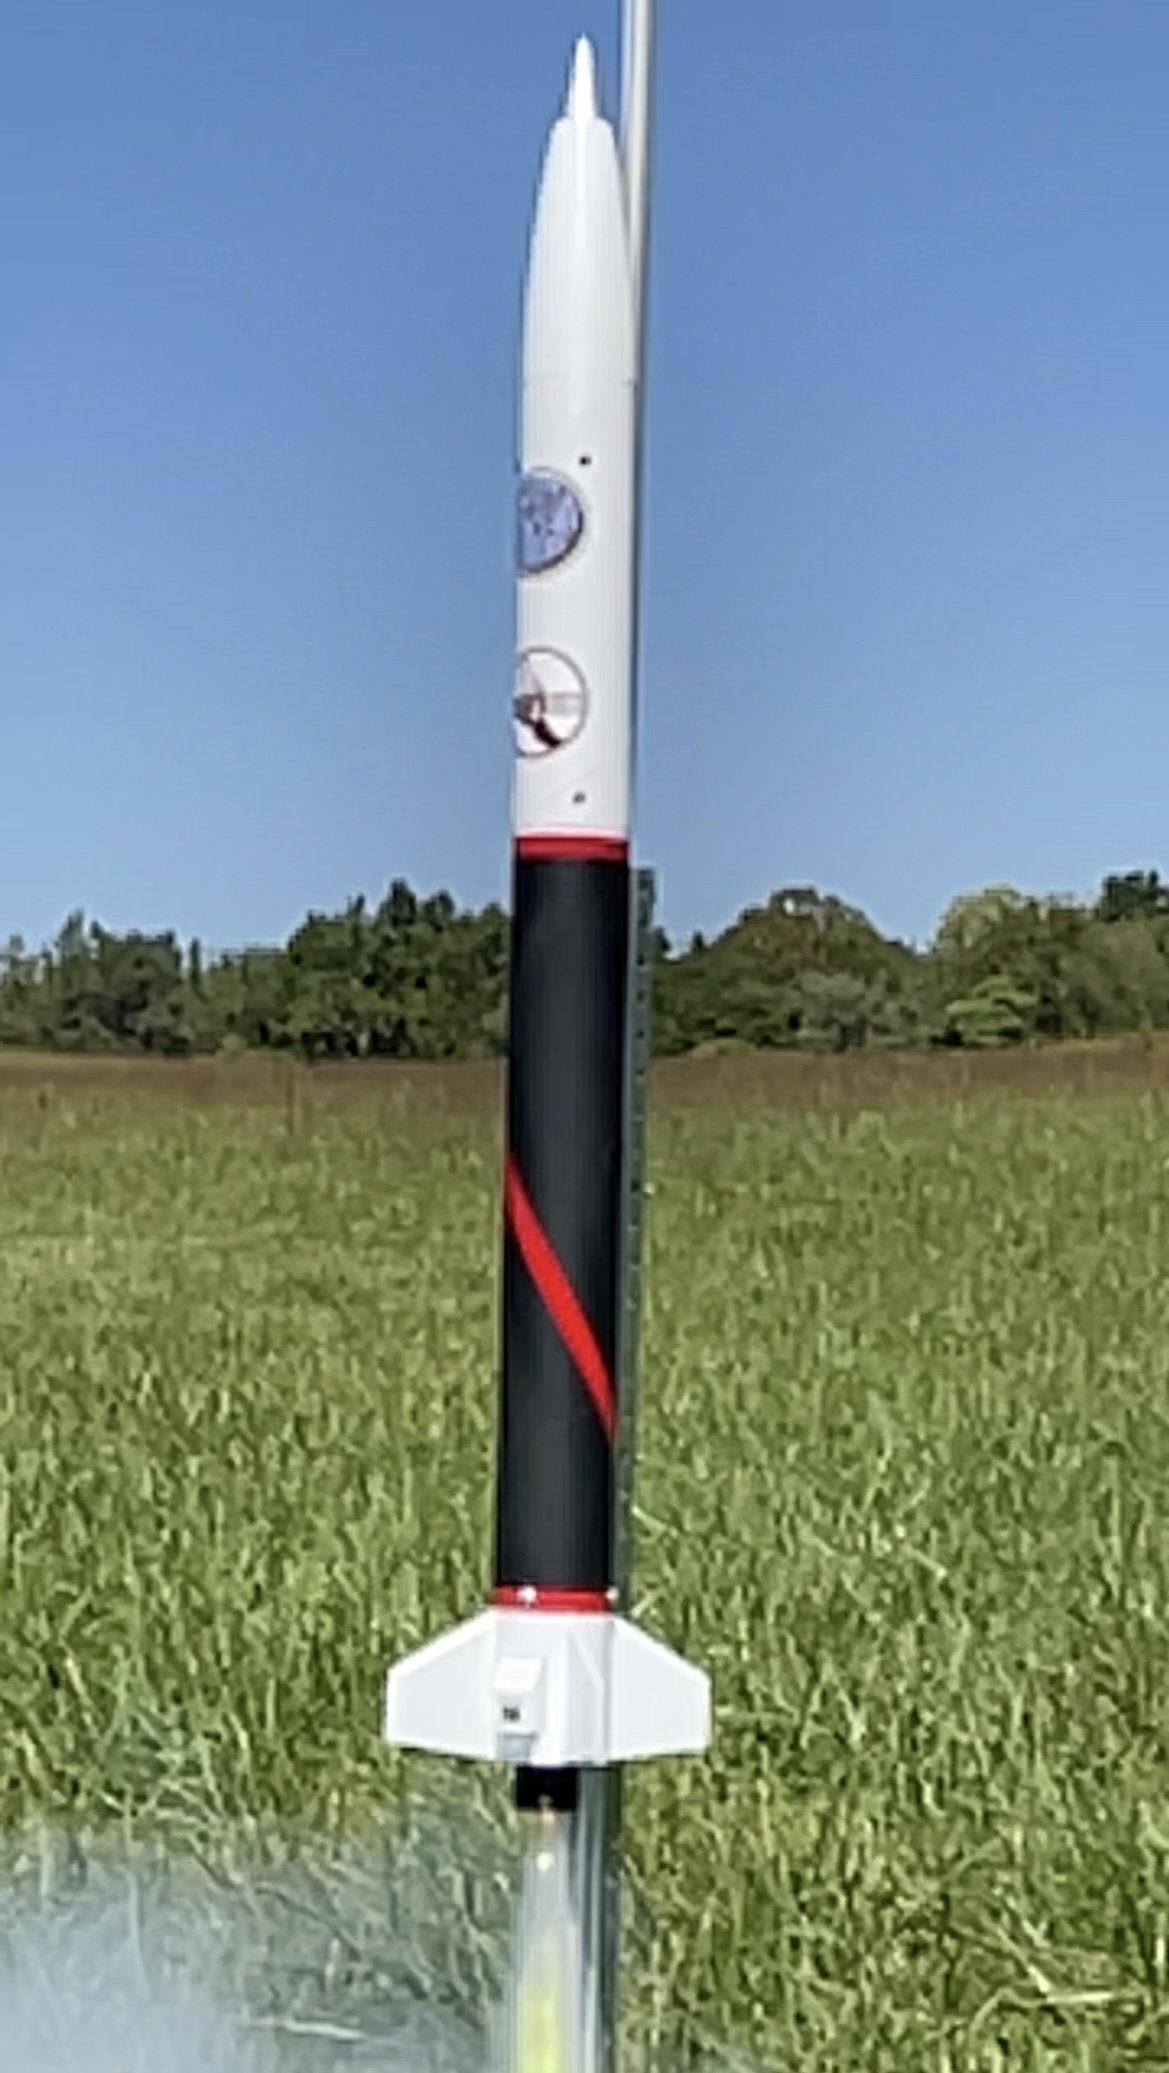
Harrier 1 on pad
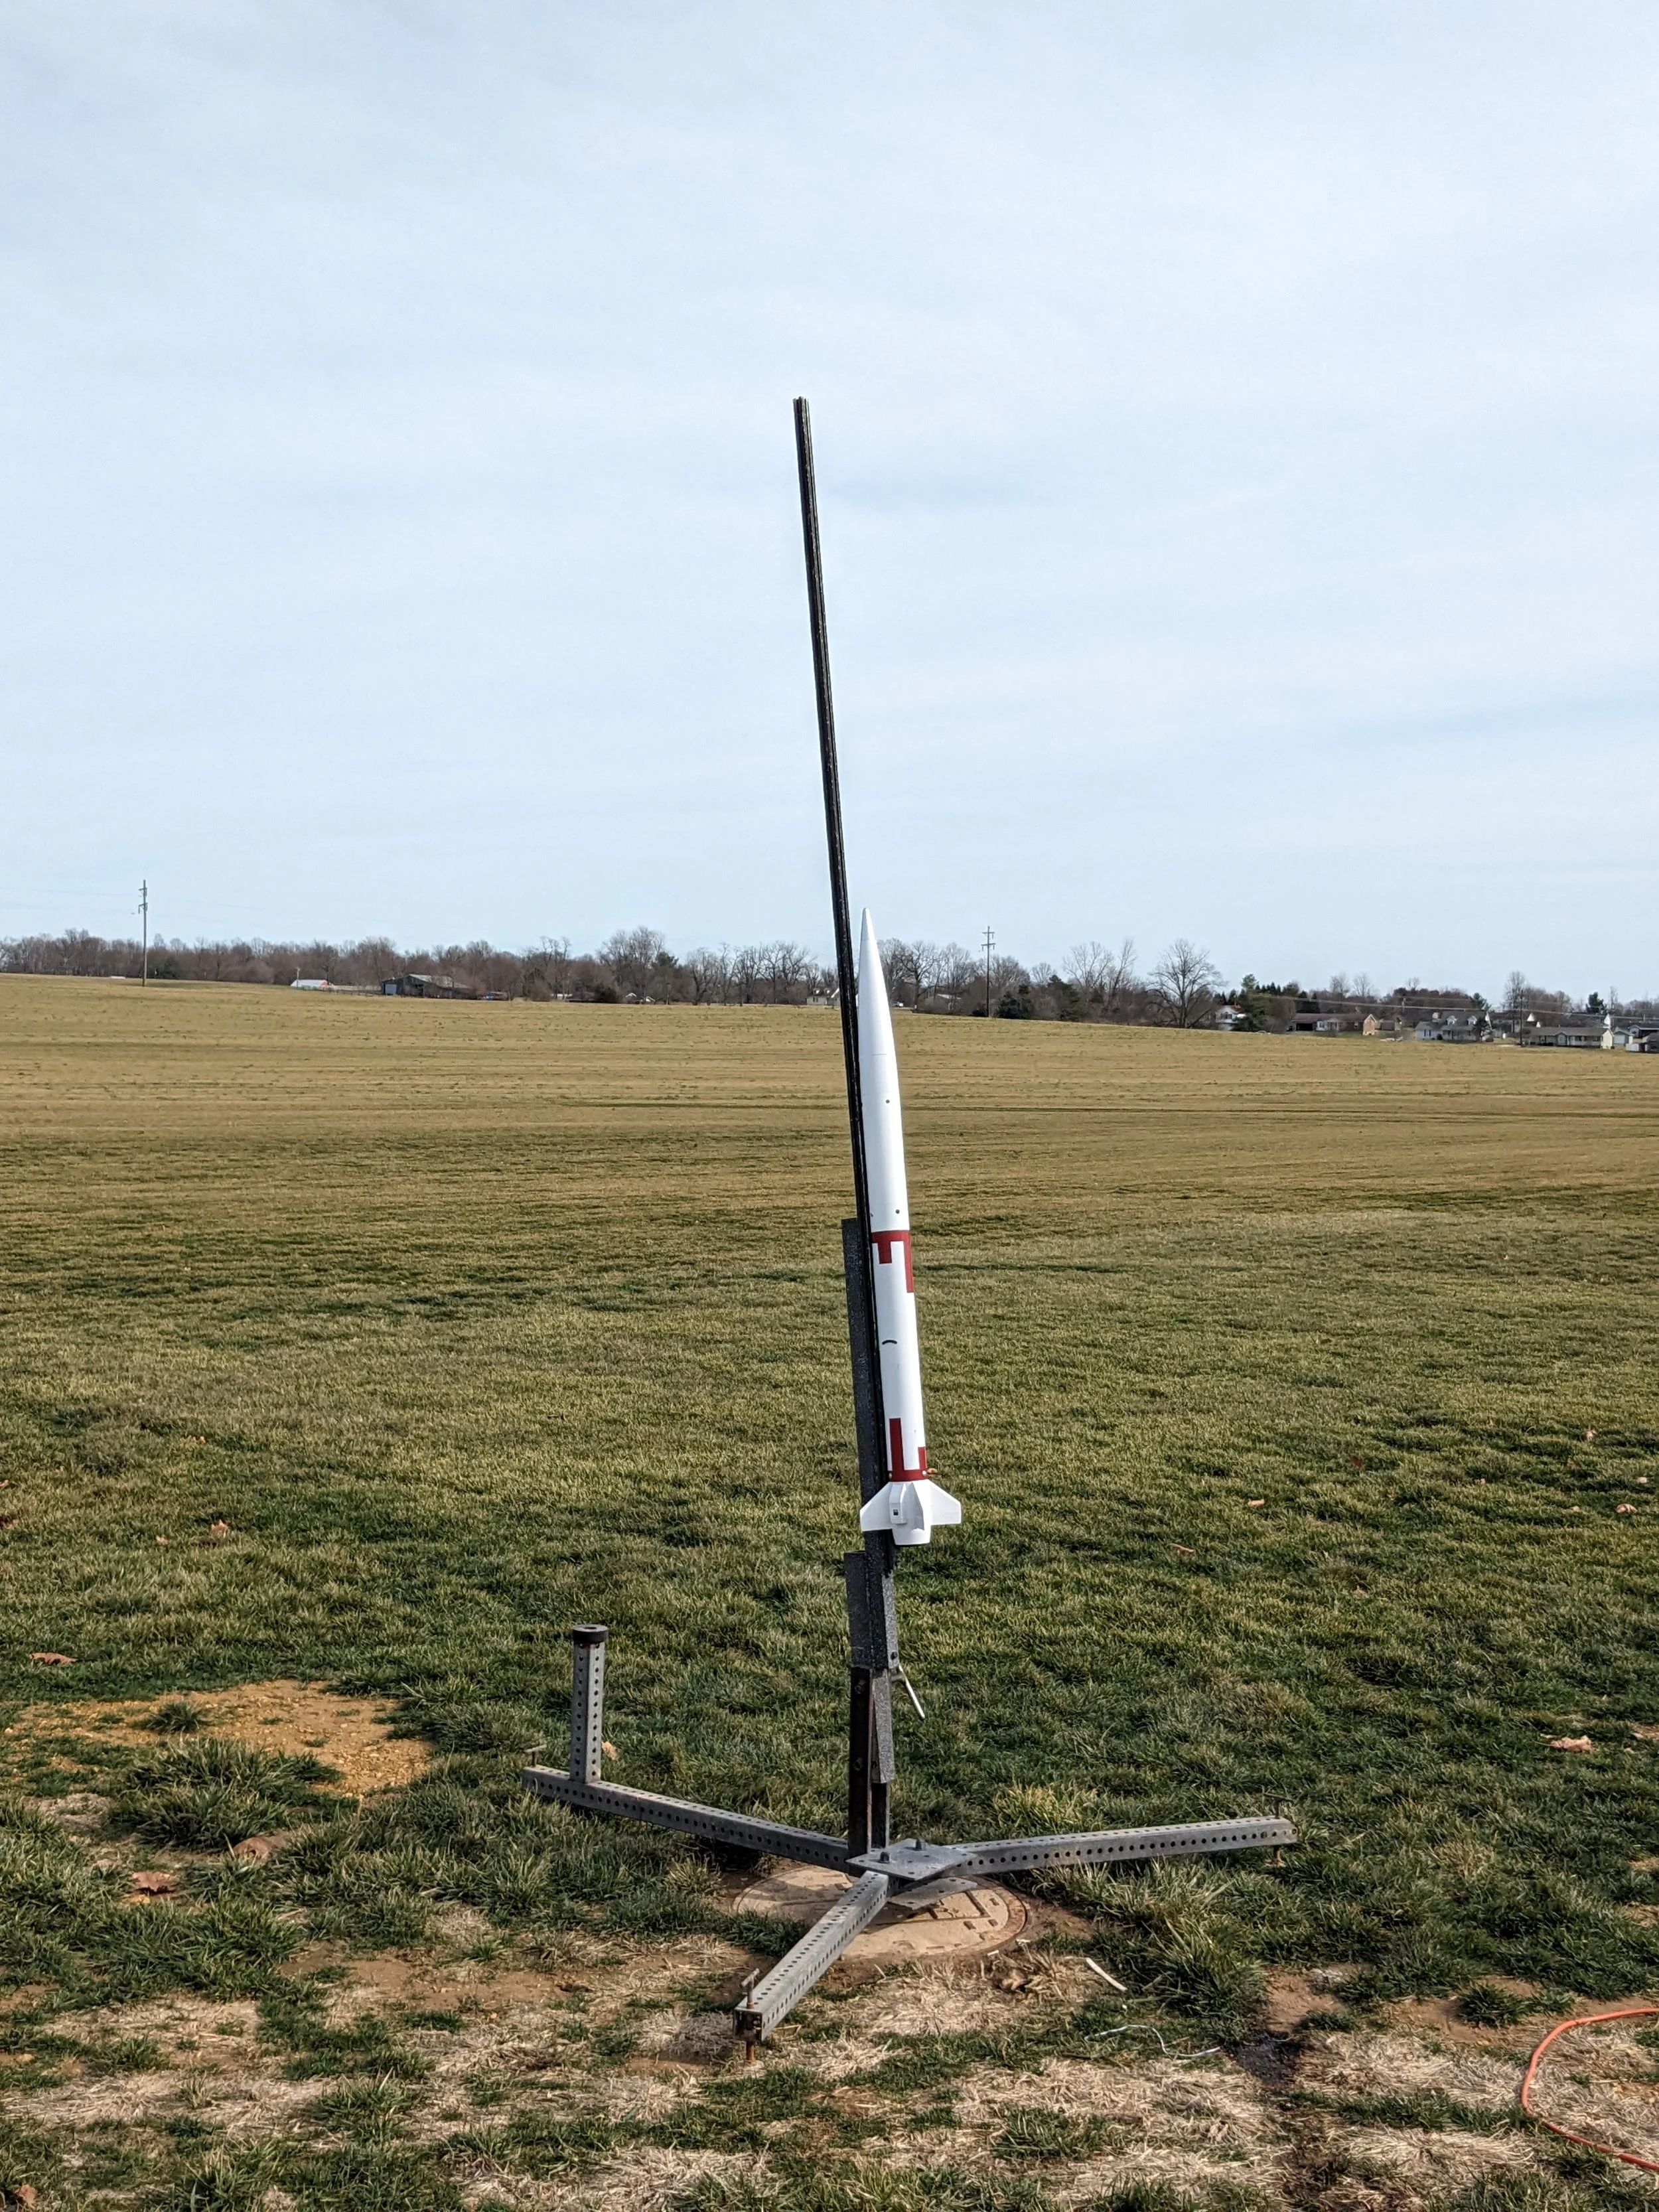
Harrier 1 on pad
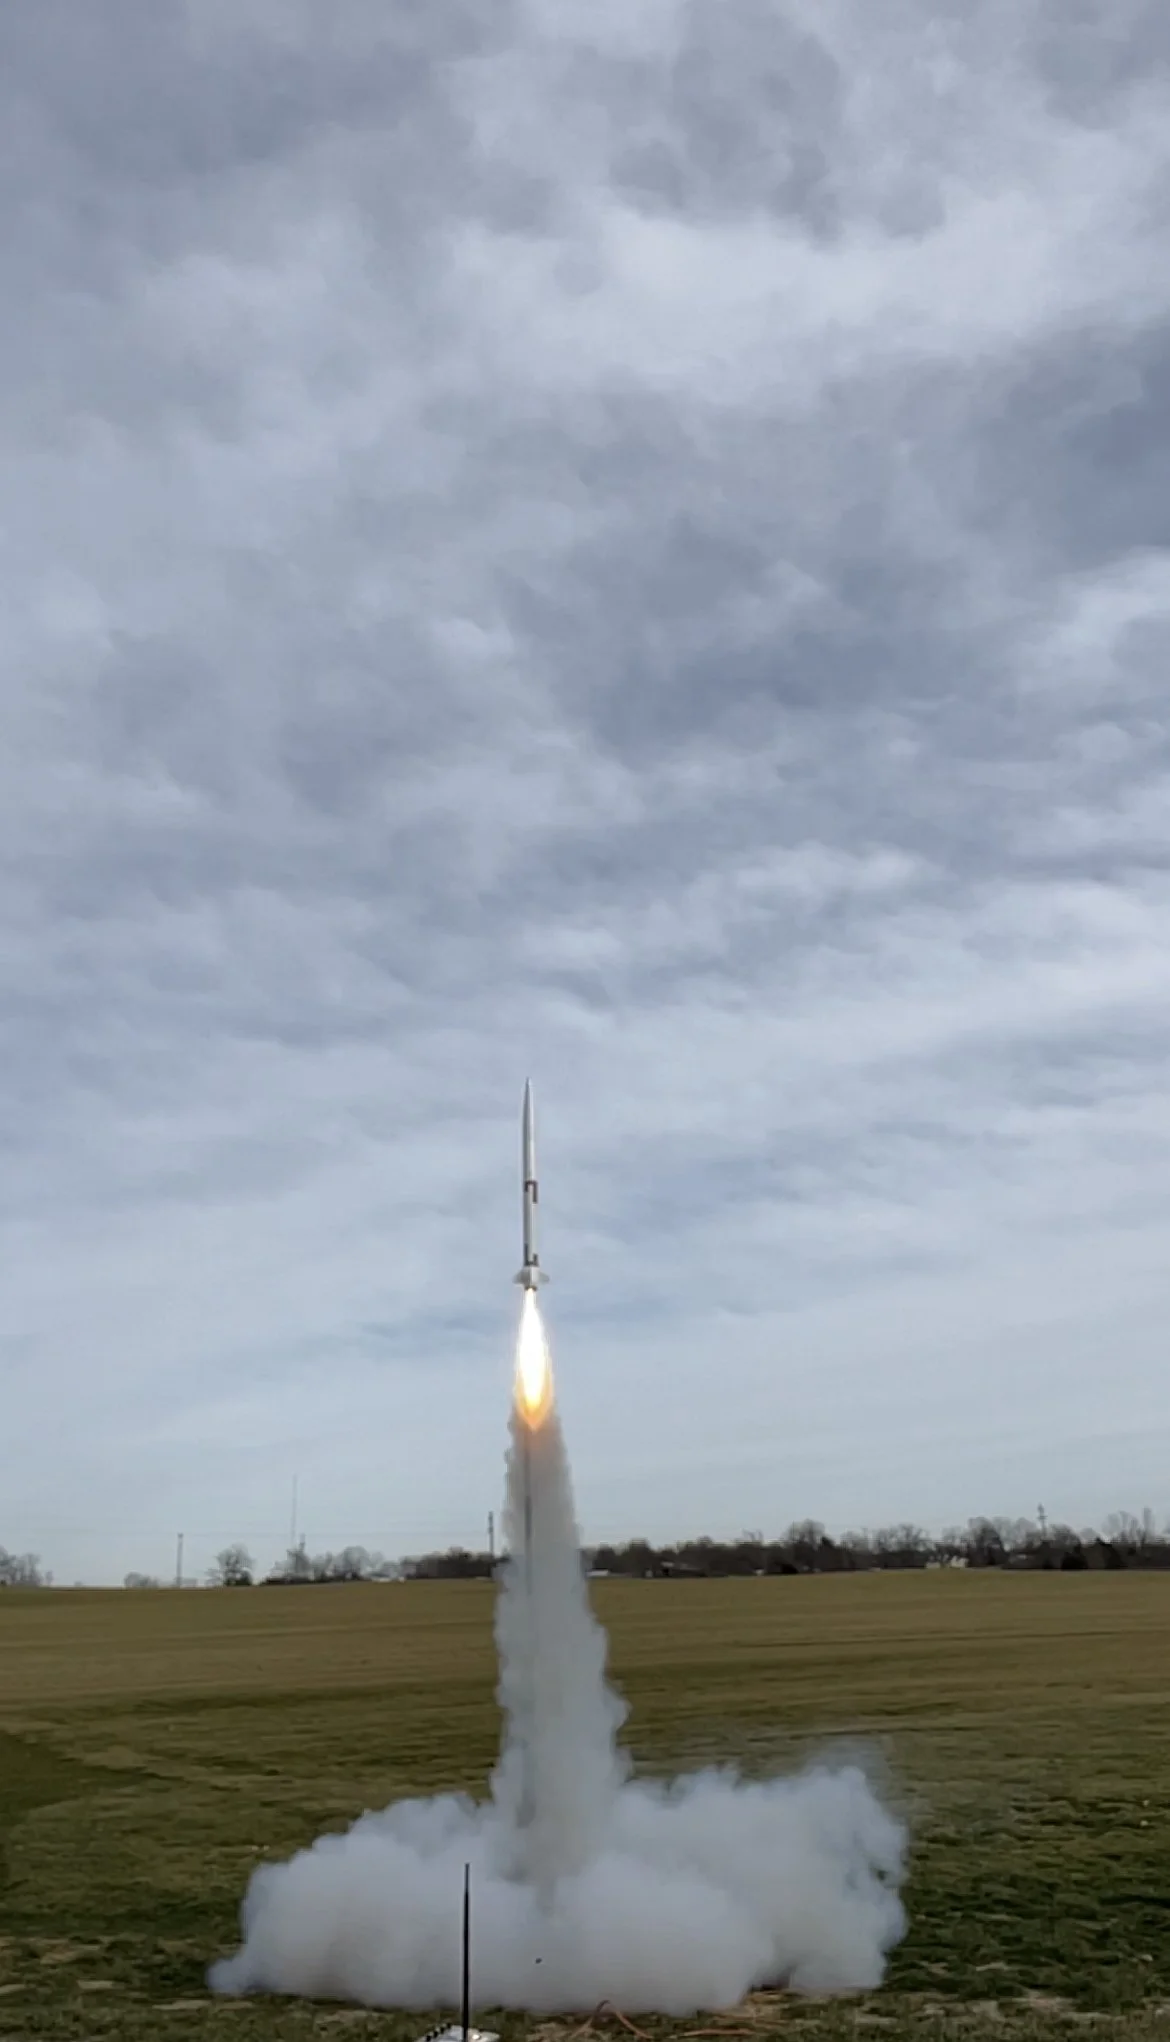
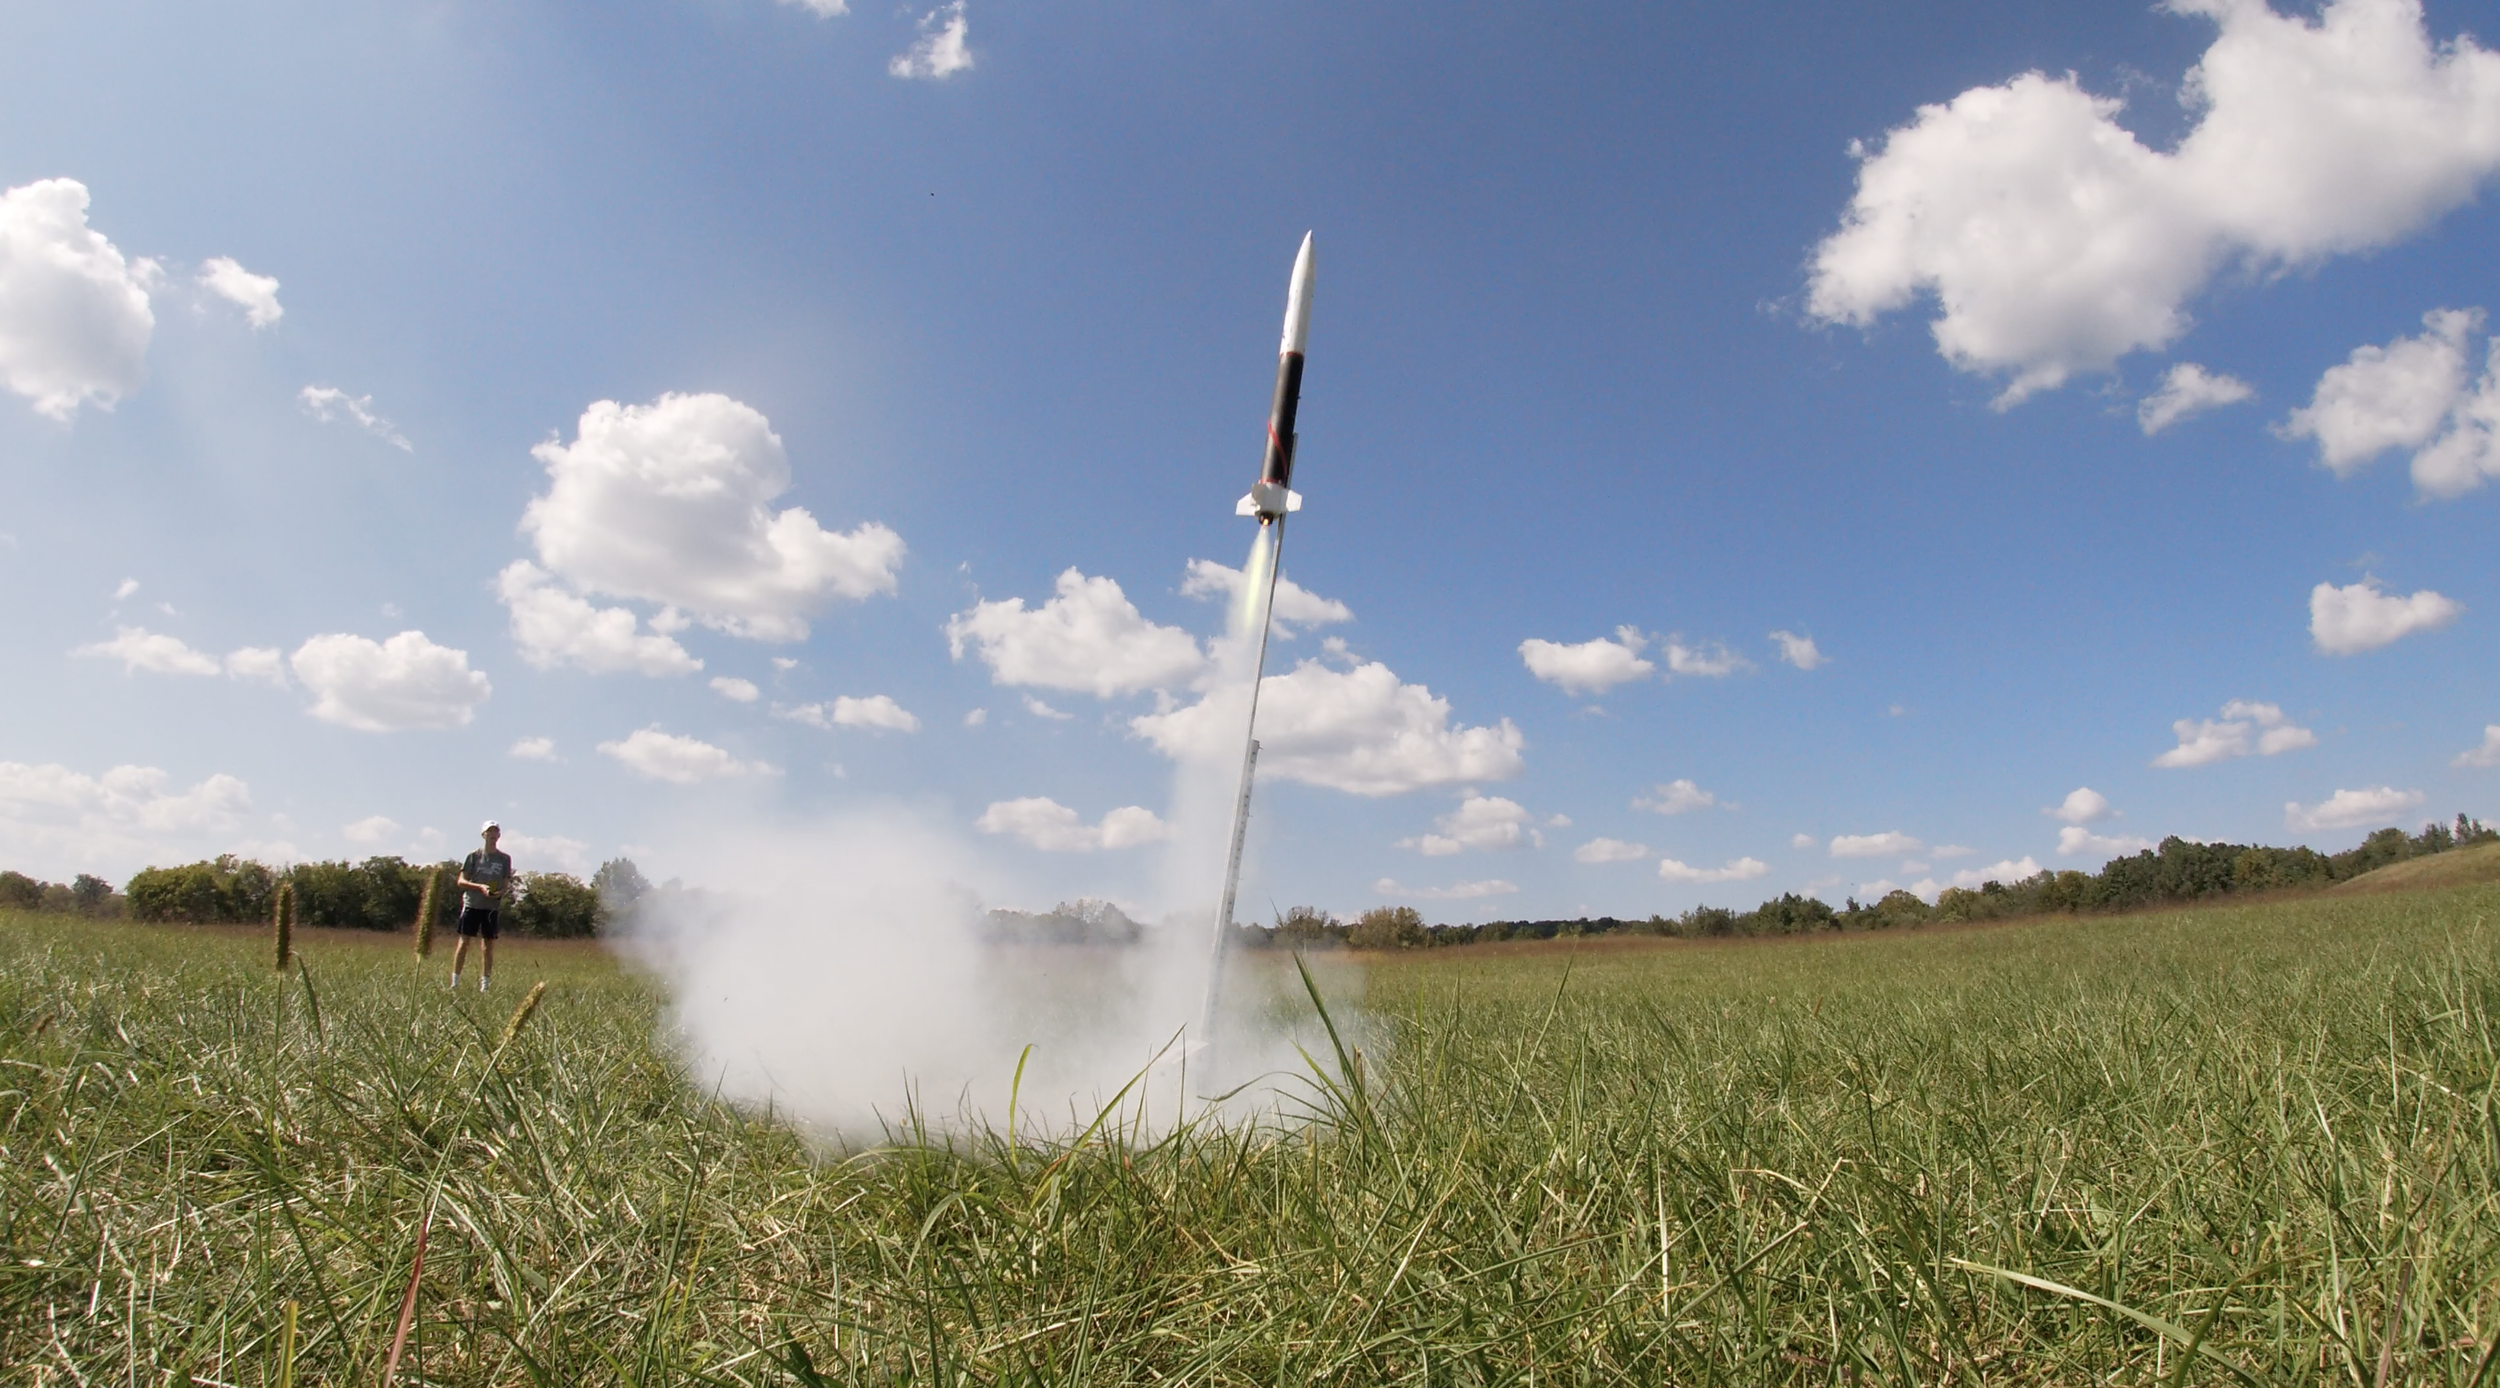
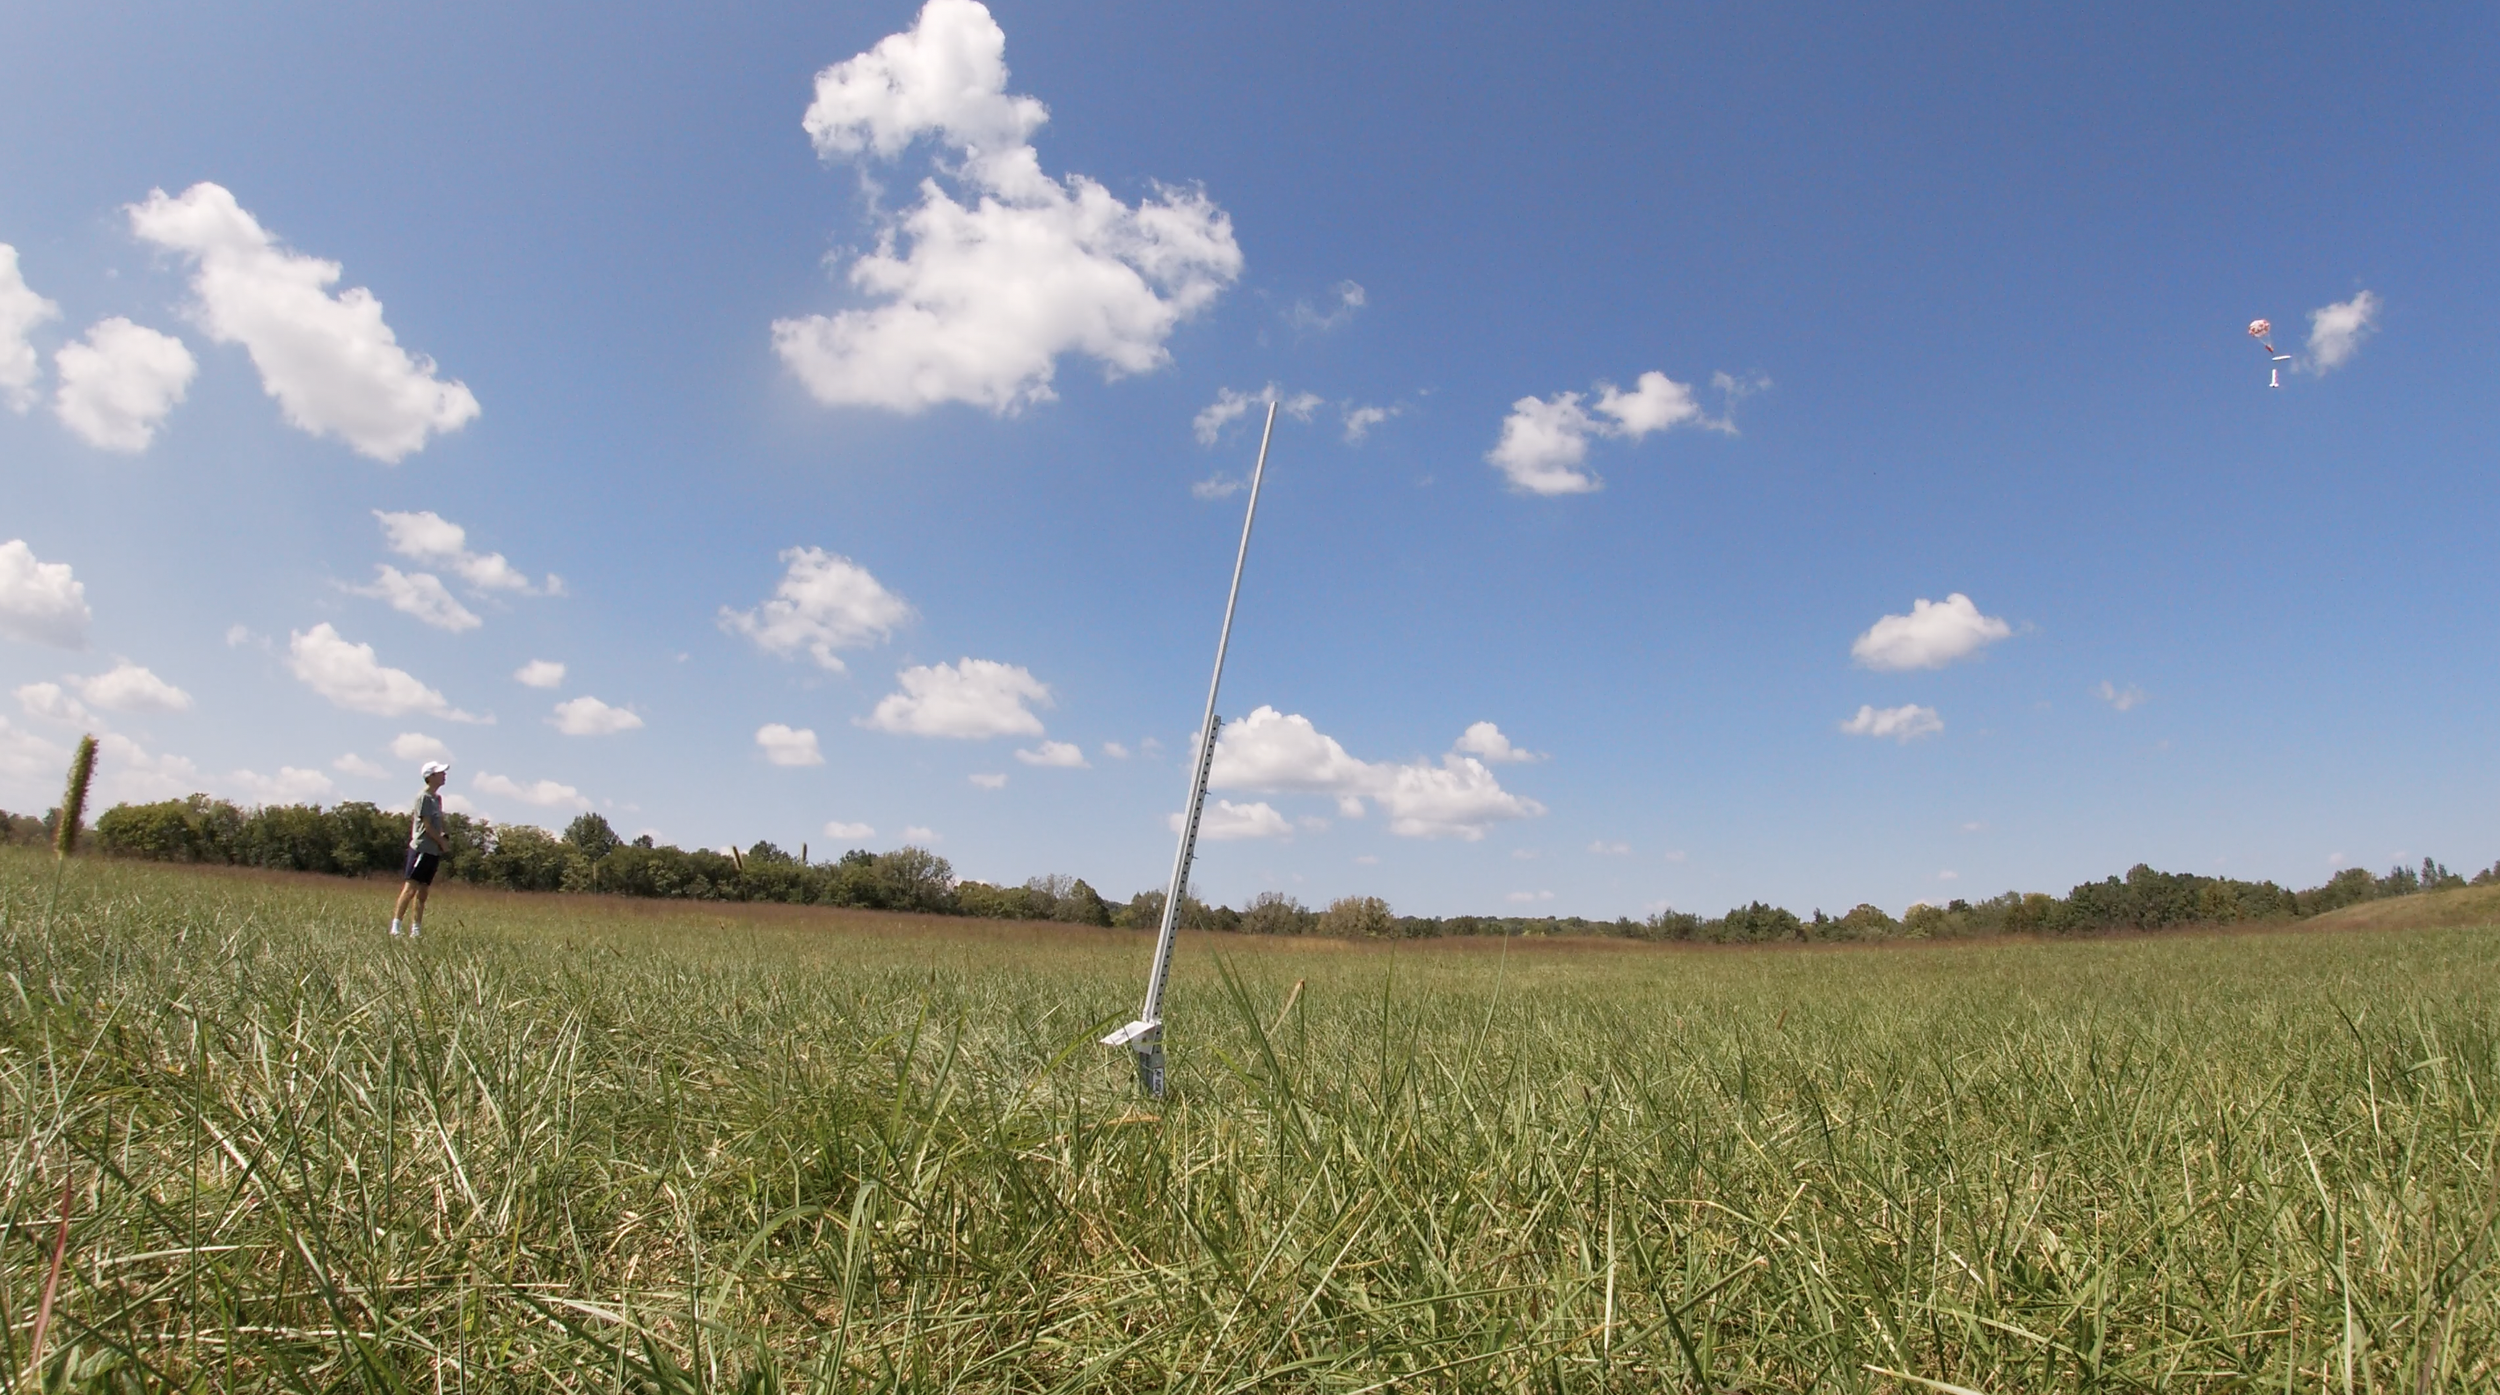
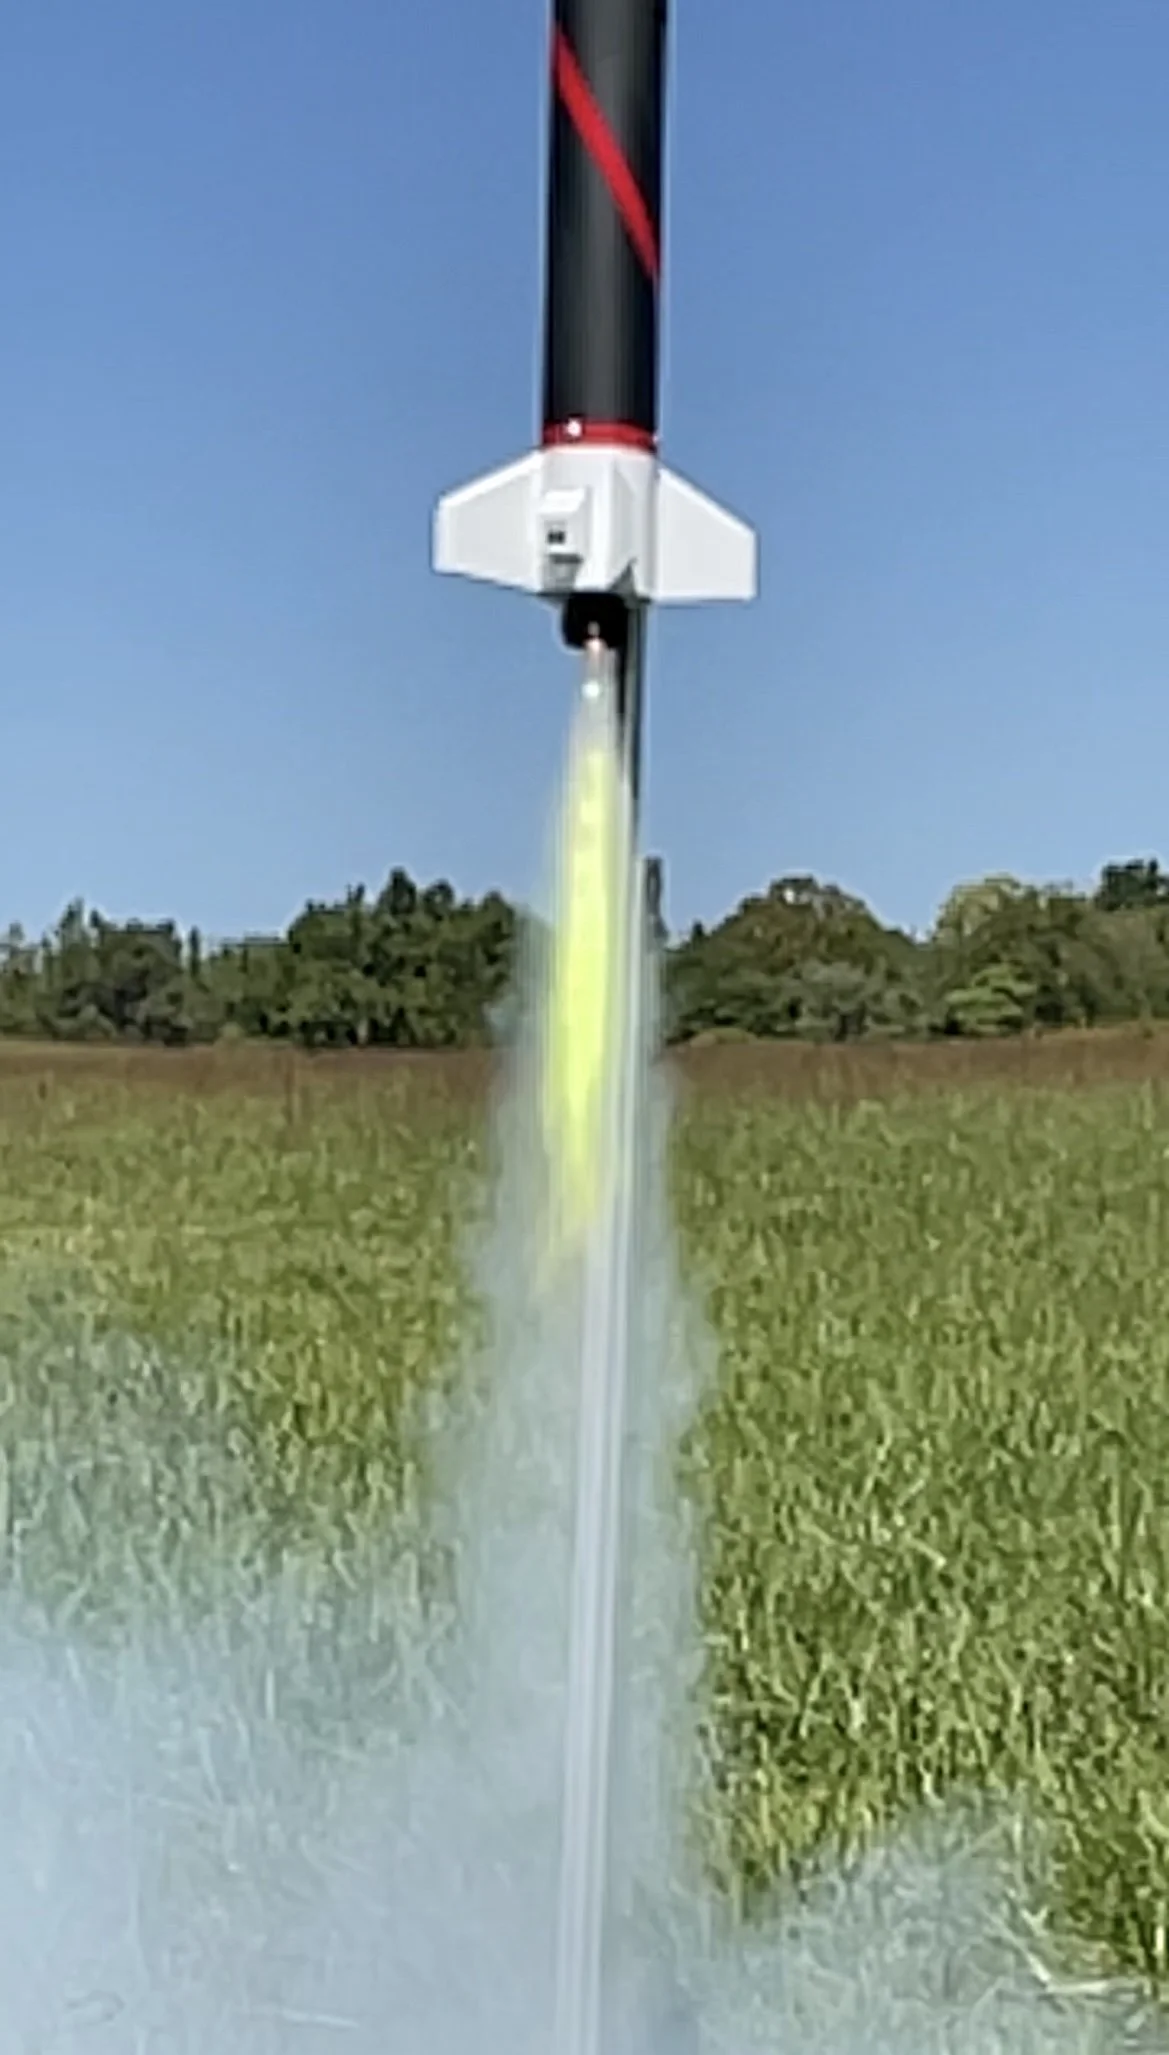
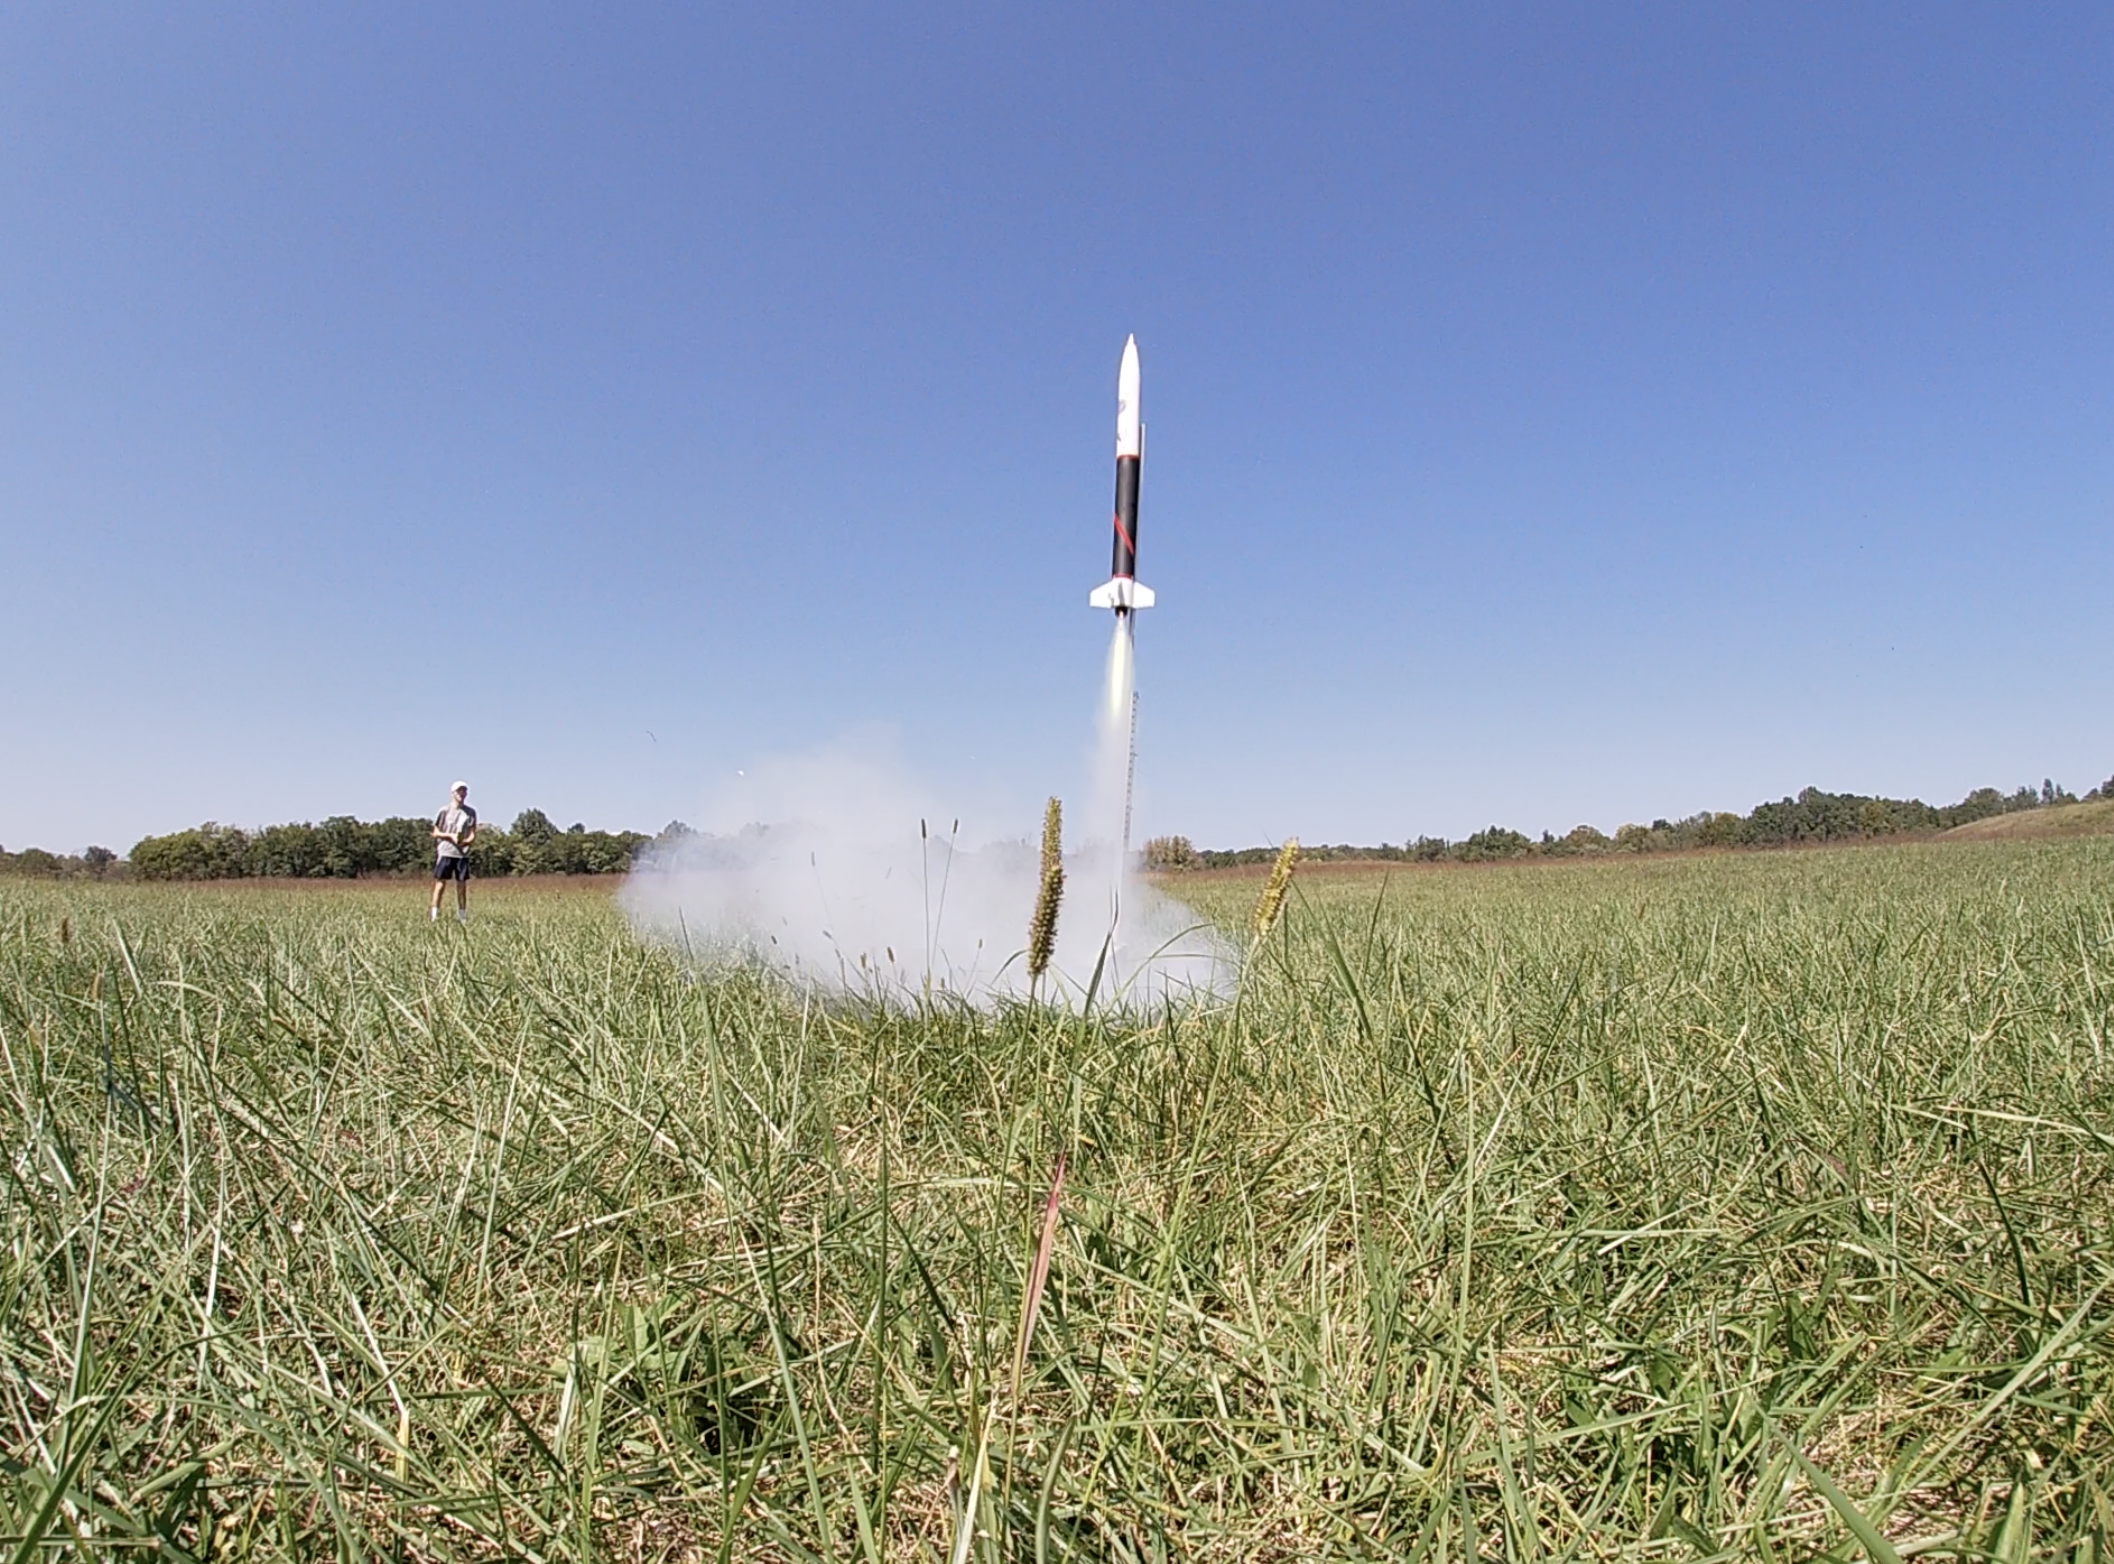
Liftoff of Harrier 1!
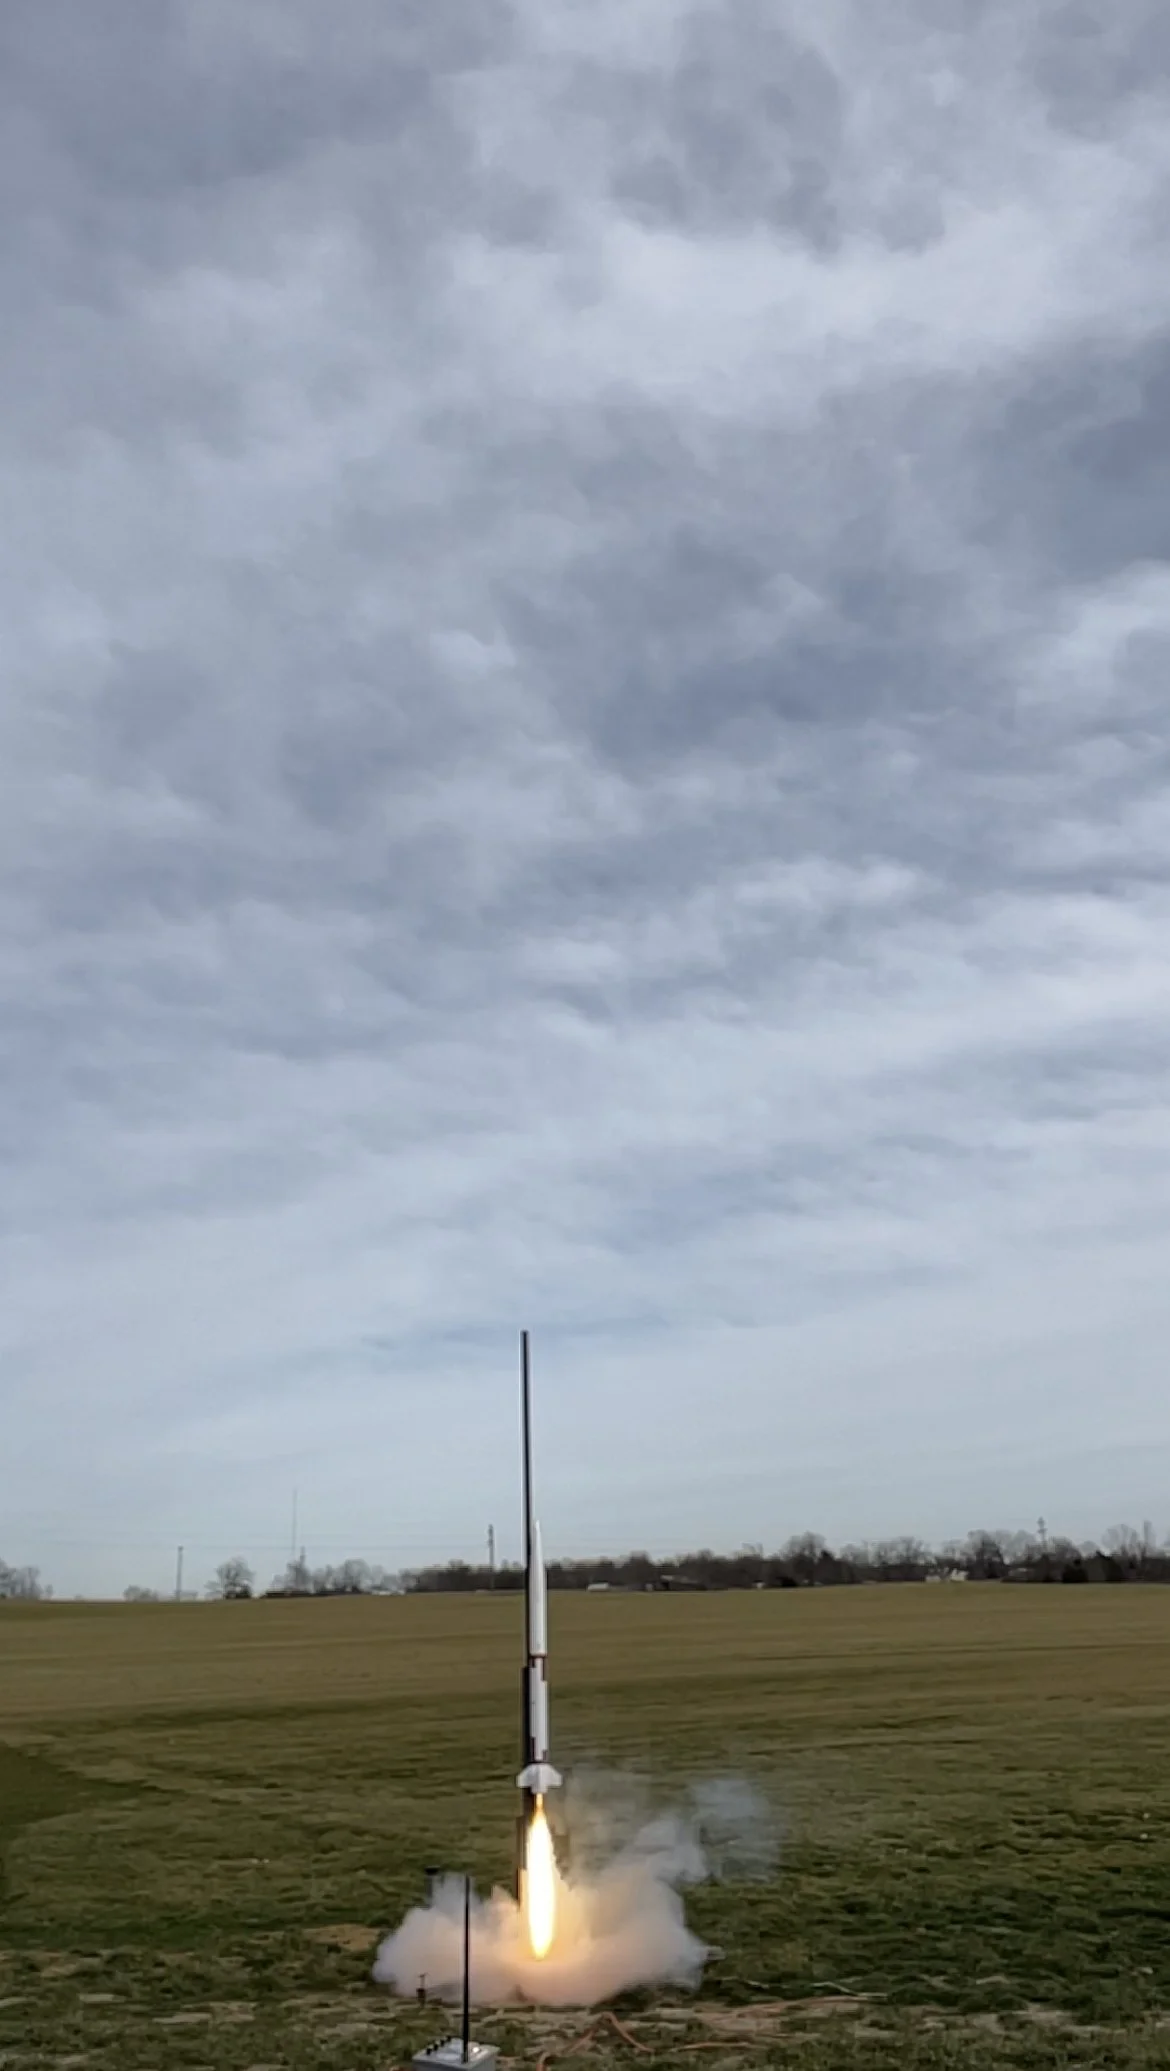
Liftoff of Harrier!
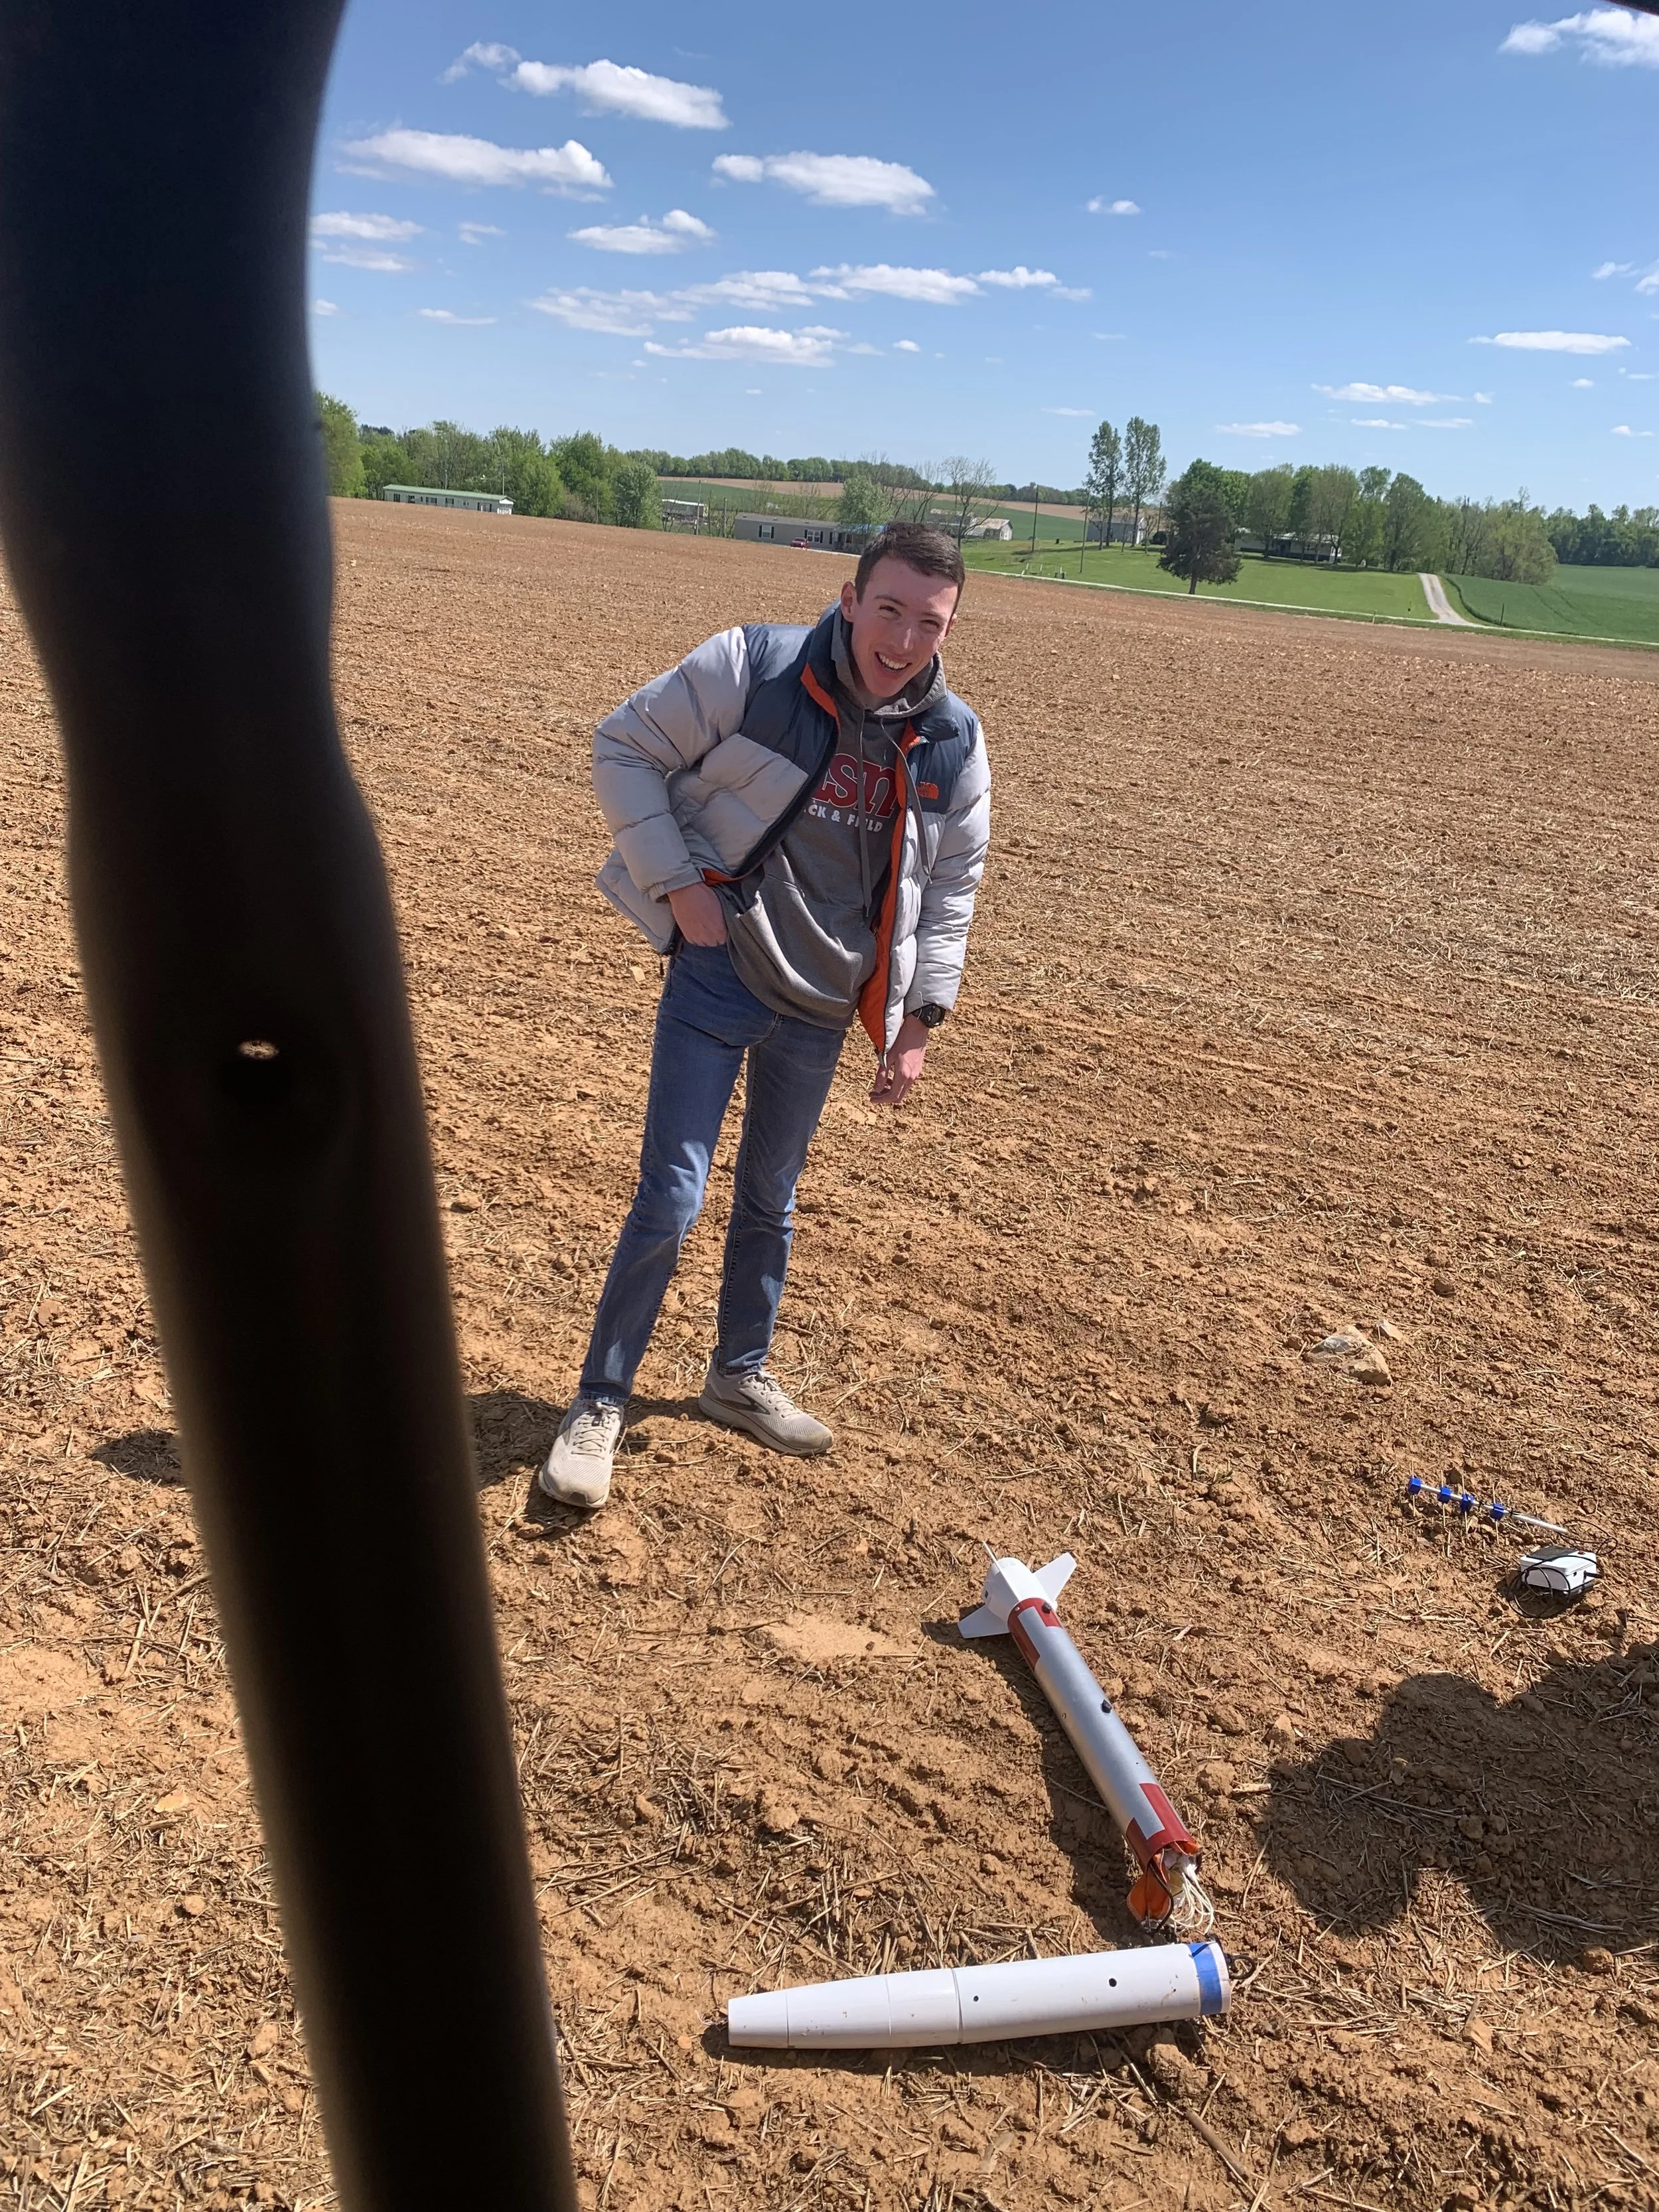
Harrier 2A after (crash) landing
Harrier 2A on pad before flight two

Harrier 2A on ascent of flight three

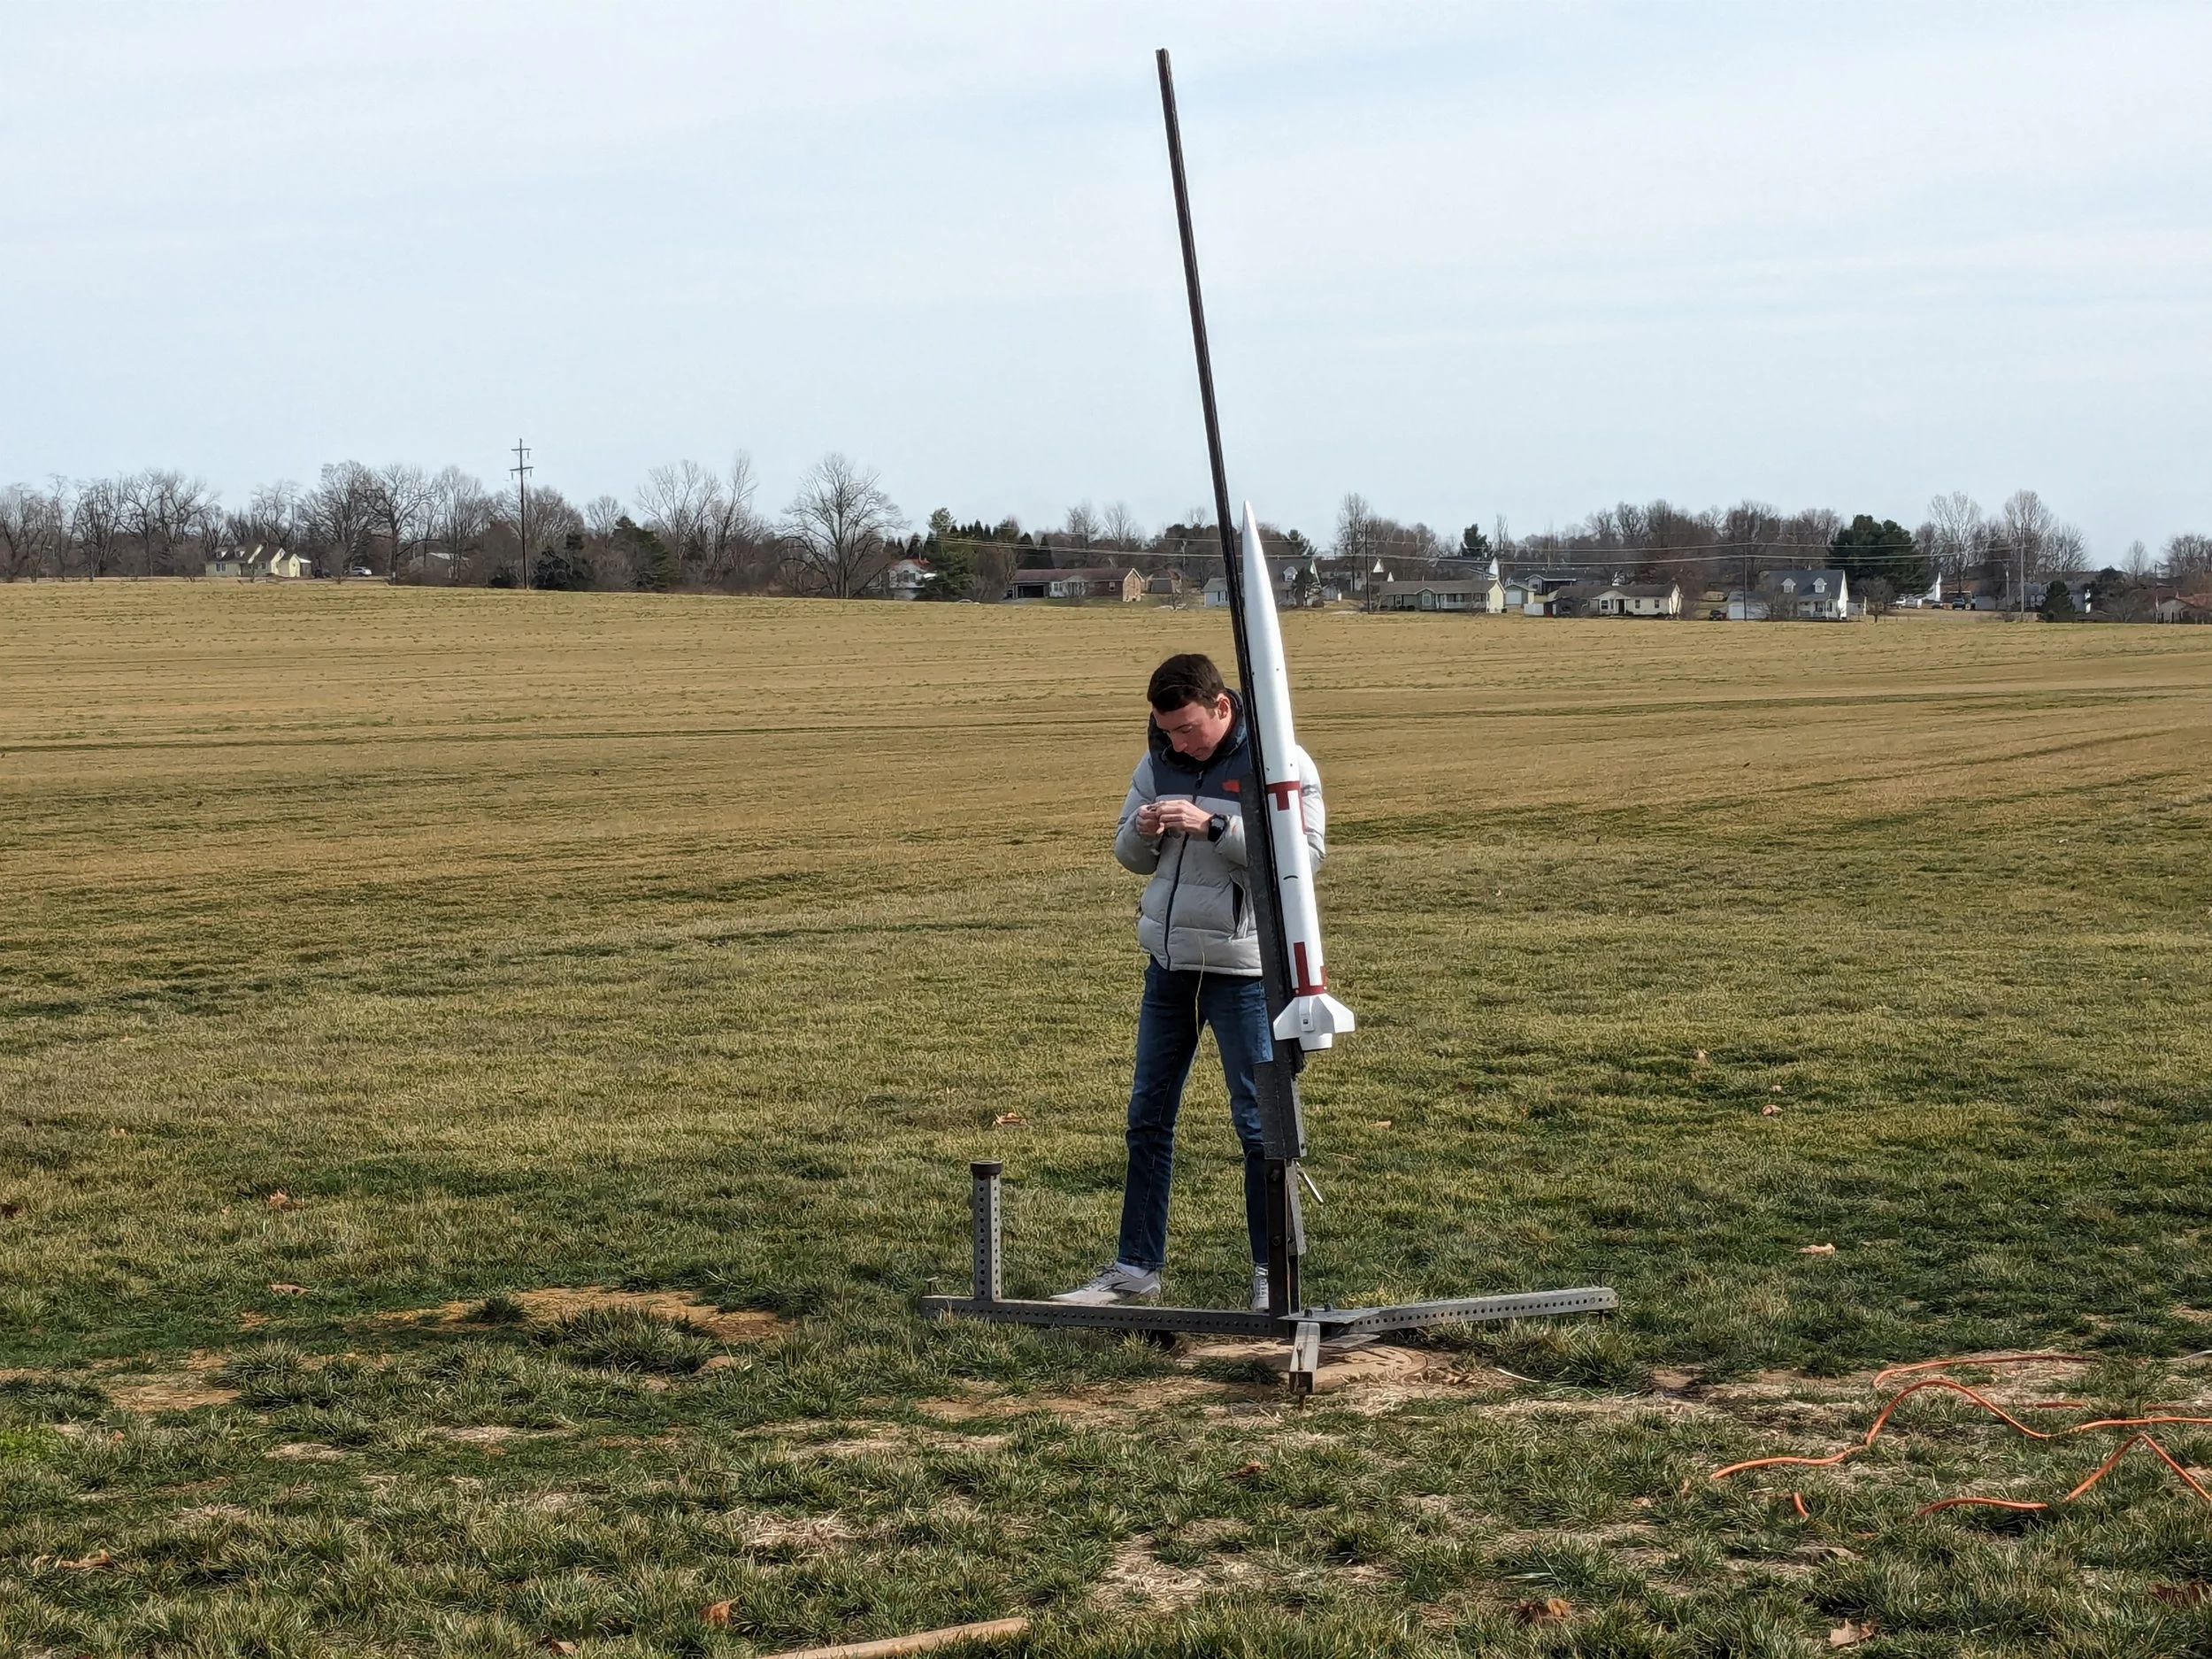
Harrier 2A before flight three held by Will Ostroski, Drew Brackett, and Henry Wykoff
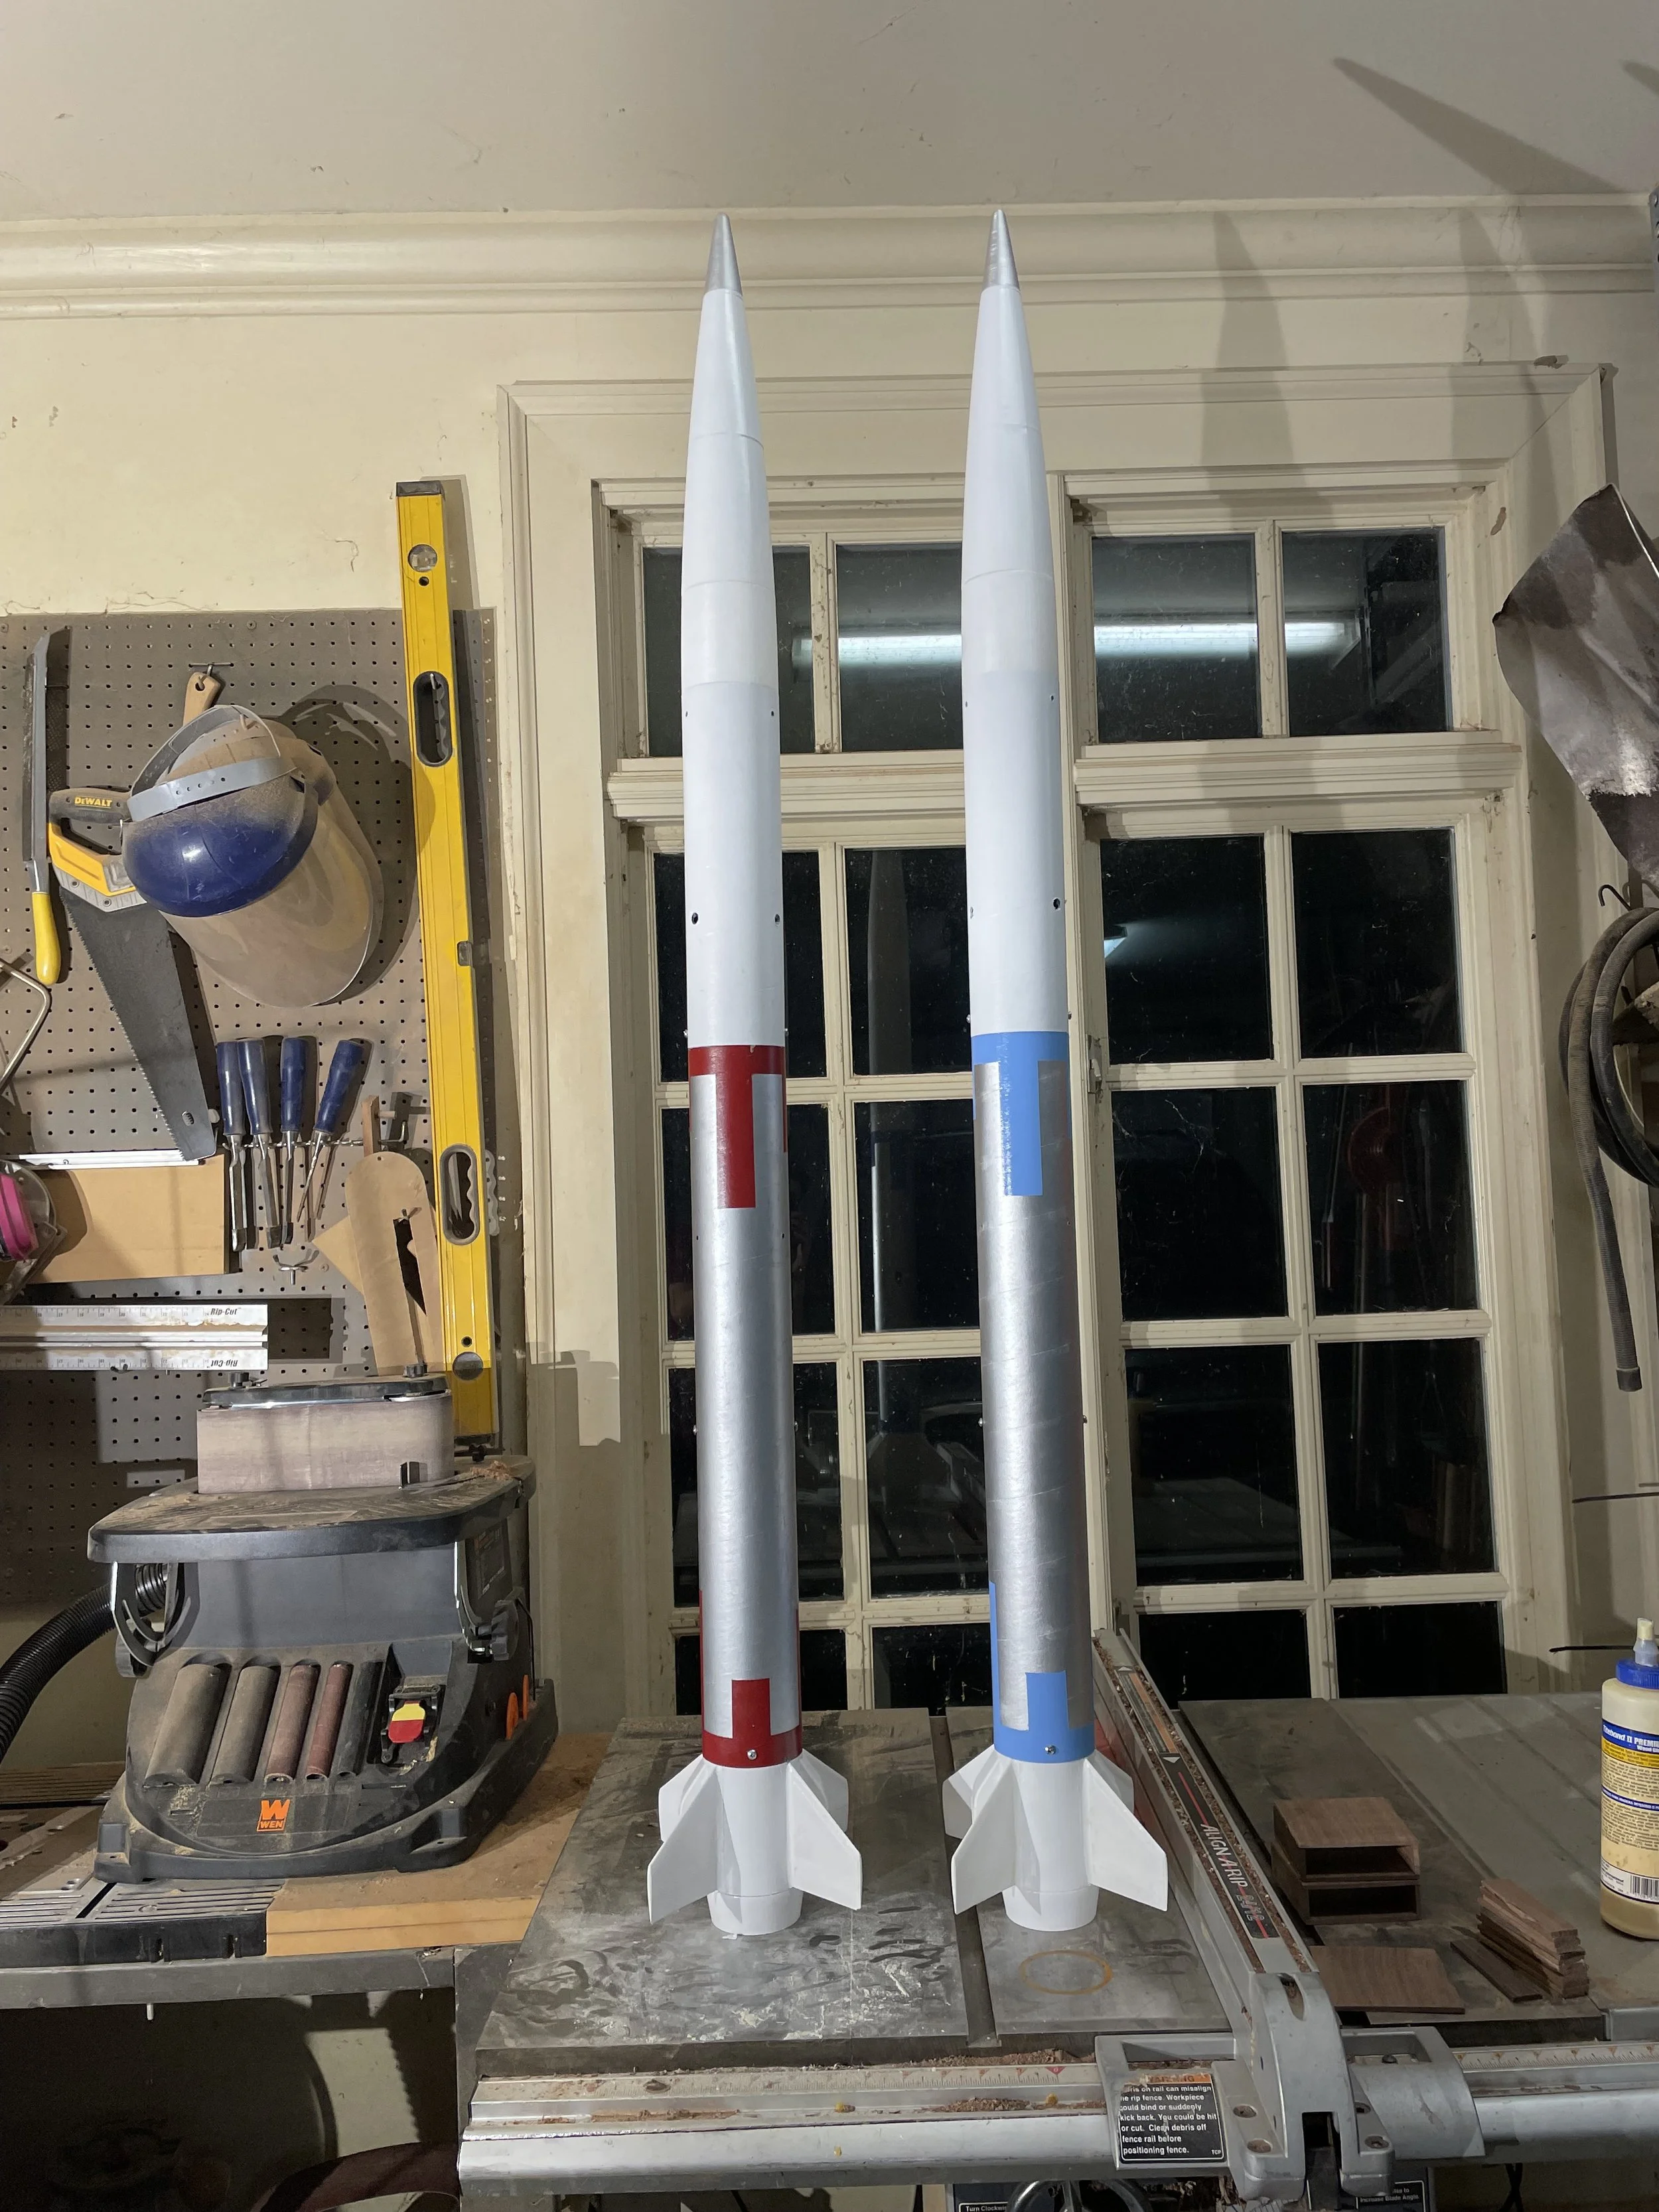
Harrier 2A and Harrier 2B

Harrier 2A after liftoff of flight two

Liftoff of Harrier 2A flight two!

Drew Brackett and Steve Ghertner before Harrier 2A's first flight

(Suboptimal) first ascent of Harrier 2A

Inaugural liftoff of Harrier 2A!

Liftoff of the first flight of Hermes!

Tiger 4 descending under its parachute

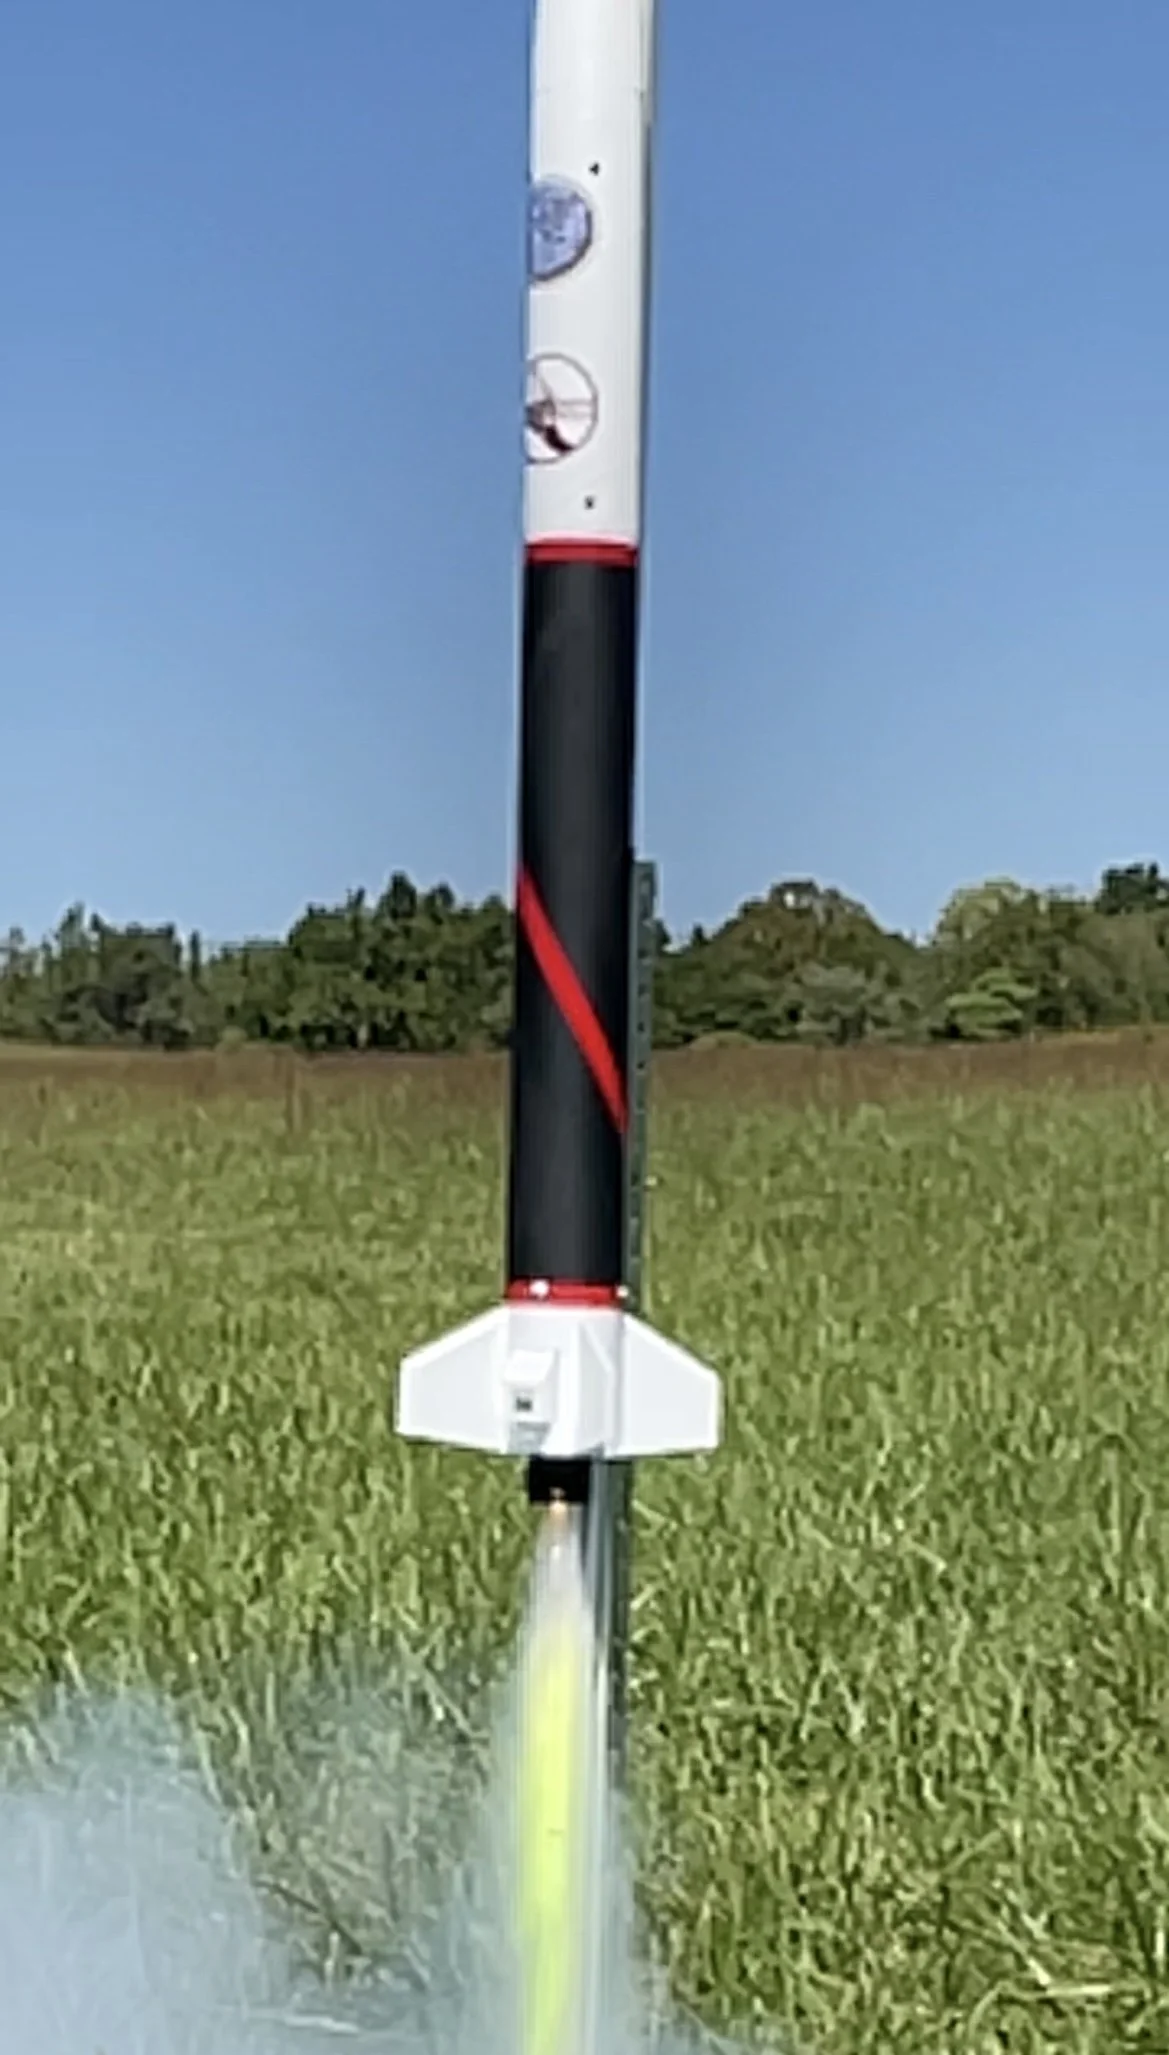
Ignition on Tiger-4 flight one!

Drew Brackett with Hermes ahead of launch
Liftoff of Hermes!

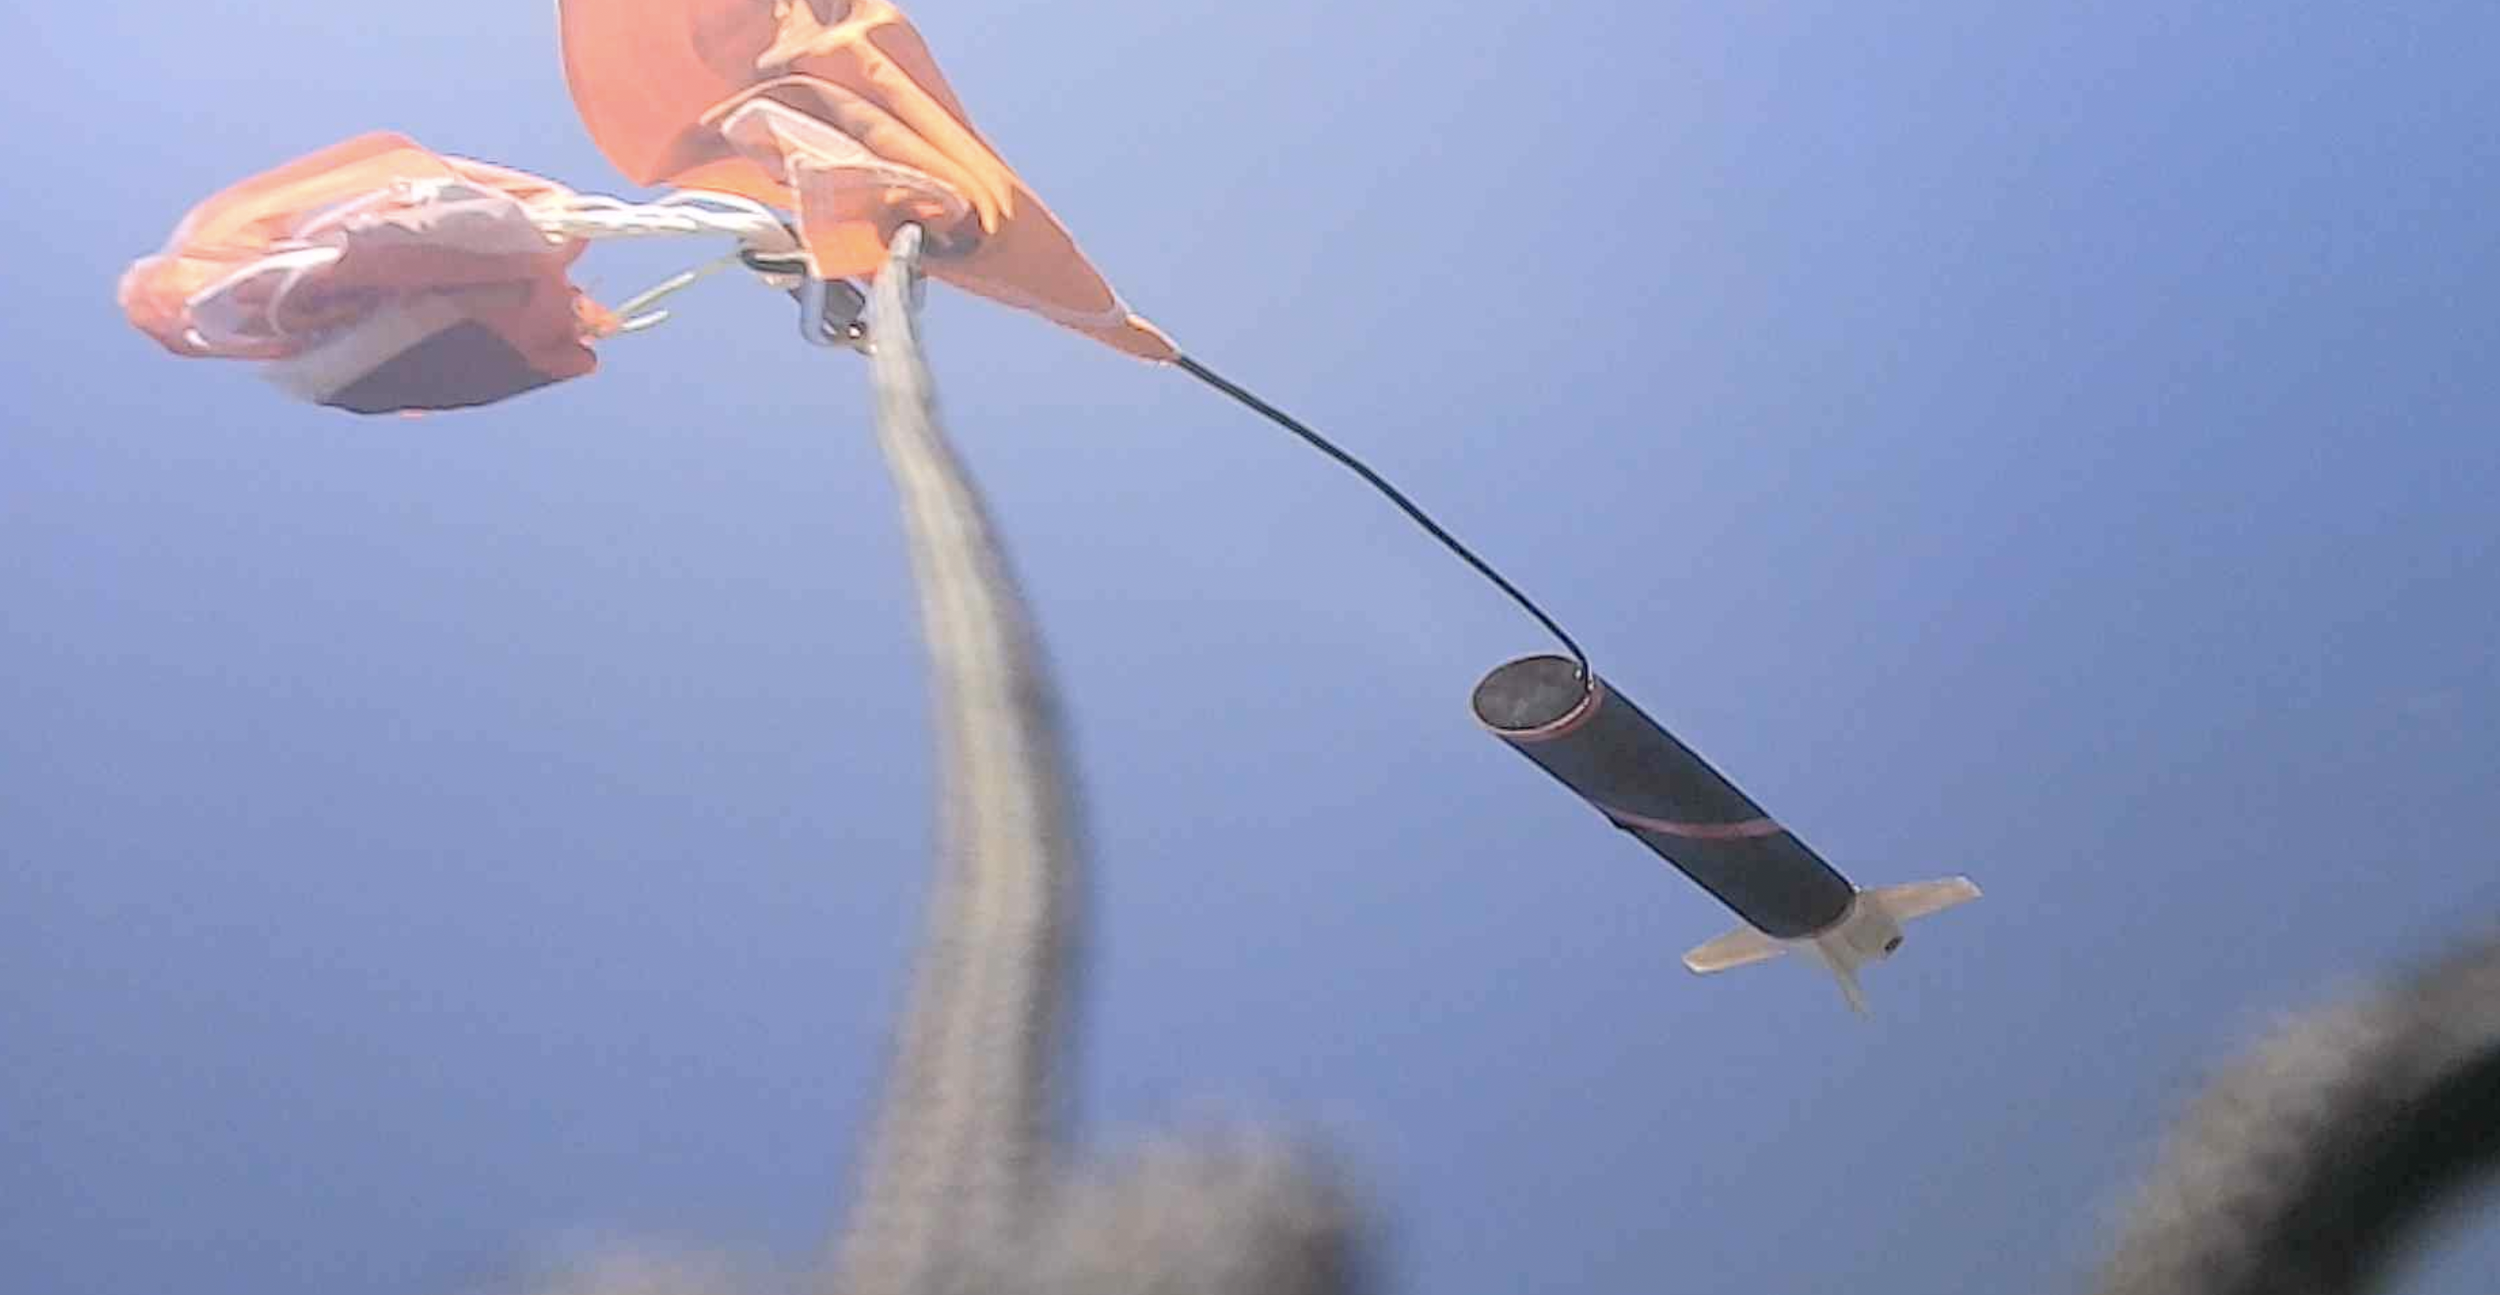
Hermes shortly after parachute deployment

Hermes descending under its unfurled parachute
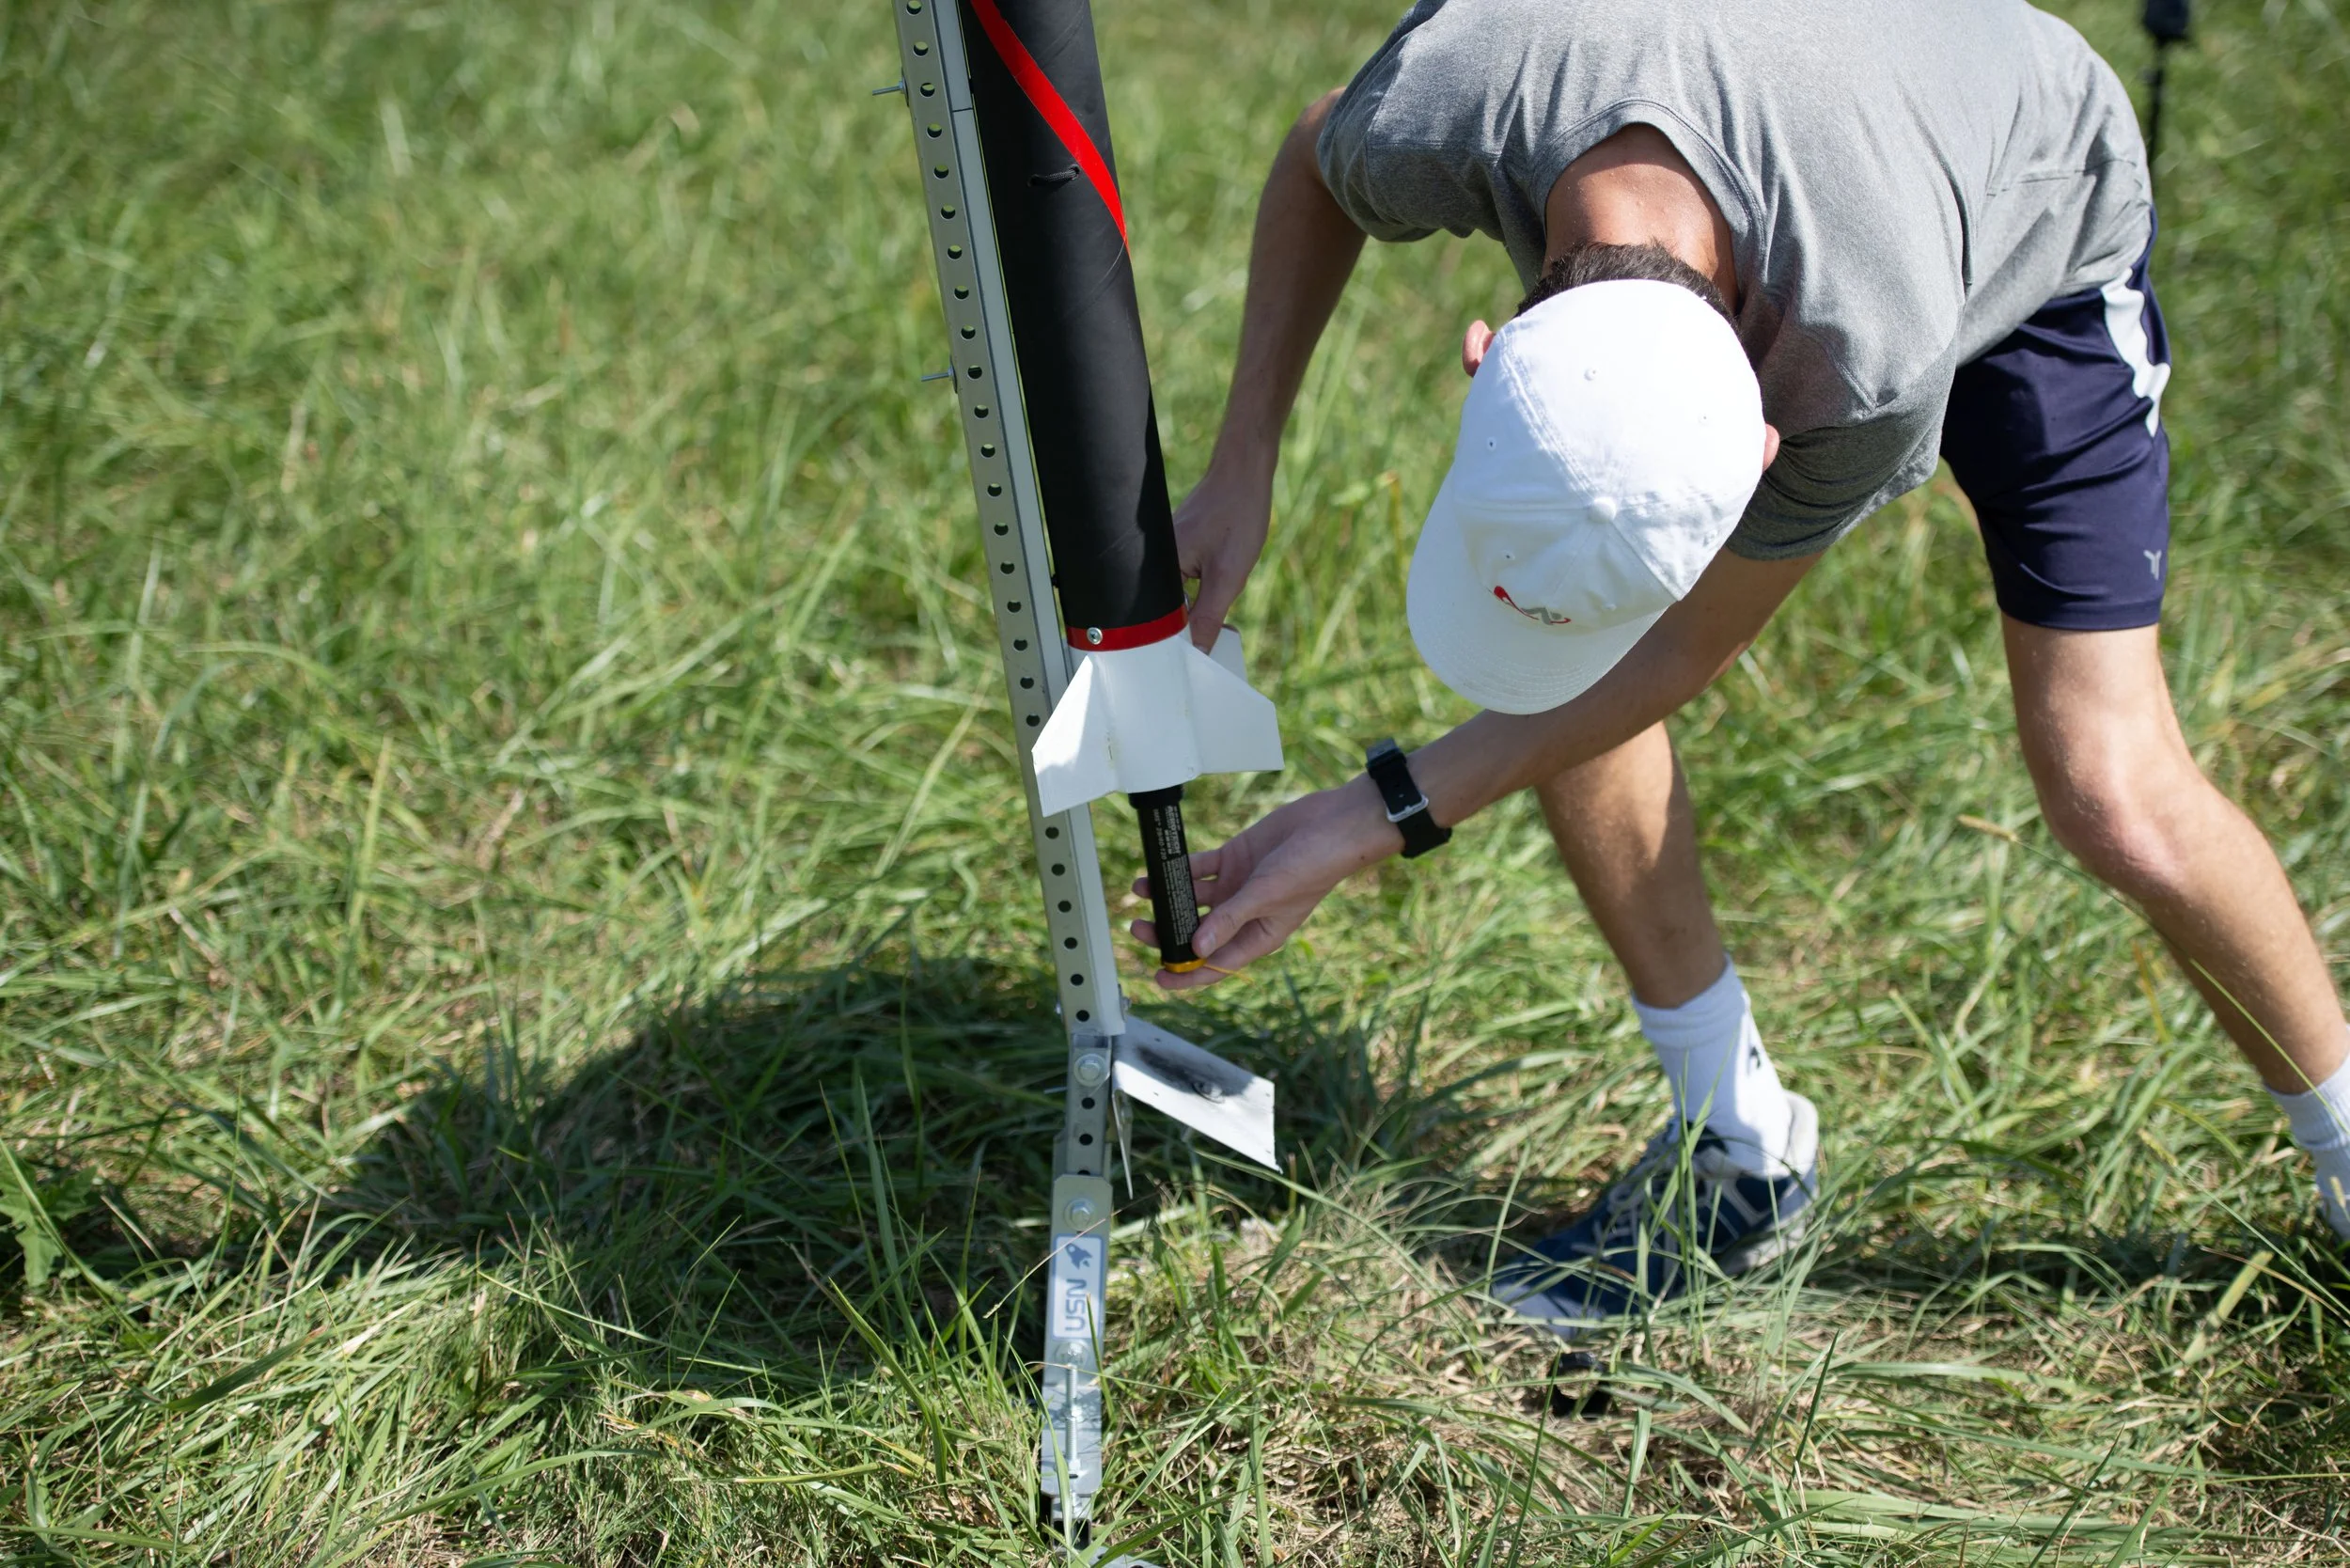
Installing the motor into Hermes for its first flight

Tiger-4 just after apogee

Ignition of Hermes flight two!

Hermes just before landing

Taking Hermes out to the pad

Tiger-4's smoke trail

Tiger-4 on the pad

Ignition of Tiger-4!

Launch day!

Touchdown of Tiger-4!

Hermes being prepped for flight

Tiger-4 just before liftoff

Tiger-4 during descent

Drew with Hermes before flight

Hermes on descent

Liftoff of Hermes!

Liftoff of Tiger-4!
Tiger-4 before landing

View from Tiger-4 during its first flight

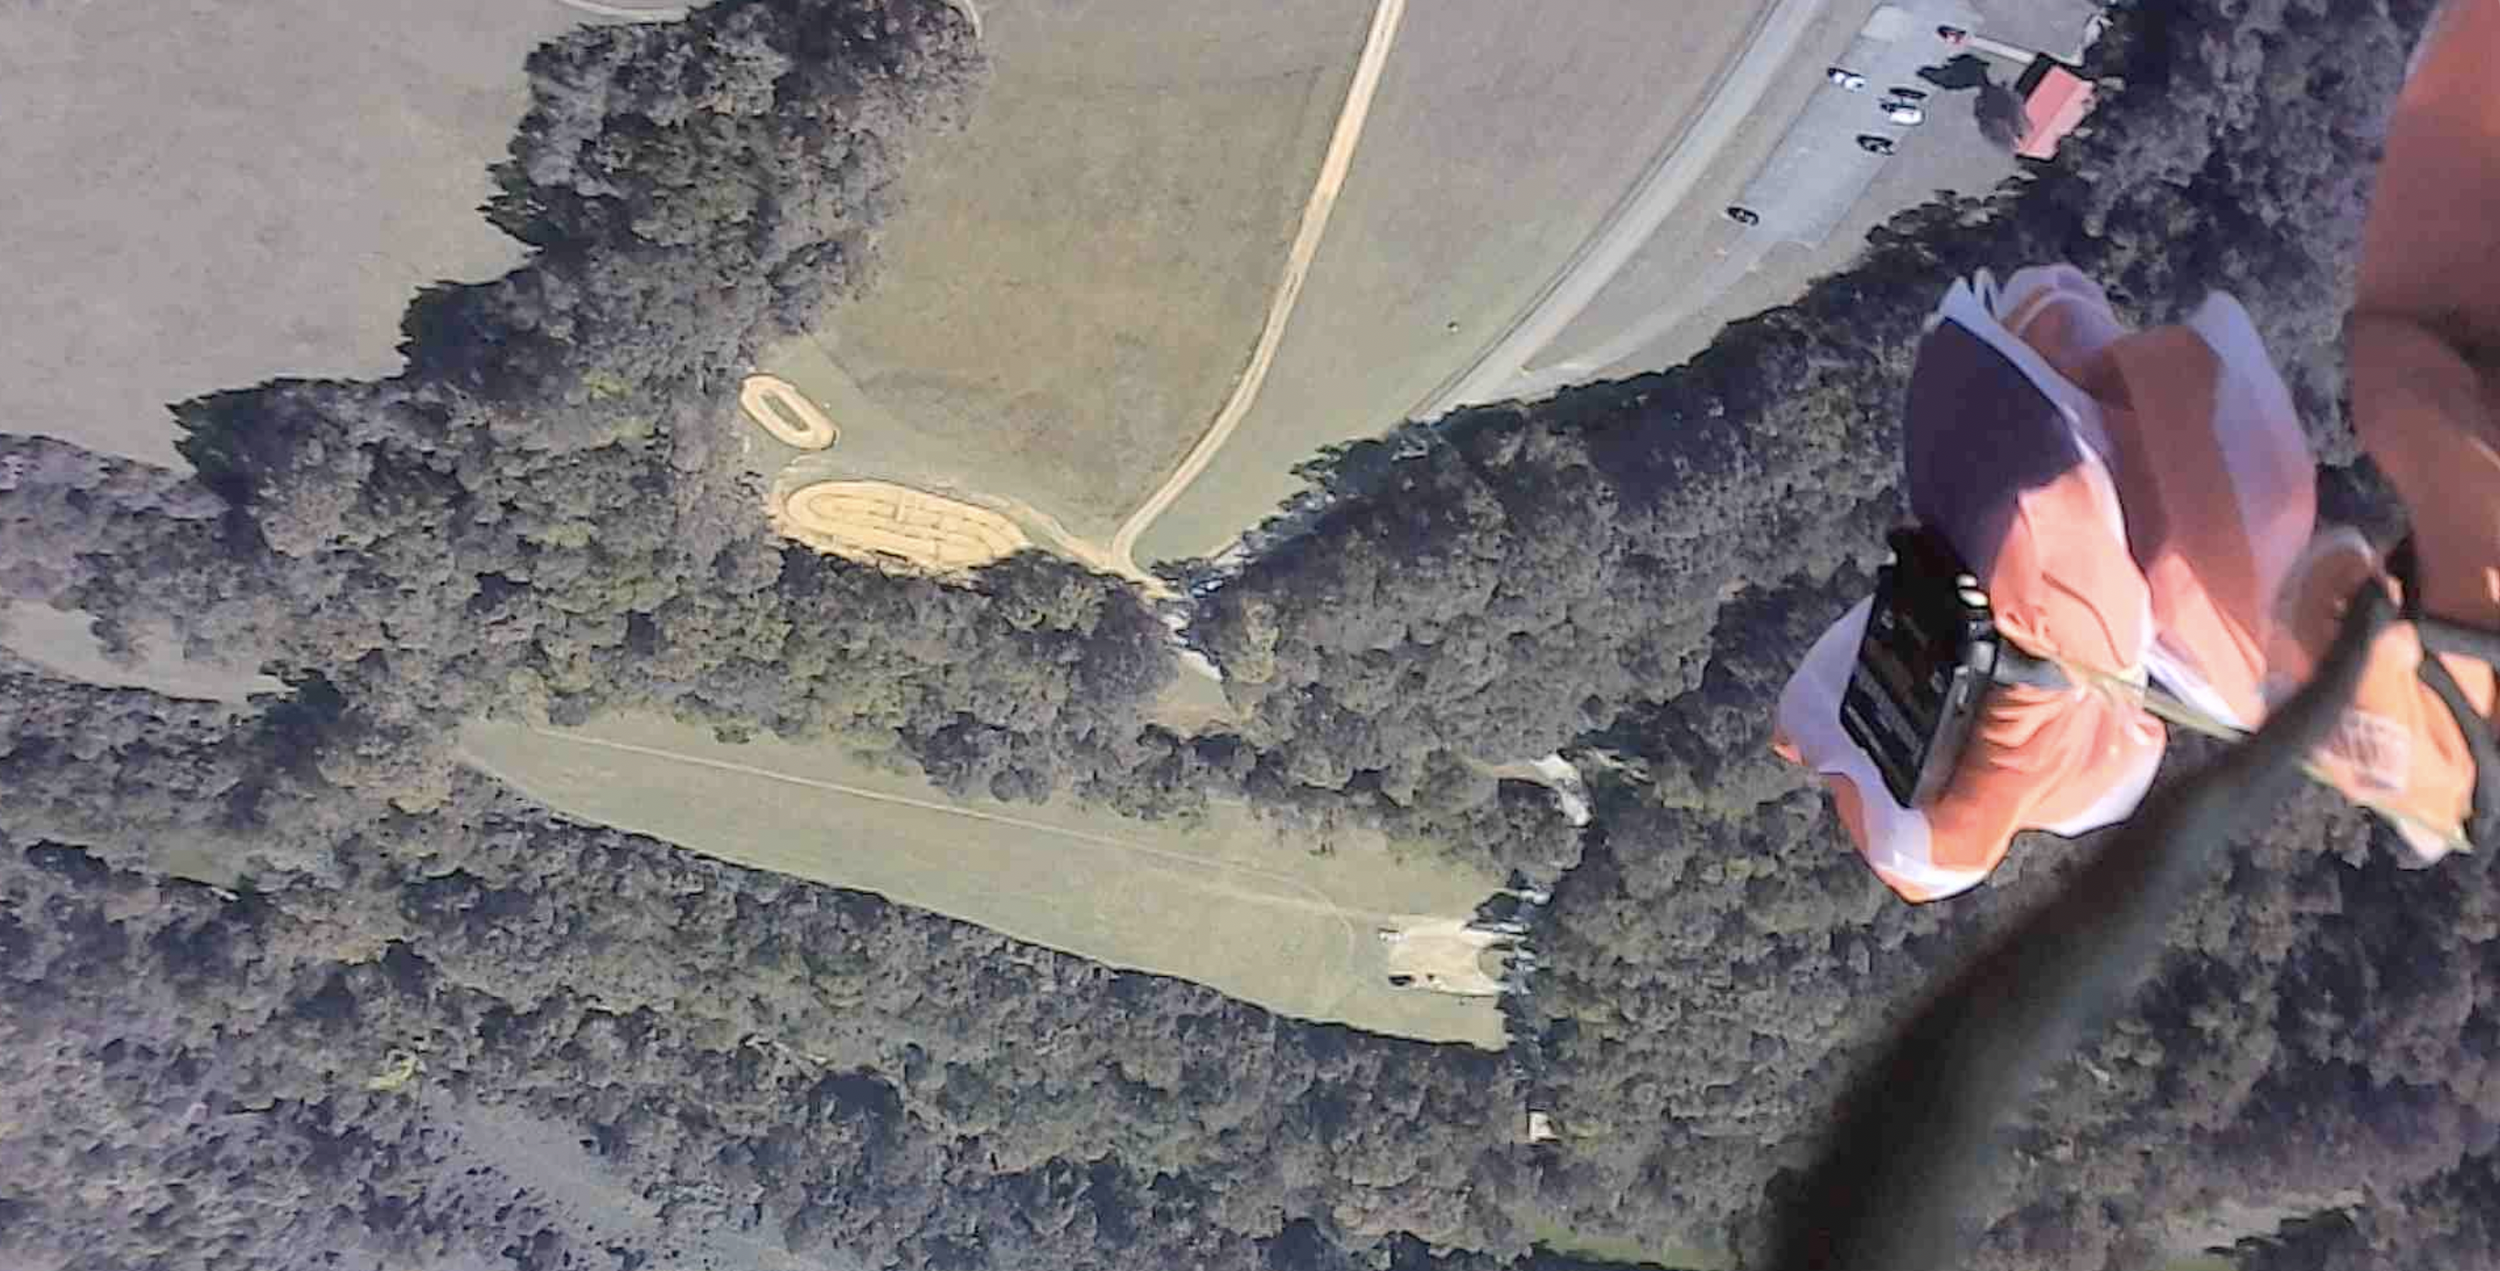
View from Hermes during its first flight

View from Hermes during its first flight

View from Hermes during its first flight

Liftoff of Hermes!

View from Hermes during its first flight

Liftoff of Hermes!

View from Hermes during its first flight

View from Hermes during its first flight

View from Hermes during its first flight

View from Hermes during its first flight

View from Hermes during its first flight

Liftoff of Hermes!

View from Tiger-4 during its first flight
View from Hermes during its second flight

View from Hermes during its second flight

View from Hermes during its second flight

View from Tiger-4 during its first flight

Liftoff of Hermes!
View from Hermes during its second flight

View from Hermes during its second flight

View from Hermes during its second flight

View from Hermes during its second flight

View from Hermes during its second flight

View from Hermes during its second flight

View from Hermes during its second flight

Shock diamonds on Hermes!
Shock diamonds on Hermes!
Shock diamonds on Hermes!
Shock diamonds on Hermes!
Liftoff of Hermes!

Hermes after landing
Hermes on the pad

Preparing Hermes' payload for flight

Preparing Hermes' payload for flight

Preparing Hermes' payload for flight

Preparing Hermes' payload for flight

Preparing Hermes for flight

Preparing Hermes' payload for flight

Successful recovery of Hermes!